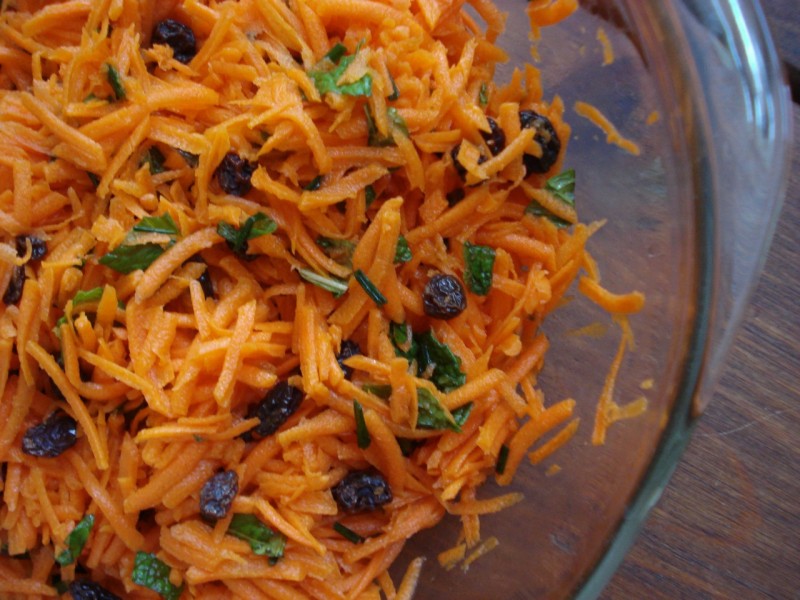
Carrot & Raisin Salad

2 TBSP lemon juice
1 TBSP extra virgin olive oil
2 TBSP chopped fresh mint leaves
1 TBSP minced fresh chives
pure salt to taste
1 lb carrots (about 4 large), peeled & shredded
1/4 cup raisins (or a 1 oz box)
- In a salad bowl, whisk together the lemon juice, oil, mint, chives, and salt to taste. Add the carrots & raisins & toss well.
__________________________________________________________________________________
SIDE NOTES:
~ I’m a big fan of carrot salads, and this is a good one! It’s very easy to throw together, especially if you shoot the carrots through a food processor with a shredding blade.
~ If you don’t care for mint, substitute another fresh herb (personally, I’m not a big fan of mint, but happen to really like it in this salad).
~ If you’d prefer, you can swap the raisins for currants.
~ Adapted from “Fresh Food Fast”.
Enjoy!
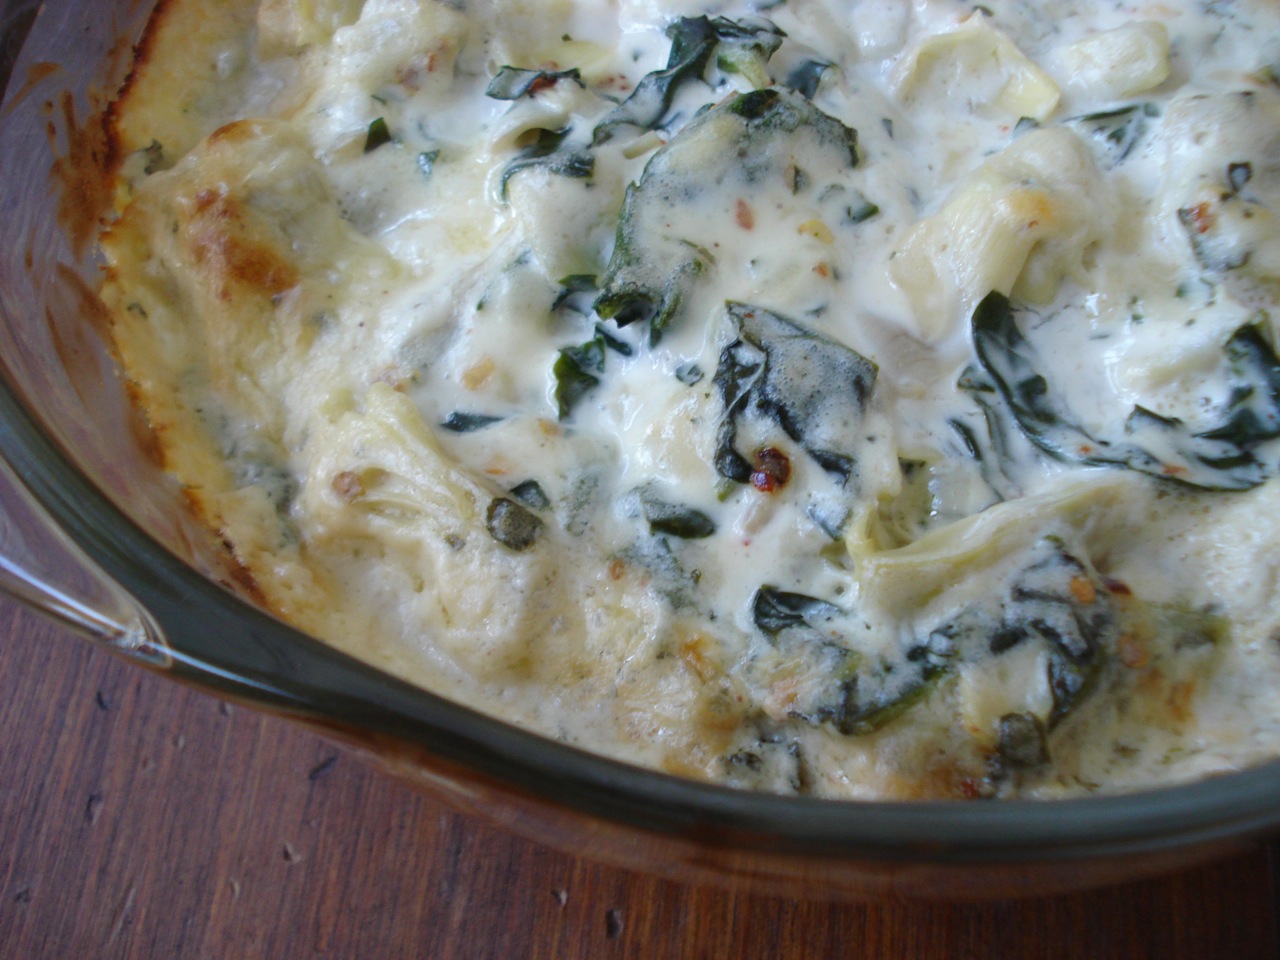
Easy Spinach Artichoke Dip

1 14-oz can quartered artichokes packed in water, rinsed and drained
1 cup packed spinach leaves (fresh or frozen)
6 oz cream cheese
1/3 cup freshly grated parmesan cheese
1/4 cup mayo
1/4 cup sour cream
1 TBSP lemon juice
1 tsp crushed red pepper flakes (optional)
1/4 tsp pure salt
1/4 tsp garlic powder
- Combine everything in an oven proof baking dish.
- Bake at 375 for 30 mins — give or take — until it’s bubbly and looks good!
________________________________________________________________________________
SIDE NOTES:
~ We munched on this with pieces of warm, sour dough bread while preparing Thanksgiving dinner (and a few times since) =)
~ By the way, if you still gasp at the thought of eating rich (high fat) foods like cheese, mayo, and sour cream — it’s time for you to let go of outdated, embarrassing science. You’re running from the wrong thing, hurting your health in the process, and of course… missing out on some good eats. If this concept is baffling to you in any way, my webinar series can quickly and easily propel you out of the “junk” science age which is largely profit oriented.
Enjoy!
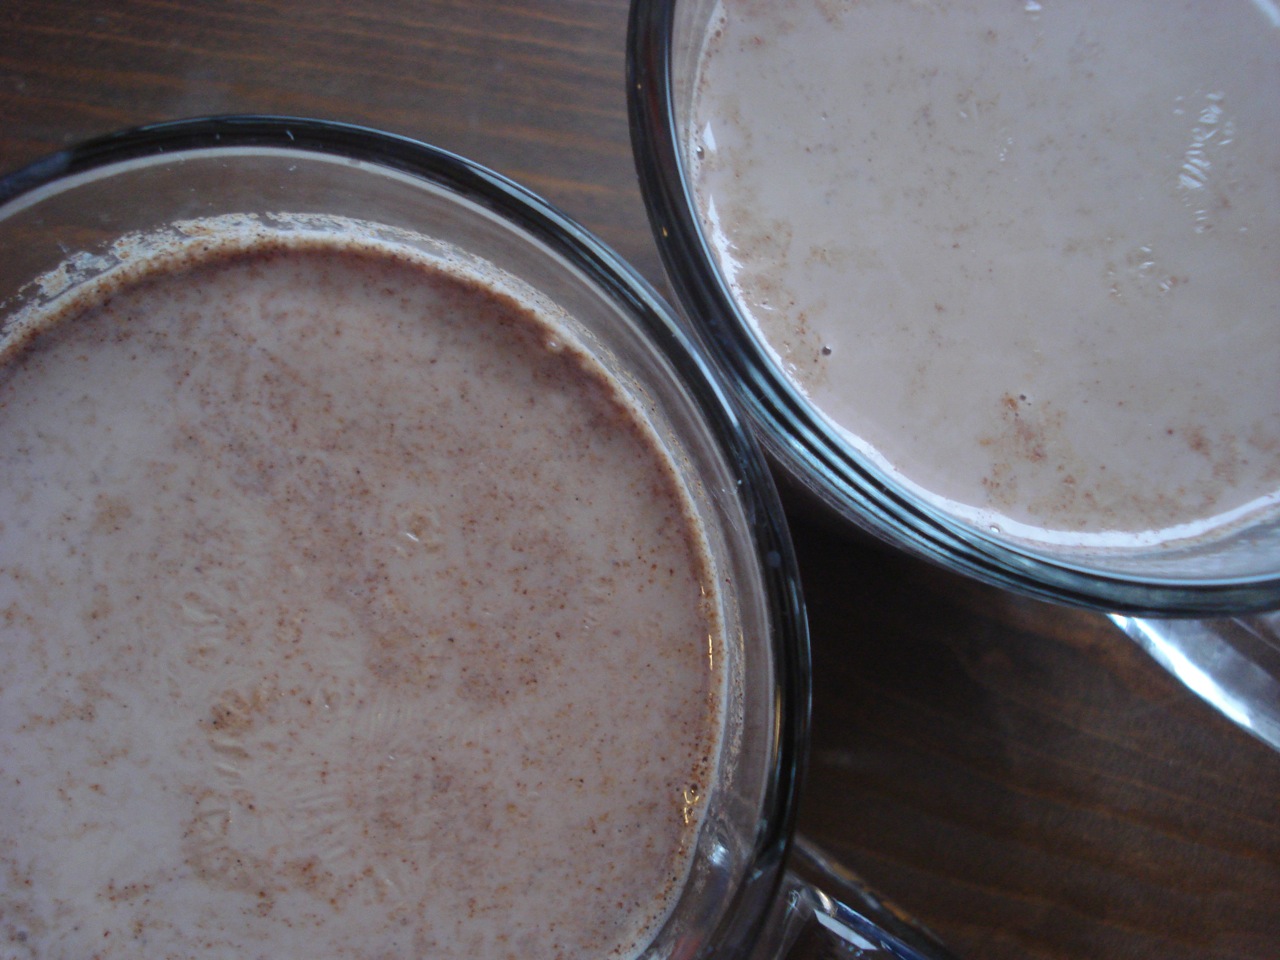
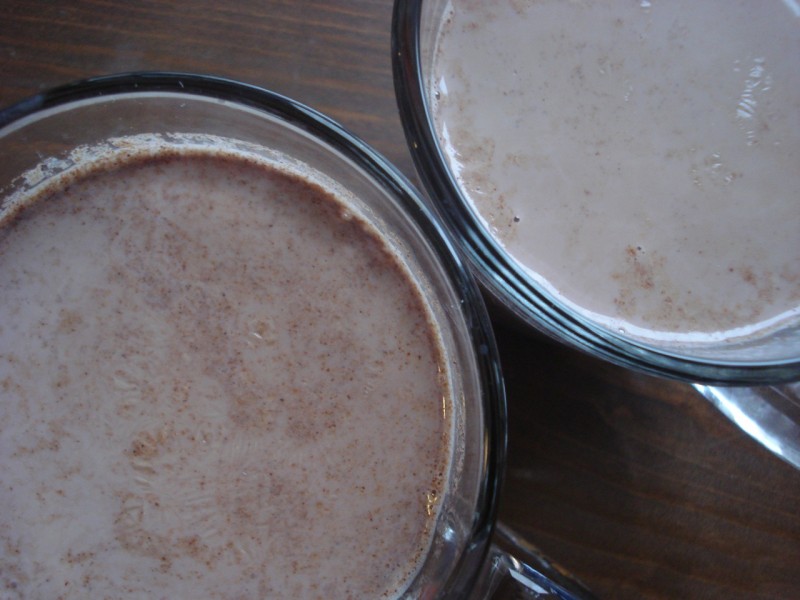
Mexican Hot Chocolate
1/4 cup plus 2 TBSP cold water
2 TBSP natural sugar
4 tsps cocoa or cacao powder
1/4 tsp cinnamon
1/8 tsp ground cloves
1/8 tsp nutmeg
pinch of pure salt
1 & 1/2 cups milk
1/2 cup cream
1/4 tsp pure vanilla extract
- Combine the first 7 ingredients (up to and including the salt) in a small saucepan over medium-low heat, whisking occasionally until everything is dissolved (3 – 5 minutes).
- Add the milk , raise the heat to medium, and whisk frequently until very hot, but not boiling (about 10 mins).
- Add the vanilla and cream, continuing to whisk until heated through (about another 5 mins).
- Can serve garnished with a whole cinnamon stick in each warm mug full, and / or if you’d like, a dollop of fresh whipped cream over the top!
Serves 2 – 3 depending on the size of the mugs.
_____________________________________________________________________
SIDE NOTES:
~ ‘Tis the season for hot chocolate, and this is a very tasty way to enjoy it.
~ My kids had a one-hour delay for school today, and of course, they loved moving at a slower pace than the typical Monday morning while they sipped on this. I even got an “Ohhhhh Mom…You’re the best” out of it when they walked into the kitchen and saw what was brewing on the stove =)
~ Technically, in Mexico, the chocolate is beaten with a “molinillo” — a wooden utensil that is quickly twirled between the palms of the hands to create a froth on the chocolate, but of course, you get a very yummy cup of hot chocolate either way!
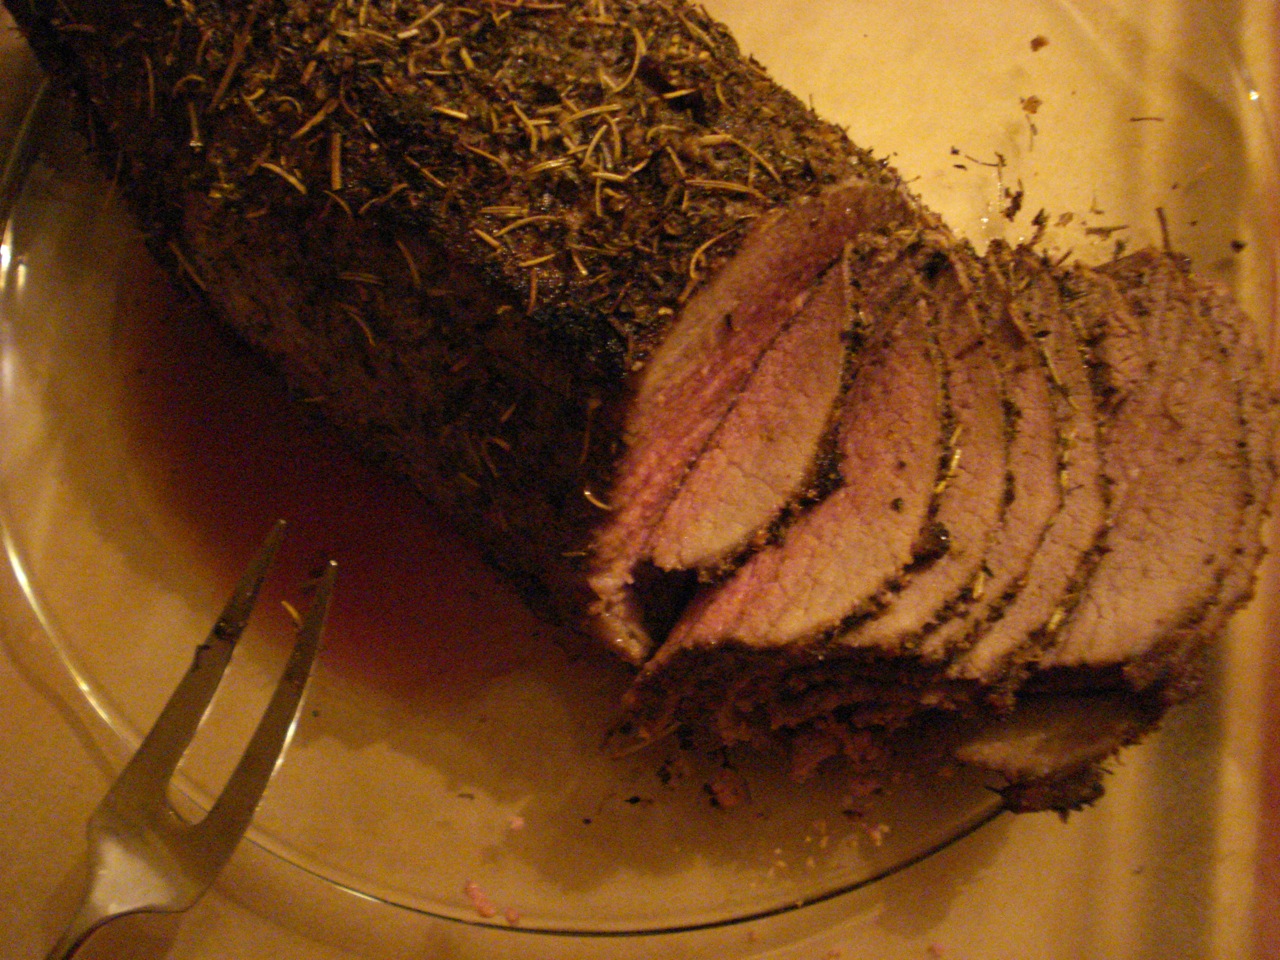
Fool Proof Roast Beef

One boneless chuck-eye or eye-round roast
Garlic-Herb-Rub or salt and pepper to taste
- Preheat the oven to 500 degrees for 20 minutes to get the walls of the oven hot (will hold the heat longer).
- Place roast in a roasting pan and rub the lean side generously with garlic-herb-rub (or simply season with salt and pepper.
- Turn the roast fatty side up and season that side as well.
- Leave the roast fat side up (as the fat melts, it bastes the roast).
- Place the roast (uncovered) in the preheated oven and reduce the temperature to 475 degrees (do not add water to the roasting pan).
- Roast for seven minutes per pound (for example a 4 lb roast = 28 mins).
- Turn off the oven and let the roast sit in the hot oven for 20 mins per pound (80 minutes for a 4.66 lb roast). Do not open the door at all during this time!
- Remove roast from the oven (the internal temperature should have reached at least 145 degrees).
- Remove roast from the pan and let rest for about 20 minutes before carving so the juices can settle down into the roast.
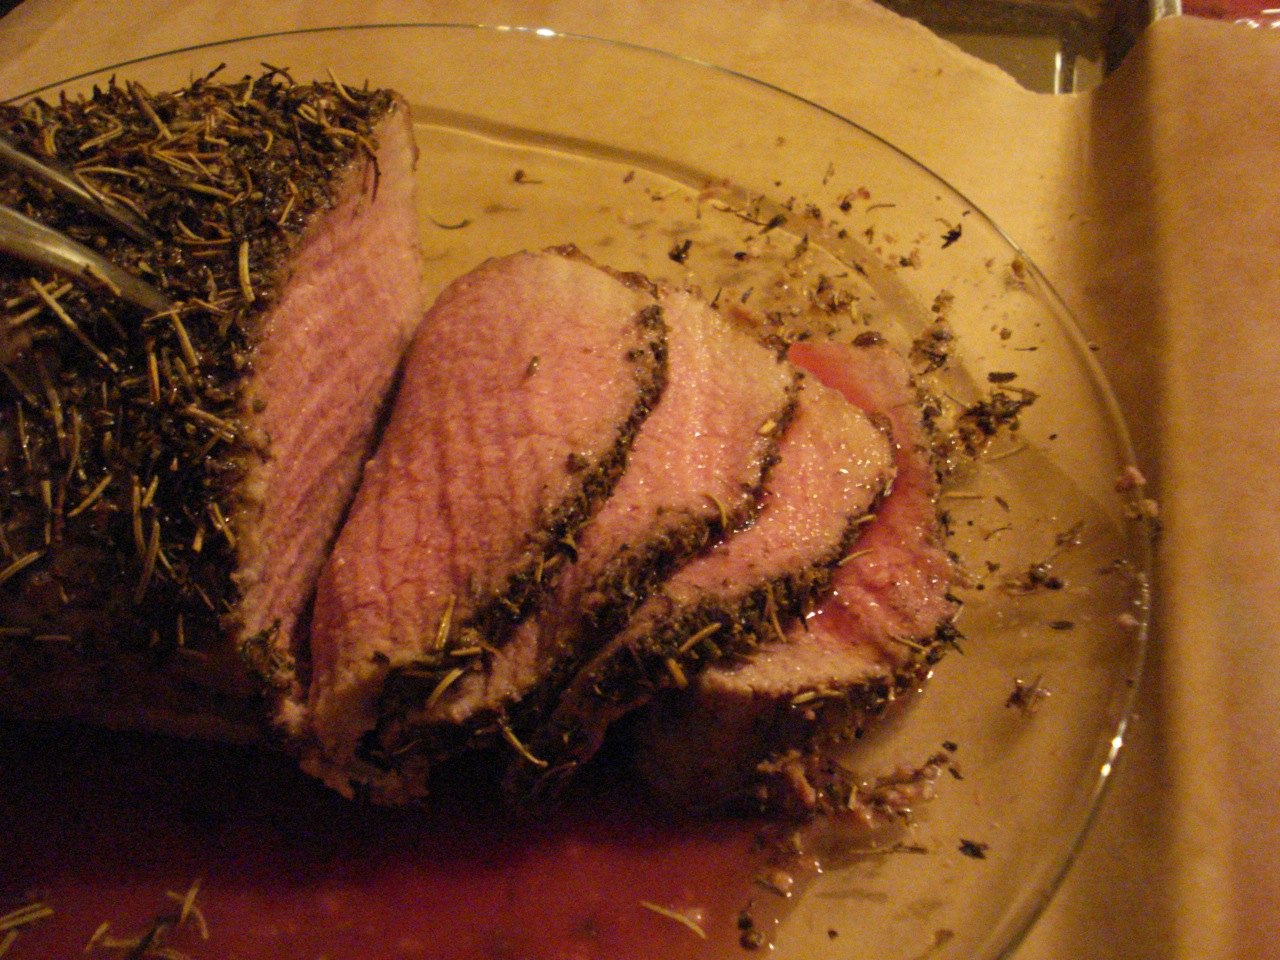
- Carve into thin slices to serve.
________________________________________________________________________________
SIDE NOTES:
~ While some sources say to turn off the oven and let the roast sit in the hot oven for 2 & 1/2 hours, regardless of size, I have been making roasts for about a year now, and this method has been fool-proof for me.
~ I thought this would be a good time of year to post this recipe, incase anyone’s considering making a roast for Christmas and needs a little help. Basically, I did a lot of research, and pulled the best tips I could find from many sources.
~ If you’d like to make a very quick and simple 2-ingredient-roast-beef-pan-sauce, here are the instructions:
- While the roast is being carved, set the roasting pan over medium-high heat.
- Add red wine, scraping pan bottom with wooden spoon to loosen brown bits.
- Simmer until wine reduces to a glaze — about 2 minutes.
- Add broth and simmer until sauce reduces and thickens slightly — 1 to 2 minutes longer.
- Cut roast into thin slices, adding meat juices to pan juices. Serve immediately with juices passed separately.
The sauce is from Cook’s Illustrated September 1996 edition, and came highly recommended to me by my friend Lynn. I’d have to agree with her, that for a 2 ingredient sauce, it’s pretty darn good! If you prefer a thicker sauce, technically you could thicken this with a little arrowroot powder or cornstarch (1 tsp) dissolved in 1 TBSP water and mixed into the sauce as it simmers.
~ I tend to make this on a Sunday, and the kids love it, especially because they know they’ll be getting roast beef sandwiches for school lunch all week long. It’s super easy to make because there’s practically no work involved. It just sits in the oven doing its thing. I came up with this easy roast-beef-sandwich-spread which was a big hit.
Enjoy! =)
~ Ps — Food pics taken in the winter months tend to be a bit lack luster. Natural light is a necessity for good photos and there ain’t much of it around dinner time in December!
__________________________________________________________________
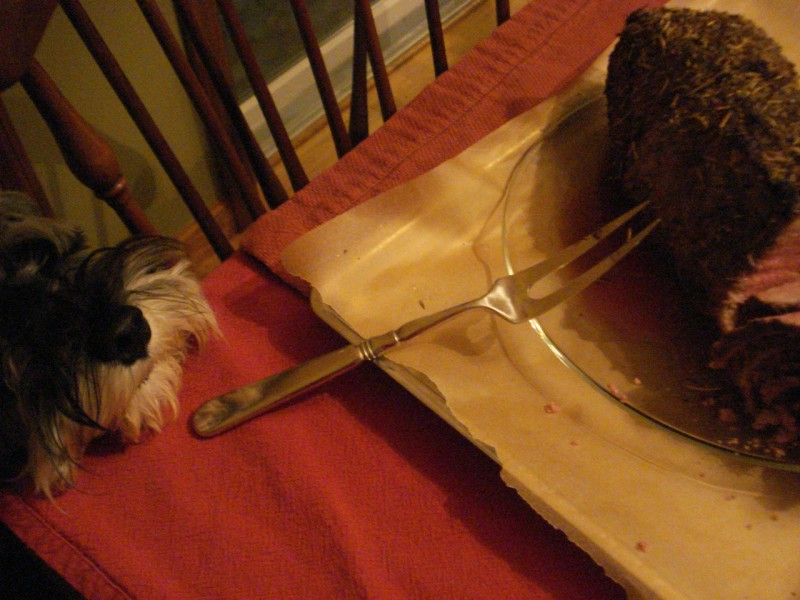
“Mom… Have I told you lately how much I admire and adore you?????????”
2-Ingredient Roast Beef Pan Sauce

- After removing your roast from the pan, (or while it’s being carved), set the roasting pan over medium-high heat.
- Add red wine, scraping pan bottom with wooden spoon to loosen brown bits.
- Simmer until wine reduces to a glaze — about 2 minutes.
- Add broth and simmer until sauce reduces and thickens slightly — 1 to 2 minutes longer.
- Cut roast into thin slices, adding meat juices to pan juices. Serve immediately with juices passed separately.
So simple, so quick, so delicious!
The sauce is from Cook’s Illustrated September 1996 edition, and came highly recommended to me by my friend Lynn. I’d have to agree with her, that for a 2 ingredient sauce, it’s pretty darn good! If you prefer a thicker sauce, technically you could thicken this with a little arrowroot powder or cornstarch (1 tsp) dissolved in 1 TBSP water and mixed into the sauce as it simmers.
Enjoy! =)
Roast Beef Sandwich Spread
2 TBSP high quality mayo
1/2 TBSP Worcestershire sauce
1 tsp mustard
- Mix
_________________________________________________________________________
SIDE NOTES:
The kids are happy when I make roast beef on a Sunday night. That means left over roast beef sandwiches for lunch all week long! And they really like this easy spread I made up on the fly at some point. I’ve been using it for roast beef sandwiches ever since.
Hope you enjoy!
Special Holiday Offer!
Dear Friends ~
For those who would like to treat themselves or a loved one to the gift of natural wellness… I am happy to announce my special holiday offer — valid for the entire month of December:
Buy One Hour, Receive The Second At HALF PRICE!
Please keep in mind this offer is unlimited. You may purchase as many two-hour, holiday packages as you’d like — either for yourself, as a very thoughtful holiday gift, or both!
You save $45 for every two-hour package you purchase!
If purchasing as a gift, I will promptly mail gift certificates — in denominations of your choice — to you or directly to your gift recipient.
The appointments themselves need not be scheduled within the month of December, but if you’d like to take advantage of this special holiday rate, purchases must be made before the end of the month.
You are welcome to forward this special offer to any friends or family members who might be interested in taking advantage of my limited time holiday rate. Clients have the choice of an in-person meeting at my local office in Clinton, NY — or for those in other regions — the convenience of a phone consultation.
To purchase one or more two-hour holiday packages, please click the following link:
https://www.acuityscheduling.com/catalog.php?owner=11182299
For more details on my services:
http://realfoodtastesgood.com/services/
As always, please feel free to reach out via email with any questions or concerns — diane@realfoodtastesgood.com
Wishing You a Happy, Healthy, and Delicious Holiday Season.
Enjoy Each Other!
Warmly,
Diane
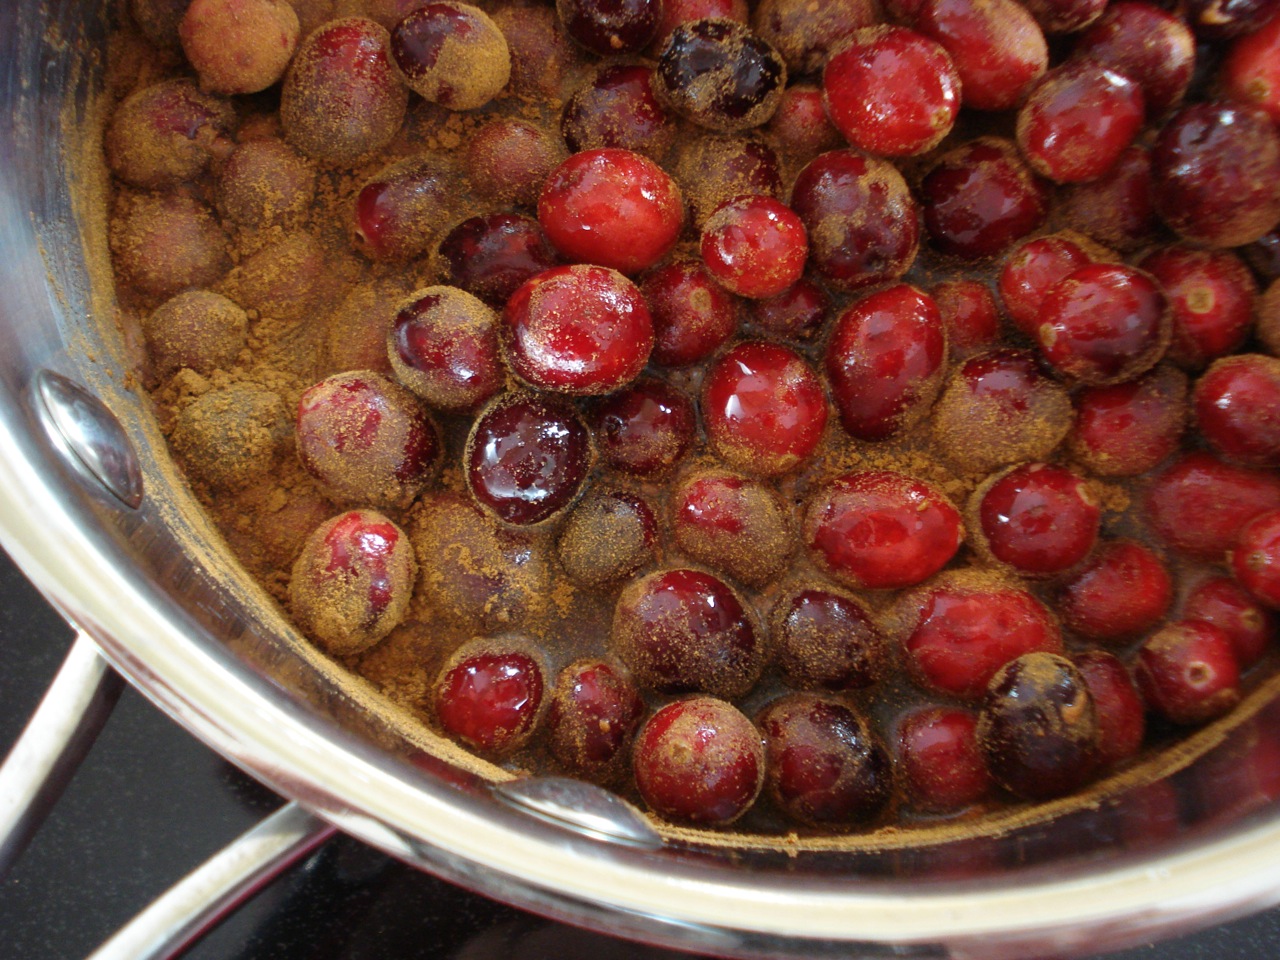
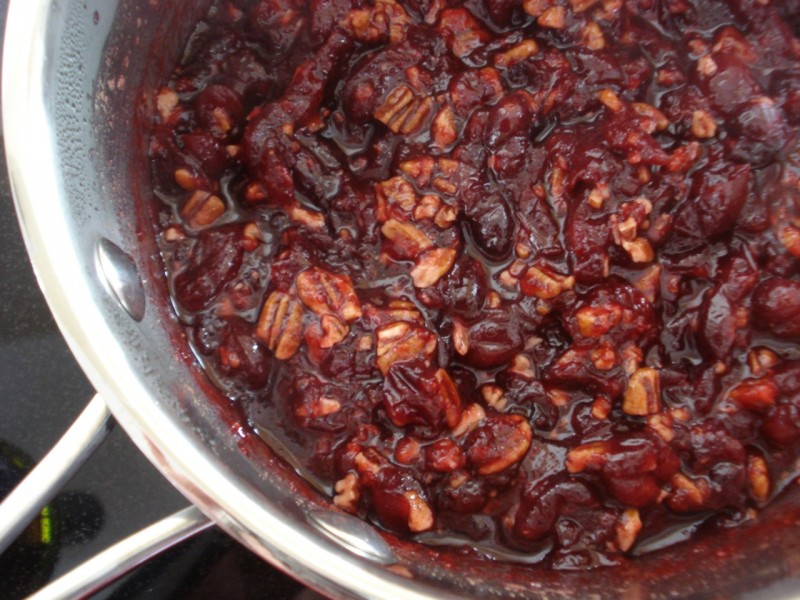
Fresh Cranberry Pecan Sauce

1/2 cup pecan halves (optional)
1/2 cup Madeira (or other sweet dessert wine such as Marsala)
3/4 cup maple syrup (or 1/2 cup if you prefer tart)
1 tsp ground cinnamon
12 oz (3 cups) cranberries, fresh or frozen
Pinch of pure salt
- Preheat oven to 300.
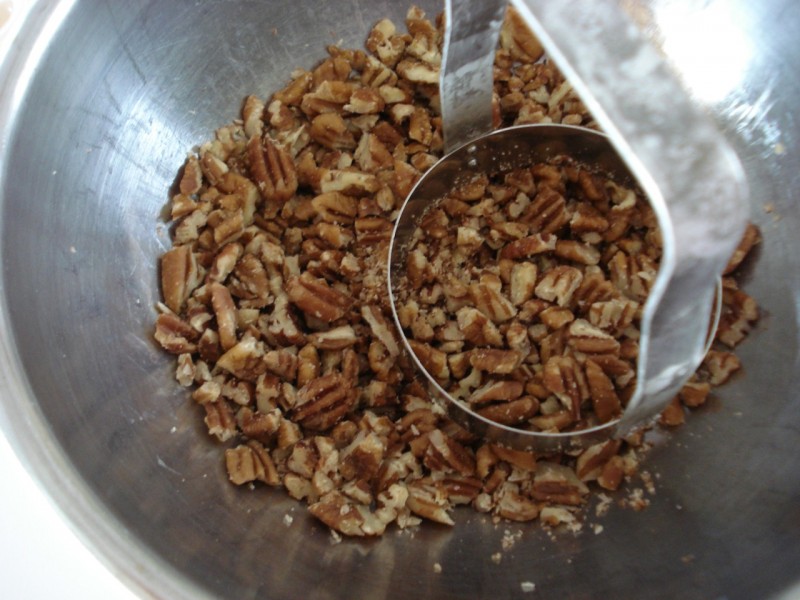
- Spread the pecans on a baking sheet and toast for 8 – 10 mins, or until fragrant.
- Remove from oven, let cool for a few minutes, and roughly chop by hand (see notes).
- In a medium saucepan, combine the wine, maple syrup, cinnamon, cranberries, and salt.
- Cover and bring to a boil, watching carefully to make sure it does not boil over.
- Uncover and cook at a rapid simmer for 15-20 mins, stirring every so often, until the cranberries have burst and the liquid has reduced enough to become sauce.
- Stir in the pecans, pour into a bowl, and refrigerate until cool.
- Serve cold or at room temperature.
________________________________________________________________________________
SIDE NOTES:
~ Love this cranberry sauce! I made it for the first time last Thanksgiving, and planned to post the recipe this year, a week or so before Thanksgiving. I completely forgot! So, rather than waiting until next November, I thought I’d post it now =)
~ Adapted from “The Voluptuous Vegan”
~ Fresh cranberries are only available from September through December, so by all means, pick up extra to freeze for future use. Freeze them (without washing) in a freezer bag for up to a year. DO NOT THAW before using. Simply rinse them off in cold water and use as you would fresh cranberries.
~ If you happen to have some on hand, you can substitute mirin (sweet Japanese cooking wine) for the Madeira.
~ I use germinated pecans (soaked and dried) and do not toast them. I recommend doing one or the other (toasting or germinating) rather than using raw pecans. Of course, the pecans can be omitted, but they do add nice crunch and flavor.
~ Organic cranberries seem to come in 8 oz containers (and I typically use 2 for cranberry sauce). Non organic versions often come in a 12 oz size. So here’s the recipe scaled up:
For 16 oz cranberries:
2/3 cup pecan halves (optional)
2/3 cup Madeira (or other sweet dessert wine such as Marsala)
1 cup maple syrup (or 3/4 cup if you prefer tart)
1 rounded tsp ground cinnamon
16 oz (4 cups) cranberries, fresh or frozen
1/8 tsp pure salt
~ I love this little gadget for chopping nuts. I believe it’s called “kwik chop”. There’s more info on it in my “favorite-kitchen-tools-&-gadgets” post.
________________________________________________________________________________
~ If you don’t want to bother picking up a sweet dessert wine to make this cranberry sauce, try the following version which uses orange juice:
VERSION 2
1 cup maple sugar (or regular brown sugar)
1/2 cup orange juice
1/2 cup water
12 ounces cranberries, fresh or frozen
pinch of cinnamon (optional)
2 TBSP cognac (optional)
- In a small pot over medium heat, dissolve the sugar in orange juice and water.
- Stir in the cranberries, and cook until they start to pop (about 10 – 15 mins).
- At this point, you can also mash some of them against the side of the pot with the back of a wooden spoon if you’d like.
- Remove from heat, stir in cinnamon and cognac (if using).
- Transfer to a glass bowl, cover, and refrigerate for approximately 4 hours.
The cranberry sauce will thicken as it cools, so be sure to make this early enough in the day (or the day before) to give it enough time to set in the fridge.
Adapted from: http://allrecipes.com/recipe/
I’ve made this version in the past, and it’s good, but we prefer the other recipe up top.
Butternut Squash Bacon Soup


1 large butternut squash, peeled and cut into large chunks
3 large carrots, peeled and cut into chunks
1 – 2 TBSPS coconut oil, melted
1/2 pounds (give or take) raw bacon, chopped
1 small onion, chopped
1 small apple, chopped
2 cups chicken broth
1 cup whole milk
1 tsp pure salt
1 tsp cinnamon
1/2 tsp nutmeg
- Preheat oven to 350.
- Add the coconut oil to your roasting pan and set it in the oven for a few minutes while it’s heating up (to melt the oil).
- Add the squash and carrots to the roasting pan and toss to coat with oil.
- Return to oven and roast uncovered for 35 minutes (or until veggies are tender).
- In a large stock pot over medium heat, cook the diced bacon until crisp.
- Remove bacon with a slotted spoon and set aside for the soup garnish.
- Add the onion and apple to the stock pot and sauté in bacon fat over medium heat until tender, about 5 minutes.
- Add the roasted butternut squash, carrots, broth, and milk, and bring to a boil stirring often.
- Remove from heat.
- Process with an immersion blender until smooth (or working in several small batches, blend in blender).
- Bring the soup back up to a simmer and season with salt, cinnamon, and nutmeg.
- Serve garnished with bacon.
________________________________________________________________________________
SIDE NOTES
~ A nice soup for Thanksgiving!
~ For video instructions on how to peel a butternut squash, click HERE. I used to think it was difficult. It’s really not a big deal! Of course, you can always resort to picking up the pre-peeled version if it’s a deal breaker =)
~ No need to be afraid of bacon (or bacon fat for that matter), provided we’re talking about a pig who lived a normal pig life and was not feed an unnatural diet (and of course — no nitrates). If you’d like, you can substitute a high quality turkey bacon, or if necessary, simply omit it altogether — sauteing the onion & apple in coconut oil or butter instead.
~ You can use coconut milk if avoiding dairy.
~ The original recipe called for tons more cinnamon and nutmeg (we actually found it inedible). I cut it down by at least a third and it made all the difference in the world — Delicious soup. The amount of seasoning really depends on the size of your squash. If it’s giant you might want more. If it’s very small, less. Adapted from Caveman Feast.
~ Can be frozen for later use.
ENJOY! =)
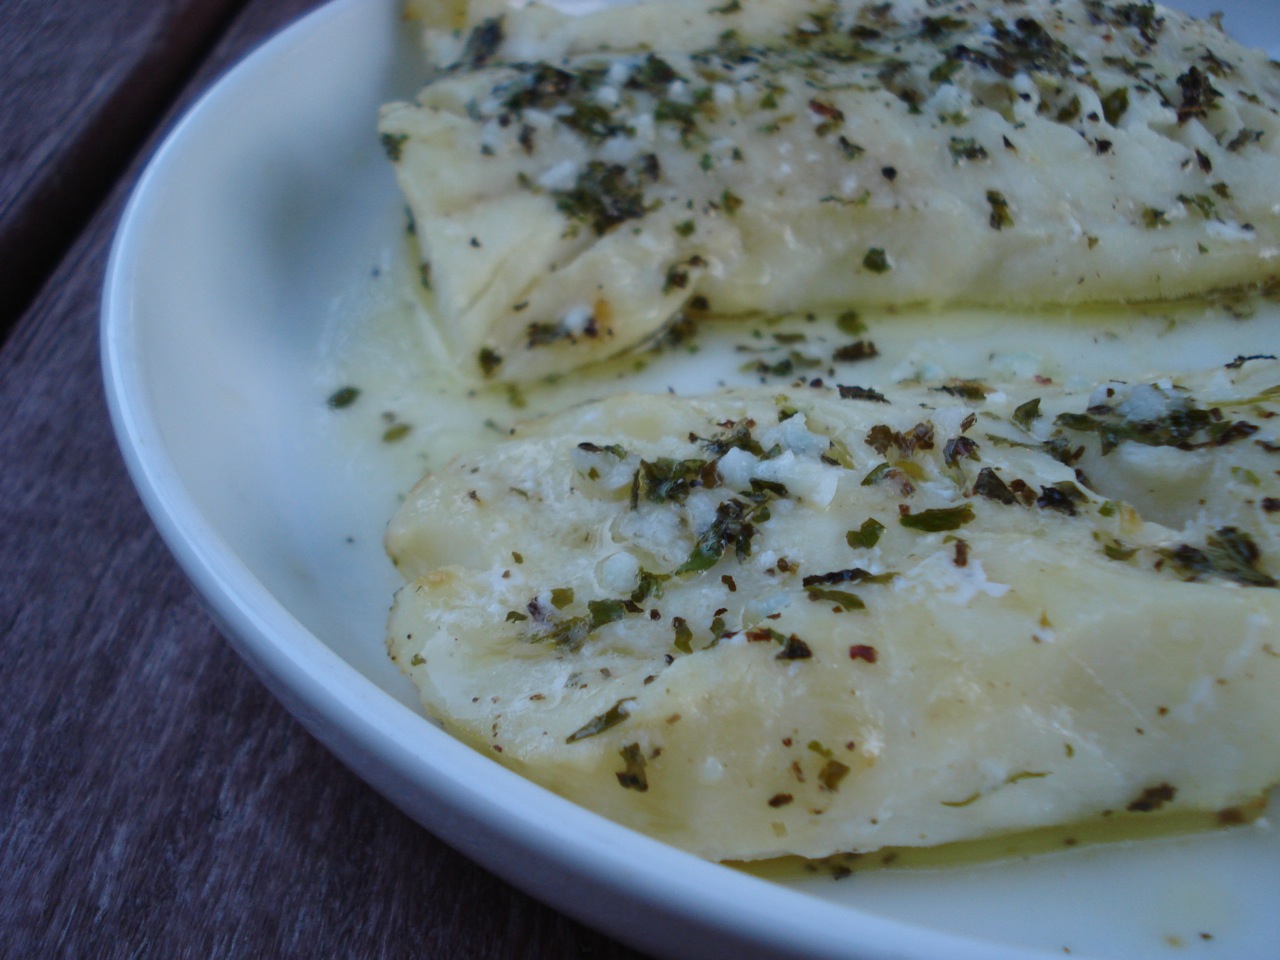
Halibut w/ Lemon Herb Butter

2 halibut fillets, about 6 to 8 ounces each
4 TBSP butter
2 large garlic cloves, crushed or finely minced
2 TBSP lemon juice
1/2 teaspoon dried leaf basil
1 tsp dried parsley (or 1/2 TBSP fresh)
pure salt and freshly ground pepper
lemon slices (optional)
fresh parsley leaves (optional)
- Set broiler to high.
- Place halibut fillets (skin side down if with skin) on buttered, broiler safe pan.
- In a small saucepan, combine butter, garlic, lemon juice, and herbs.
- Heat over low heat until butter is melted and garlic is softened, about 2 minutes.
- Use roughly 1/2 of the butter mixture to spoon over each fillet and set the other half aside.
- Sprinkle the fillets with salt and pepper.
- Broil halibut for about 10 minutes (turning the fish once, halfway through), or until it flakes easily when tested with a fork (keep the remaining butter mixture over very low heat while fish is under the broiler to gently cook the garlic).
- Drizzle the remaining butter sauce over the fish and garnish with parsley leaves and lemon slices, if desired.
Serves 2.
____________________________________________________________________________
SIDE NOTES:
~ A very easy and delicious way to prepare any type of fish. Enjoy! =)