A real-food, good-for-ya, and extremely tasty breakfast cereal…..
FOR THE CEREAL BASE:
3 cups buckwheat groats
3 TBSP coconut oil, melted
1/4 cup maple syrup (or approx 24 drops of liquid stevia)
1/2 tsp vanilla
2 tsps cinnamon
1/4 tsp pure salt
- Rinse buckwheat in fine mesh strainer and transfer to a large bowl.
- Add approximately 9 cups of water, and let sit at room temp, covered, anywhere from 1 to 6 hours.
- Rinse and drain well (in same fine mesh strainer) and set aside.
- Melt coconut oil gently over low heat and pour it into a large bowl (can use the same bowl you used to soak the buckwheat, just rinse & dry it first).
- Add maple syrup, vanilla, cinnamon, salt, and combine thoroughly.
- Add buckwheat groats and toss to coat.
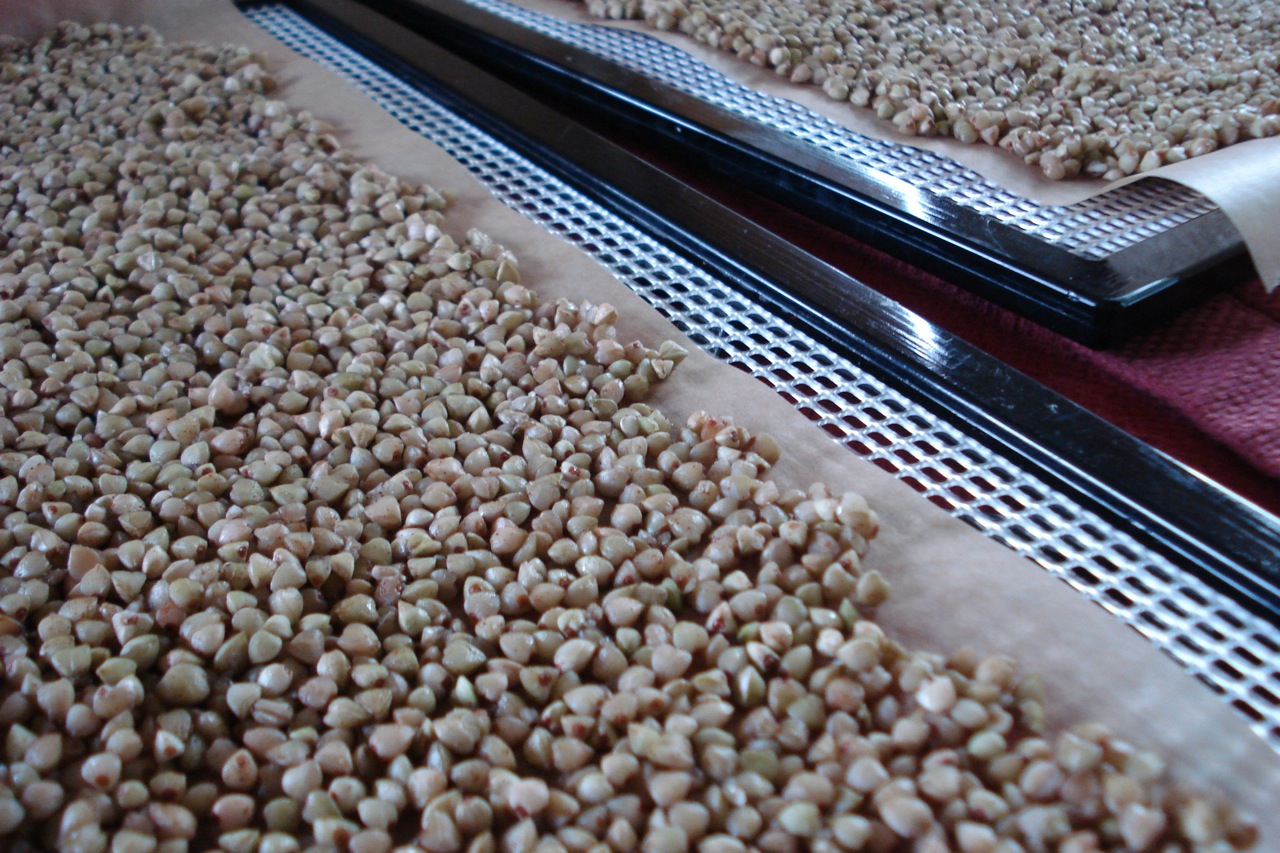
- Can either use a dehydrator or regular oven to dry the cereal. If you have a dehydrator – Spread buckwheat mixture onto 2 lined dehydrator trays, and dry overnight at 95 degrees. If you don’t have a dehydrator, spread the mixture onto a baking sheet and bake in the oven at 350 degrees for about 45 minutes or until dry and crunchy – check every 15 mins.
Makes approximately 8 servings.
________________________________________________________________________
SIDE NOTES:
~ Of course, if you find the cereal too sweet, or not sweet enough, adjust the amount of maple syrup.
~ This cereal can also be snacked on dry, as is, or tossed with a trail mix.
~ For a chocolate-y version of this cereal, click HERE.
~ See notes at the bottom of this page for more info on the difference between using a dehydrator and a regular oven (and a third option for using a convection oven).
Dairy Free, Gluten Free, Egg Free, Nut Free, Sugar Free, Vegan, Raw, Grain Free
If eating gluten free, careful with your choice of vanilla. If eating sugar free, use approx 24 drops of liquid stevia (or to taste) instead of maple syrup. If eating raw, be sure to dry the buckwheat over low heat in a dehydrator, use unheated coconut oil, whole vanilla bean, and raw honey in place of the maple syrup.
________________________________________________________________________
FOR THE ADD-INS:
In the morning, you can either scoop generous 1/2 cupfuls of the maple cinnamon buckwheat into individual serving bowls, and each person add the nuts/seeds/fruit they like (we generally use 1/4 cup nuts and 2 TBSP dried fruit per serving), OR – You can make up a big batch of a particular mish-mosh to keep on hand (especially great for when you’ll be traveling) by mixing all of the maple cinnamon buckwheat you prepared with 2 cups of nuts (and/or seeds), and 1 cup dried fruit of choice Of course, this is totally subjective – Toss in as much or as little of any add-in you like. Here are some ideas:
~ almonds
~ walnuts
~ pecans
~ cashews
~ hazelnuts
~ macadamia nuts
~ raisins
~ chopped dates
~ dried cranberries
~ shredded coconut
~ coconut flakes
~ sunflower seeds
~ hemp seeds
~ chia seeds
~ pumpkin seeds
~ ground flax seeds
~ sesame seeds
~ fresh or dried berries
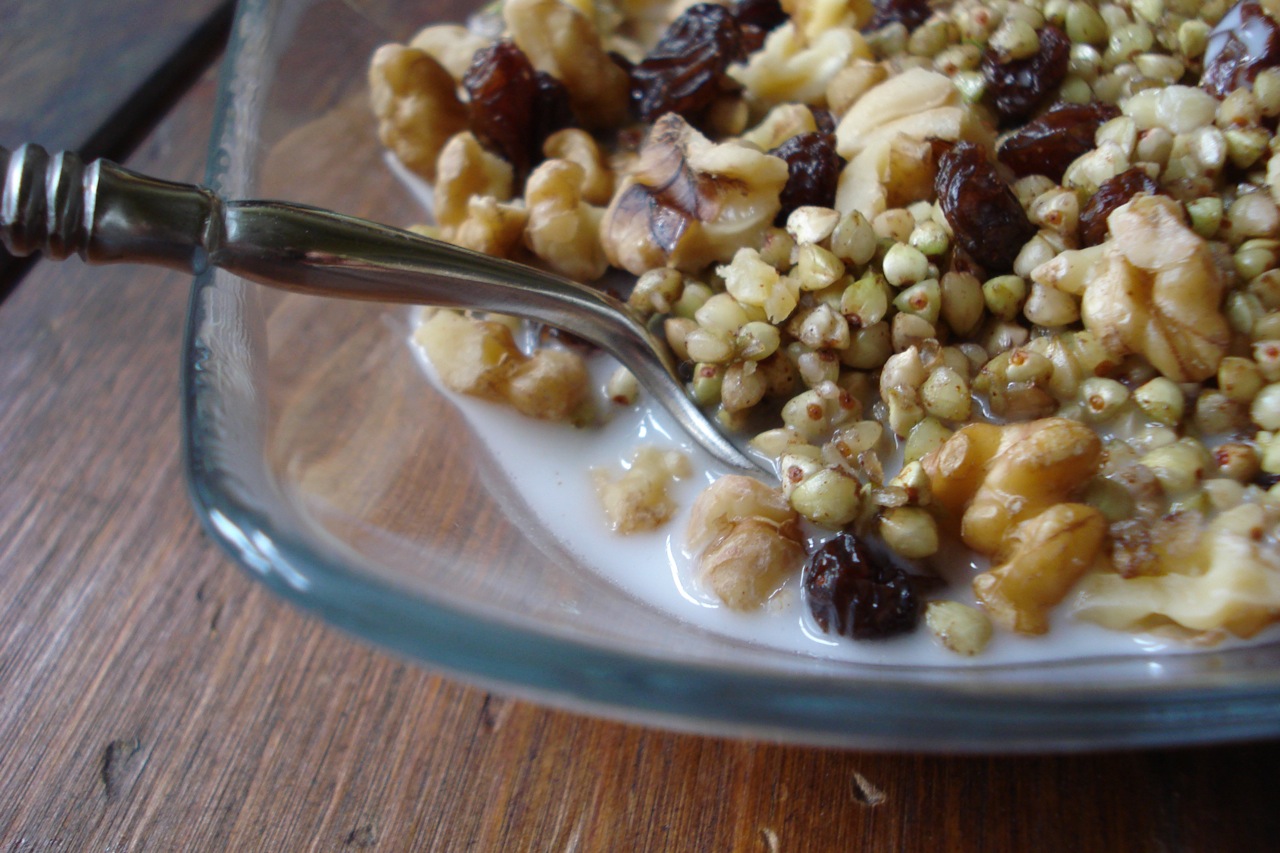
~ dried cherries (shown in photo above)
~ sliced fresh banana or banana chips
~ dried or fresh apples
~ dried or fresh pineapple
~ chopped peach
~ chopped pear
~ any exotic berry, nut or seed that you’re into!
~ sprinkle of cinnamon, ginger or nutmeg
We love walnuts, raisins, sliced banana or apple, and an extra sprinkle of cinnamon with this.
It can be served with your favorite milk or mixed with yogurt.
A tip for adding nuts…. If you’re making a big batch of this cereal to store for later use, and will be adding nuts, I don’t recommend chopping or breaking them – mix them in whole. As soon as nuts and seeds are broken or chopped, they tend to go rancid pretty quickly. This is why I prefer to keep my nuts separate from the cereal, and just break them apart over the top when we’re ready to eat.
Enjoy!
________________________________________________________________________
And by the way, I started making this cereal because of my friend Lynn who is a constant source of culinary inspiration for me. This past winter, she shared with me a taste of her homemade pecan/orange/cranberry cereal. My flavors are spin-offs of her original recipe.
This is the yummy version she shared with me and how she prepares it:
2 & 1/2 cups buckwheat groats
1/2 cup chopped pecans
1/4 cup maple syrup
3 T coconut oil
1/2 t orange extract (= 1/2 t orange zest)
1/4 t salt
1/2 cup dried cranberries
Soak buckwheat and pecans together for about 8 hours. Warm the coconut oil together with the maple syrup, orange extract and salt. Drain the buckwheat mixture, then toss with the coconut oil mixture. Spread on a tray and dry overnight in convection oven.** After they’re dry, add 1/2 cup dried cranberries.
A note from Lynn:
**A convection oven is just an electric oven with a fan. Mine goes down to 170, but you can “cheat” the thermostat down further. I’ve since found out that some convection ovens have a dehydrator setting.
________________________________________________________________________
So – Using a convection oven is another way to dry the buckwheat (or any other food for that matter).
Here’s the main point in regard to the various drying methods….. The lower the heat, the more nutrient dense the food (heat destroys all enzymes, and reduces vitamins & mineral content). This is why I own and use a dehydrator for drying my grains, nuts & seeds (and why I’d consider it option #1). At 95 degrees – all enzymes, vitamins and minerals are preserved (technically, 118 degrees is the number used most often in regard to the highest heat allowed that still preserves enzymes and other nutrients, but different sources have different opinions on this). Since my dehydrator goes lower, I just always keep it set to 95 degrees when it’s in use. Option #2 – If you have a convection oven with a “dehydrator” setting, this is your next best bet. Option #3 – Use a regular oven or convection oven set to the lowest temperature possible (usually 170 degrees) and experiment with how long it takes your food to dry. Option #4 – If you’re short on time, and simply want to dry any given food as quickly as possible, use higher heat for a shorter period of time (as mentioned above, drying the buckwheat in an oven set to 350 degrees will take 45 mins or less). The difference here is that you’re drying AND cooking, so fewer nutrients are retained. Of course, still always a much better option than pouring something pre-made out of a bag or box. Just wanted to point out the difference between the various methods.


-
terri


