1 can coconut milk (regular, not “light”)
1 & 3/4 cup water
OPTIONAL:
3 drops liquid stevia or other sweetener
- Heat coconut milk & water in a small saucepan over med-low heat for just a few minutes (just long enough to melt any solids & make smooth liquid).
- Stir or whisk occasionally as it’s heating up.
- Stir in stevia (or other sweetener) if using.
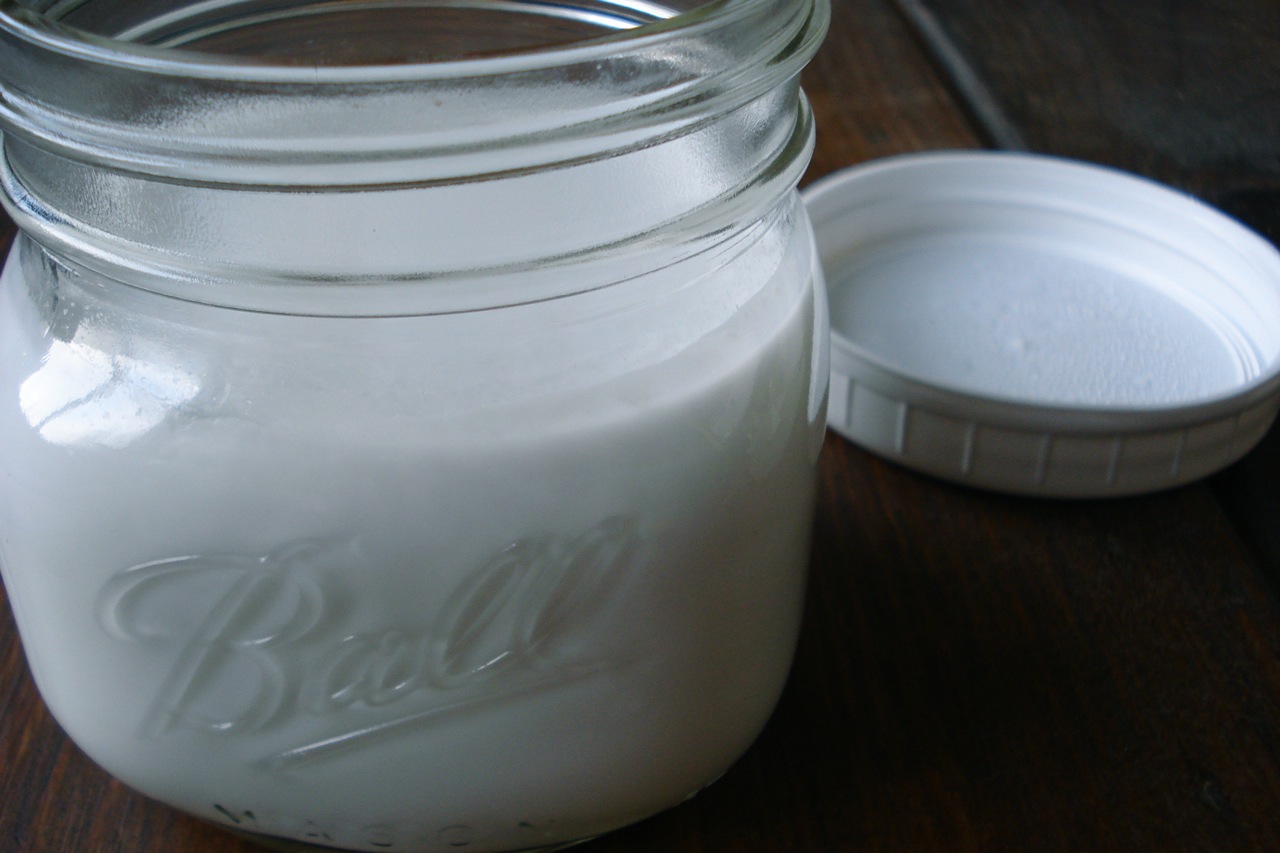
Store in covered glass jar in the fridge, and shake before using. Makes approximately 3 & 1/2 cups of milk
______________________________________________________________________________________
SIDE NOTES:
~ Adapted from “Eat Fat, Lose Fat.” This recipe is simply thinning out delicious, nutritious coconut milk to the consistency of typical milk. Makes it much easier to use. It’s extremely yummy over warm or cool breakfast cereals and in smoothies. We are coconut nuts over here (if you couldn’t tell!) =)
~ The reason why I always specify “regular” coconut milk, as opposed to “light” is because the oil portion of the coconut is what makes it such an amazing super-food, and the oil is what’s strained out to make “light” coconut milk. The “regular” version is much healthier and will not cause weight gain.
~ “Native Forrest” brand coconut milk is my favorite (smooth, silky & BPA free cans!).
~ Coconut milk has a delicious sweetness, all on its own. The original recipe calls for 2 tablespoons of maple syrup which we found disgustingly sweet. If you prefer maple syrup to stevia, start with 1 teaspoon and work your way up if need be. We actually don’t use any sweetener. We just combine the coconut milk water (1:1 ratio).
~ The original recipe also includes 1 tsp dolomite powder (best is made by a company called “KAL”) which theoretically would make this milk equivalent to cow milk in calcium content. The problem with this is that most sources state dolomite (a powdered rock substance) is not very absorbable by the body. Our best bet is to get calcium from foods such as green leafy vegetables (including sea vegetables), broccoli, seeds, nuts, and legumes. Personally, we do use additional, supplemental minerals, but we don’t mix them into our non-dairy milks. To each his own!
~ This recipe is a good alternative if you don’t have access to fresh, raw milk. A second option (if trying to avoid commercial milk) is to use pasteurized (not ultrapasteurized) cream and dilute it with water. The fat portion of milk (which is what cream is) is much less prone to damage by pasteurization than the water portion (which is what regular milk is comprised of), and at least the fats in cream have not been homogenized (a good thing indeed).
~ For more info on this topic, visit my DAIRY-INFO page.
Dairy Free, Gluten Free, Egg Free, Nut Free, Sugar Free, Vegan, Grain Free, Keep in mind, if eating raw, you need to make your own coconut milk using fresh or frozen (unpasteurized) coconut meat. Additionally, if eating dairy free/vegan, omit the whey or substitute hemp protein powder.Raw
________________________________________________________________
~ Another way to make your own coconut milk if you prefer a fresher version and/or to avoid guar gum (an additive in canned coconut milk) is to use unsweetened coconut shreds as follows:
(From www.tropicaltraditions.com)
– Add 7/8 cup of unsweetened shredded coconut to a blender
– Then add 1 cup of hot (but not boiling) water
– Blend at high speed for 2 – 3 minutes
– Set a colander over a large bowl
– Put a piece of cheesecloth over the colander (4 layers thick)
– Pour the pulp into the cheesecloth
– Squeeze the coconut milk through the cheesecloth into the colander
– Put the remaining pulp back into the blender
– Add 1/2 cup hot water
– Blend on high speed again for about 1 – 2 mins
– Pour the pulp back into the cheesecloth
– Squeeze more coconut milk into the colander
This method, although more laborious, only takes about 10 minutes.


