2 & 1/2 cups whole grain flour (I use spelt)
1 cup plain (unflavored) yogurt
6 TBSP butter (or ghee, or coconut oil), melted
1 TBSP maple sugar or sweetener of preference (optional)
1 & 1/2 tsp baking powder
1/2 tsp sea salt (plus extra for sprinkling over the top)
2 TBSP sesame seeds, toasted
See below for VARIATION 1 – onion & garlic, or VARIATION 2 – onion, garlic, rosemary & black pepper
_______________________________________________________________
AHEAD OF TIME:
- Mix flour with yogurt, cover, and place in a warm area for 12 – 24 hours (see notes).
_______________________________________________________________
TO MAKE THE CRACKERS:
- Preheat oven to 350.
- Toast sesame seeds in a dry skillet (shake or stir them around a bit) on low heat for just a few minutes (careful not to burn) and transfer to a small bowl to cool.
- Combine flour mixture, melted butter, sugar (if using), baking powder, and salt in a food processor (with regular S blade) and blend thoroughly.
- Add sesame seeds and pulse just a few times to combine.
- Place dough onto a well floured cookie sheet, and use the back of a spoon to stretch the dough as close to the edges of the pan as possible (dough should be about 1/8 of an inch thick).
- Smooth out the dough with a rolling-pin.
- Use a pizza cutter (or butter knife) to cut the dough into cracker size squares (no need to cut all the way through, the crackers will easily snap apart after baking).
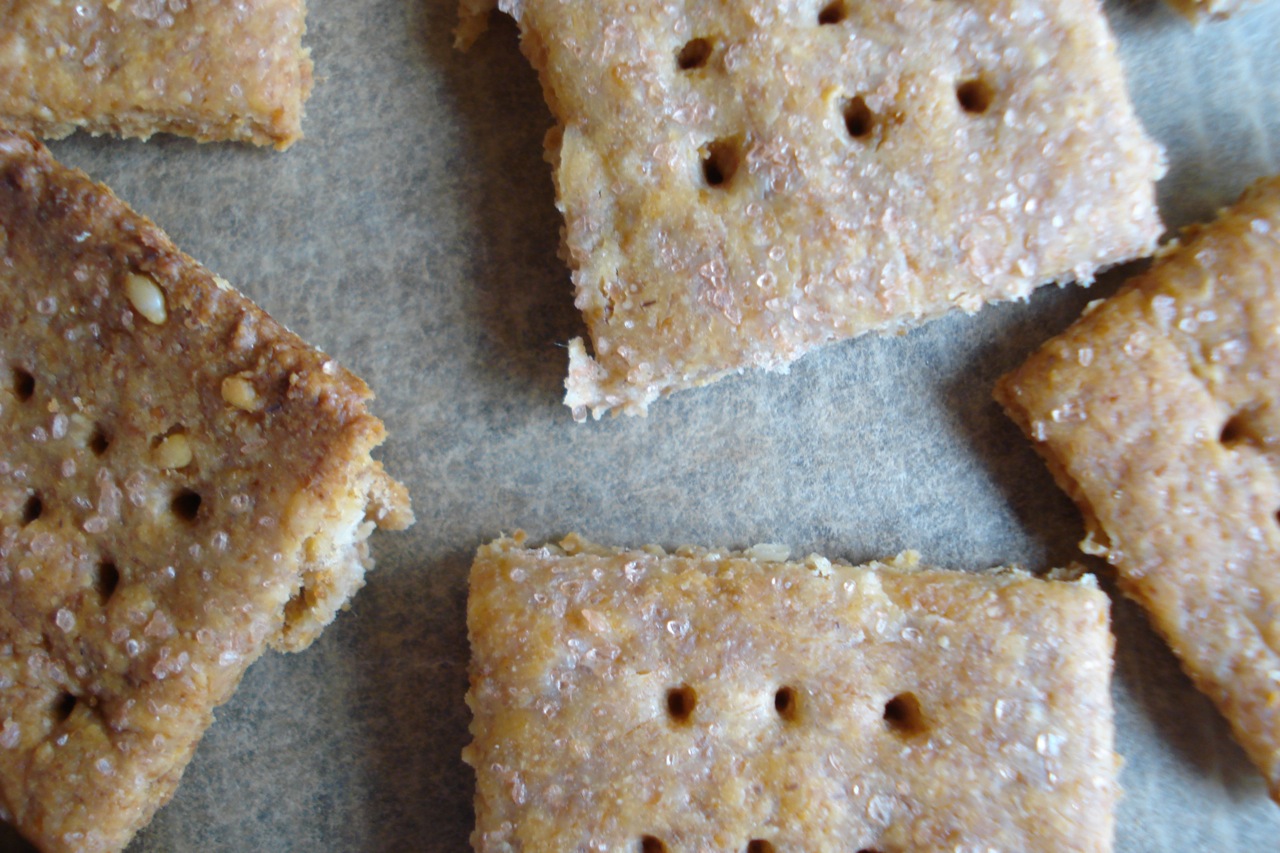
- Use a fork to poke a few holes in the crackers.
- Sprinkle generously with salt.
- Go over it lightly one last time with the rolling-pin so the salt sticks to the dough.
- Bake at 350 for approximately 45 minutes (or longer) until completely dry & crisp.
Store in sealed container in the fridge.
_____________________________________________________________________________
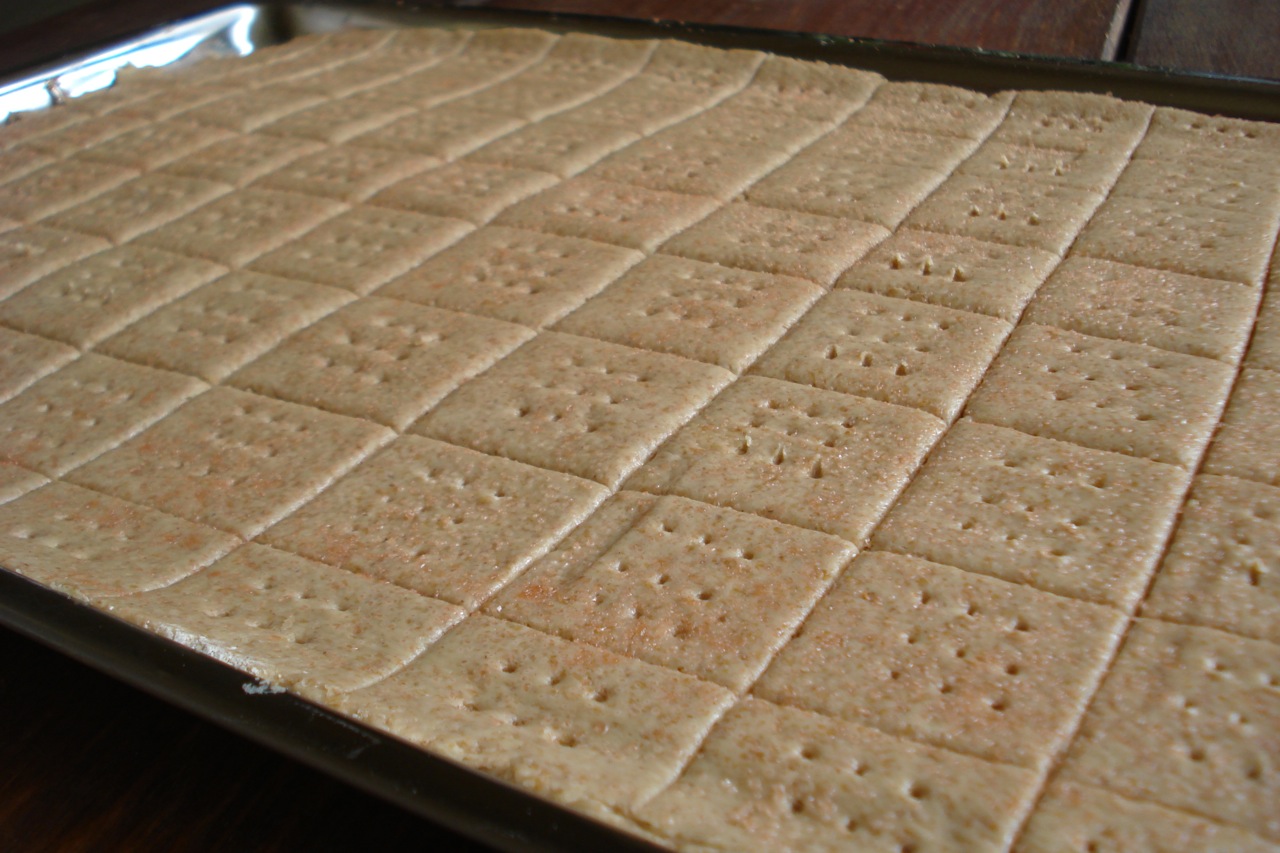
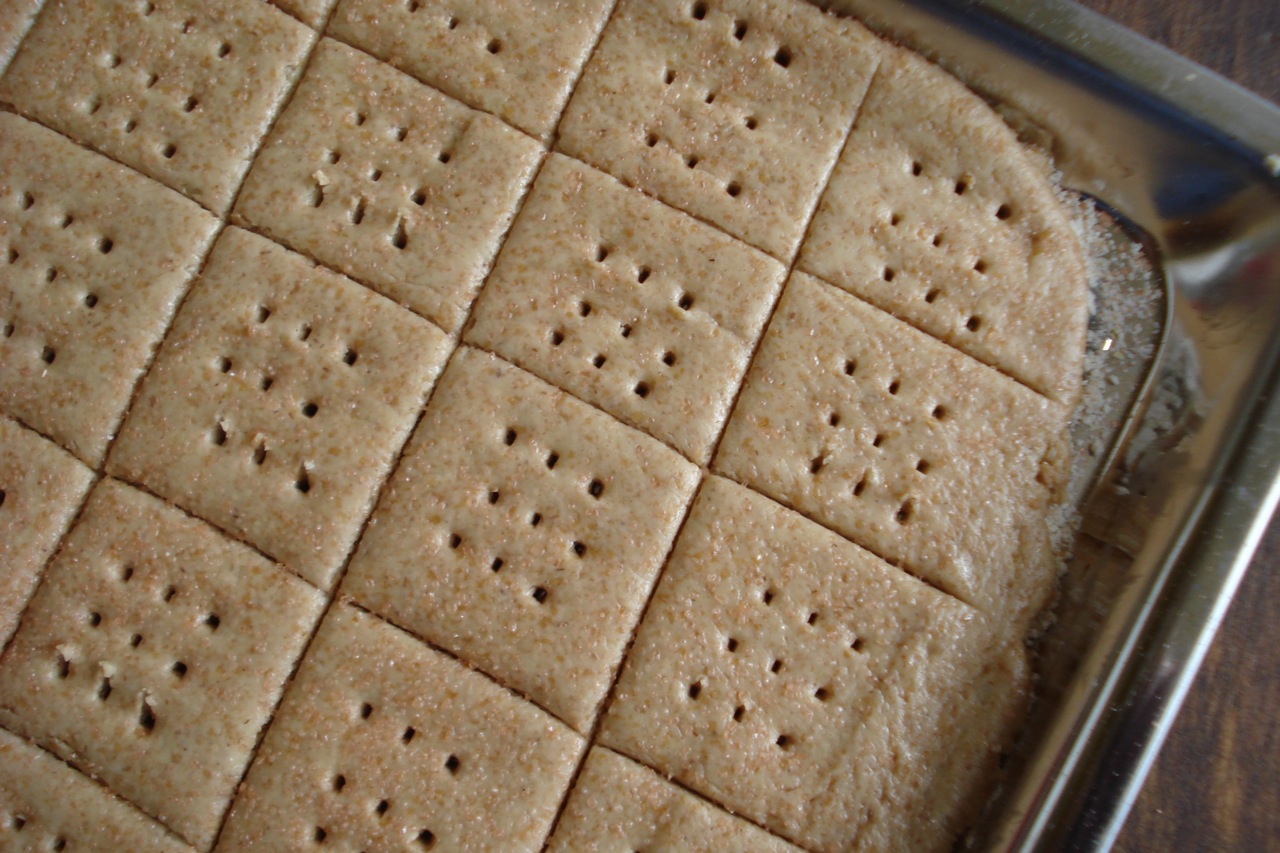
Your pan will look like this just before you put it in the oven:
(If you’re wondering what the pink hue is….That’s my pink salt!)
______________________________________________________________________________________
SIDE NOTES:
~ After testing, trying & tweaking, this is my version of a sourdough cracker. We think they’re very tasty – extremely flavorful. All 4 of us devour them. I’ve been making batches often.
~ I like to use my own, freshly ground flour. I know… talk about little house on the prairie… But don’t put me in a little white bonnet yet. I swear, there’s nothing to it using my Vitamix. I just add 1 & 3/4 cups of spelt kernels (to my dry carafe blender), flip a switch, and 1 minute later, I have 2 & 1/2 cups of flour. Can’t get any fresher (or easier) than that. This can be done with any grain (wheat, rye, oats, rice…etc). I appreciate the fact that fresher (whether we’re talking about carrots, milk, flour, or whatever…) always means more nutrient dense. That’s why I do it – super healthy and super easy. My Vitamix distributor code is 06-004158 in case anyone’s interested in buying this “easy to be Ma Engles” machine.
~ I mix the flour & yogurt in a glass pyrex bowl that has a glass cover (corningware with a glass cover would also work, or even a stainless steel pot with lid). Once combined, I place the covered bowl in the oven, using only the heat from the oven light for warmth (in other words – don’t turn the oven on – just the oven light). Anytime the next day, when it’s convenient, proceed with the recipe. Just remember to relocate your flour mixture before you pre-heat the oven.
Dairy Free, Gluten Free, Egg Free, Nut Free, Sugar Free, Grain Free, Vegan, Raw
If eating sugar free, substitute lakanto or stevia for the maple sugar. You can make this dairy free by substituting lemon juice for the yogurt (to sour the dough) and coconut oil instead of ghee (though make note – I have not tested this variation myself).
~ I use ghee for this, but butter or coconut oil also work well.
~ Be sure to use “aluminum free” baking powder. This is one way to preserve the integrity of your brain cells if that’s of interest =)
~ If you’d like, you can sprinkle extra sesame seeds over the top of the crackers before you give them that last once over with the rolling-pin.
~ You can use any flour you happen to have on hand to flour the pan. OR – do what I do and line the pan with a silicone baking sheet. The first time I made these, I put the dough directly onto a floured pan, but ended up struggling to remove the crackers after they were baked. Sadly, I really beat up one of my favorite stainless steel cookie sheets. Since we really liked the crackers, and I knew I’d be making them regularly, I invested in a silicone baking sheet ($10). If you decide to do the same, just be sure to purchase one with dimensions that work with your pan. (Of course, it was an absolute breeze using the silicone liner, or I wouldn’t be recommending it.)
~ Worth noting, the dough will be on the wet/sticky side. I find it’s easier to spread the dough with the back of a spoon, initially. Then, once the dough is stretched to all ends of the pan, use the rolling-pin to smooth it out. If you don’t have a rolling-pin, and really don’t want one, you can do without it as long as you don’t mind your crackers not looking as nice (the surface will be a bit uneven and wrinkled). They will taste the same. If you happen to have a tall smooth glass, you can use that as a rolling-pin.
~ If you decide to buy a rolling-pin for this recipe, you specifically need a “french rolling-pin” which doesn’t have handles (otherwise, you won’t be able to roll the dough to the edge of the pan). My husband made me one, very easily many years ago (by buying a wooden dowel and cutting it to fit my pan). You can also just buy one like this: http://www.amazon.com/World-Cuisine-Wood-French-Rolling/dp/B001AS030I.
~ Keep in mind, there are so many possible VARIATIONS for these crackers. Try blending a teaspoon of any of the following seasonings with the dough: garlic powder, onion powder (or dried minced onion flakes), dried rosemary, poppy seeds, black pepper, parmesan cheese, sunflower seeds (2 TBSPs), pumpkin seeds (2 TBSPs), sliced olives (2 TBSPs), or any other seasoning that sounds good to you. So far, I’ve made 2 variations as follows: 1) 1/2 tsp garlic powder and 1/2 tsp onion powder (added to food processor with all other ingredients). 2) 1/2 tsp garlic powder, 1/2 tsp onion powder, 1/2 tsp black pepper, and 1 tsp dried rosemary. Feel free to experiment with combinations of spices, herbs & seeds that sound good to you.
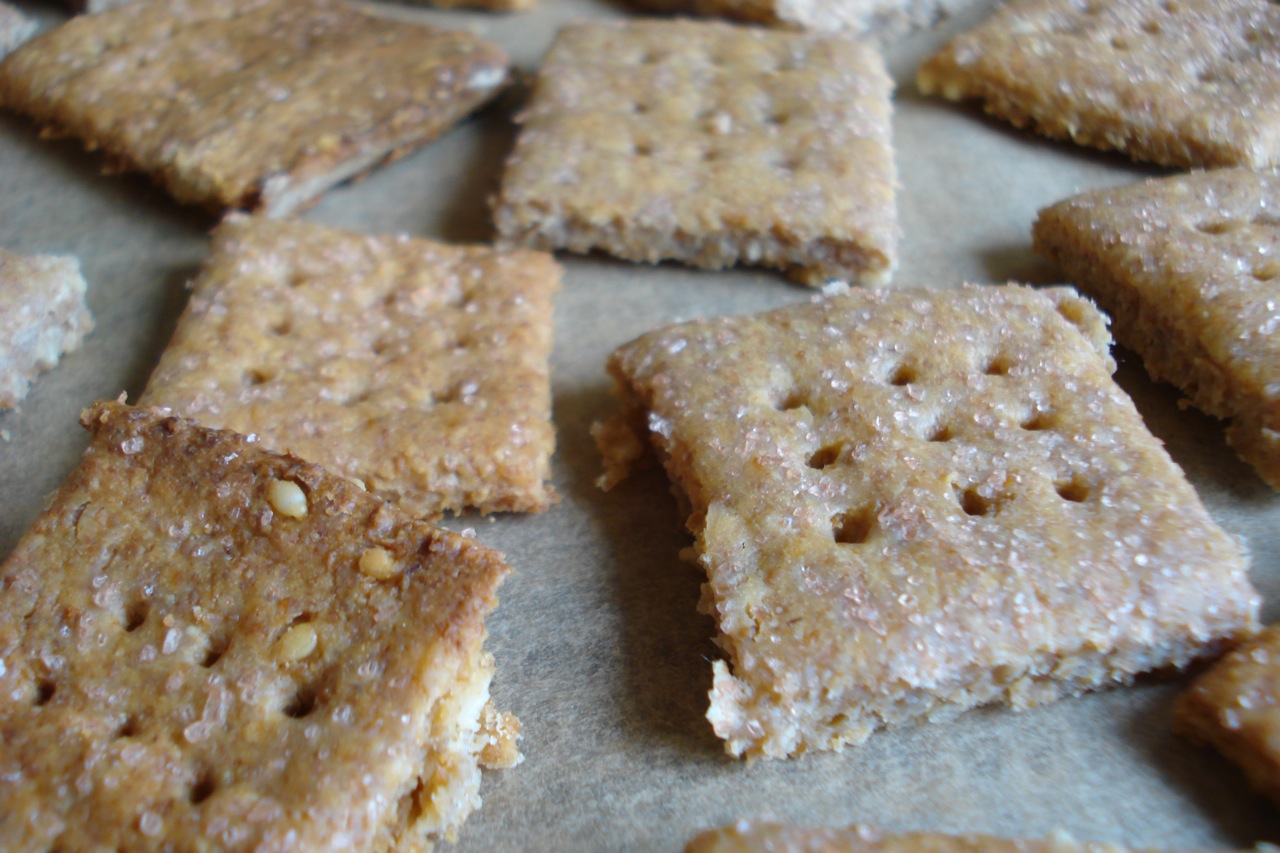
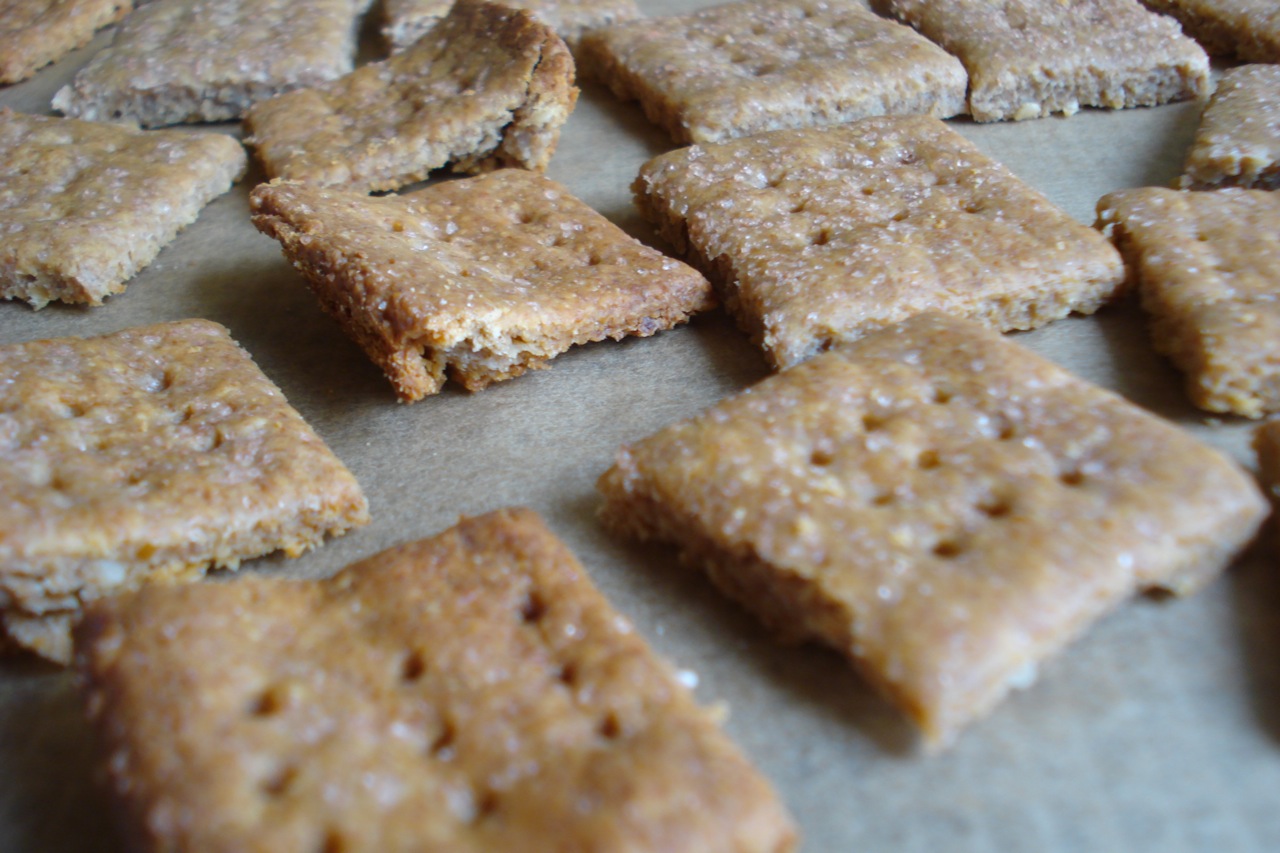
~ I can’t tell you how many times I’ve come close to dumping the batter of some baked good in the garbage because it just looked totally wrong & seemed there was no way it was going to turn out right. I always resist the urge to dump though, and continue on with the baking (with at least a small glimmer of hope). Surprisingly enough, it always turns out – even in those cases I was convinced I was wasting my time by continuing. For instance, the consistency of the dough the first time I made these crackers took me by surprise (I didn’t expect it to be so wet & tacky) and I ended up making a mess with it. In the end, even though they were hard to remove from the pan, we ended up w/ delicious, nice looking crackers (all photos on this page are from that first time). The moral of the story… No matter how wrong it seems to have gone, just carry on & you’ll most likely get something delicious out of it anyway, even if the texture or appearance isn’t perfect.
~ And I’m not sure why, but people can’t believe I poke all those holes in the crackers. It only takes about 2 minutes, so it’s really nothing to gasp about. I mean – I wouldn’t want to do it using a tooth pick, but with a fork, it’s quick & easy. Wanted to mention that in case anyone reading is under the impression that part is some sort of big deal. It’s not =) [And by the way, the reason you do it is to prevent the dough from rising. It also makes the crackers look cute.]


