Corn Bread
6 eggs
1/3 cup butter or ghee, melted
1/3 cup honey
1/2 tsp pure vanilla extract
1/2 tsp pure salt
1/4 cup coconut flour, sifted
1/2 tsp baking powder
1/3 cup cornmeal
- Mix together eggs, butter, honey, vanilla, and salt.
- Combine coconut flour, baking powder, and cornmeal, and whisk into batter until there are no lumps.
- Fill greased 8X8 square baking dish. Bake at 400 degrees for 18 – 20 mins.
______________________________________________________________________________________
SIDE NOTES:
~ Adapted from Cooking with Coconut Flour.
~ Nothing like a bowl of chili when it’s chilly 😉
~ Click here for ——> SMOKEY-TEMPEH-CHILI, or here for——–> EASY-BLACK-BEAN-CHILI
~ The batter will be extremely thin & liquidy. This is normal. Just pour it into baking dish & bake as directed.
~ Check the center with a toothpick to know when it’s ready.
~ In my opinion, this is the only quick bread of the bunch that does not work with coconut oil. Butter or ghee will yield best results.
Dairy Free, Gluten Free, Egg Free, Nut Free, Sugar Free, Grain Free, Vegan, Raw
If eating gluten free, be careful choosing your vanilla.
~ Alternately, you can make muffins with the same batter (makes 12 small muffins)
______________________________________________________________________________________
For those who prefer to bake with white flour and sugar, here’s a more traditional, very tasty recipe:
1 & 1/4 cups unbleached white flour
3/4 cup cornmeal
1/4 cup sugar
2 tsps baking powder
1/2 tsp pure salt
1 cup milk of choice
1/4 cup oil
1 egg
- Preheat oven to 400 degrees.
- Grease an 8 inch square baking pan.
- Mix all ingredients.
- Pour batter into pan.
- Bake 20 – 25 mins.
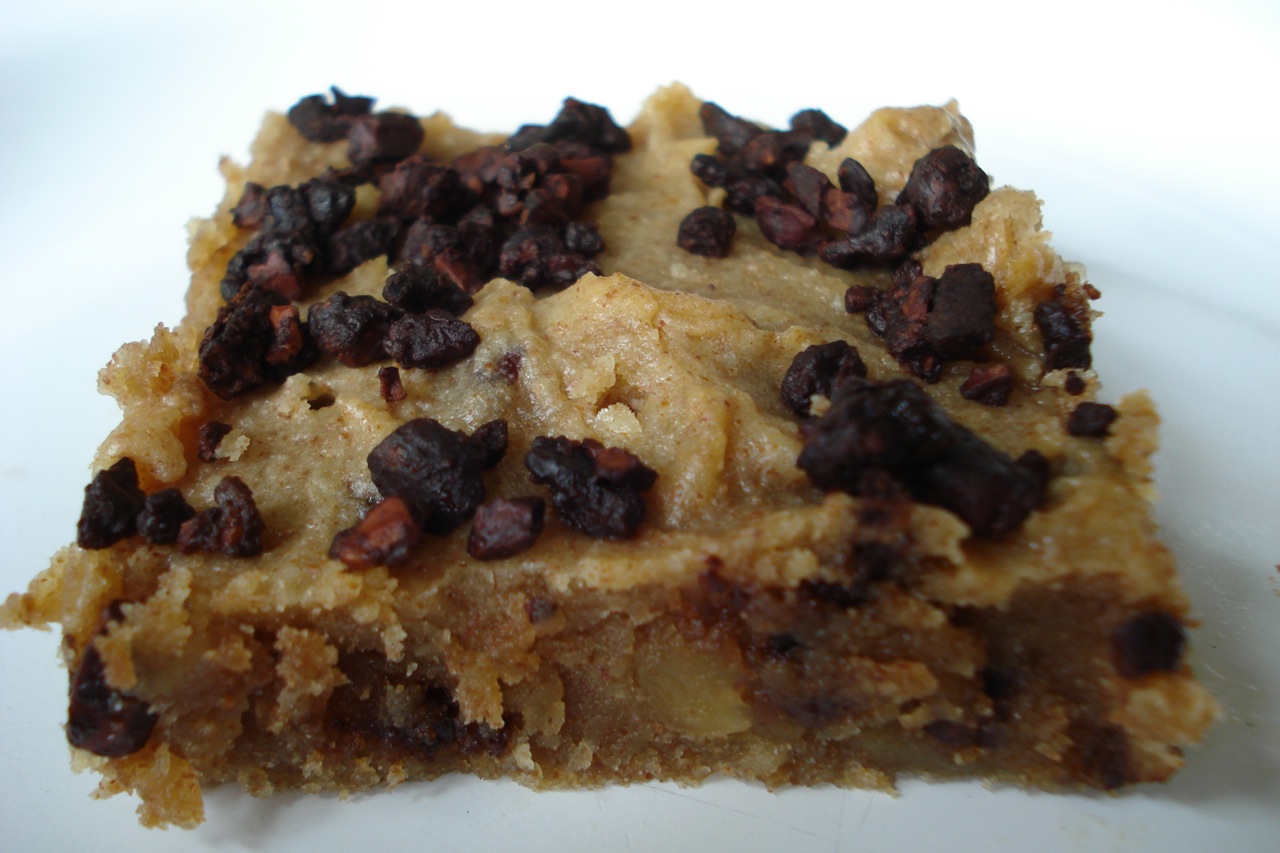
Blondie
A sweet treat in honor of Halloween…. 🙂
2 eggs
1/4 cup honey
1/4 tsp vanilla creme liquid stevia**
1 cup almond butter (or other nut-butter)
1/4 tsp pure salt
2 TBSP coconut flour, sifted
1 TBSP brown rice flour
1/4 cup high quality choc chips (or nibs)
2 TBSP coconut oil, melted
1/4 cup chopped walnuts (optional)
choc chips for sprinkling over the top
- Preheat oven to 325 degrees.
- Mix together all ingredients except walnuts and second round of choc chips.
- Fold in walnuts.
- Press batter into well greased square baking dish.
- Top with chocolate chips.
- Bake for 25 mins.
______________________________________________________________________________________
SIDE NOTES:
~ Adapted from The Spunky Coconut Cookbook.
~ **SweetLeaf makes the vanilla creme liquid stevia, but you can use whatever kind you want (might want to also add a bit of vanilla extract if substituting regular stevia).
~ It’s best to combine the first 8 ingredients together, then mix in the melted coconut oil (this is so the cold eggs don’t harden the oil).
~ Make note: Since nibs are smaller than chips, you need less (3 TBSP nibs mixed into batter & 2 or 3 TBSP over the top).
~ I use coconut oil to grease the pan.
~ Freezes well (I cut into single servings before freezing).
Dairy Free, Gluten Free, Egg Free, Nut Free, Sugar Free, Grain Free, Vegan, Raw
If eating dairy and/or gluten free, be careful choosing your chocolate chips. If you can’t eat nuts, but can tolerate sunflower seeds, use sunbutter and omit the walnuts (or substitute sunflower seeds).
~ For our old standby Halloween treats, click here —-> PEANUT-BUTTER-CHOCOLATE-BARS
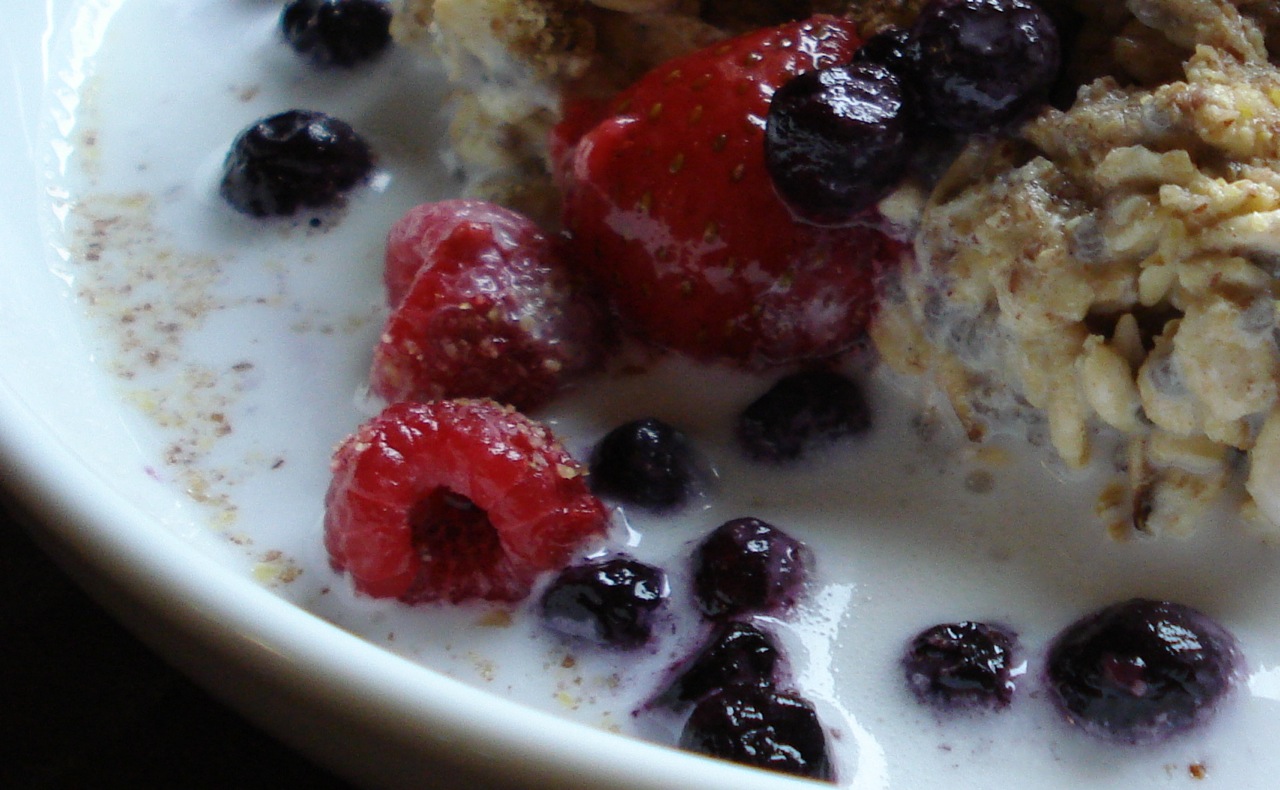
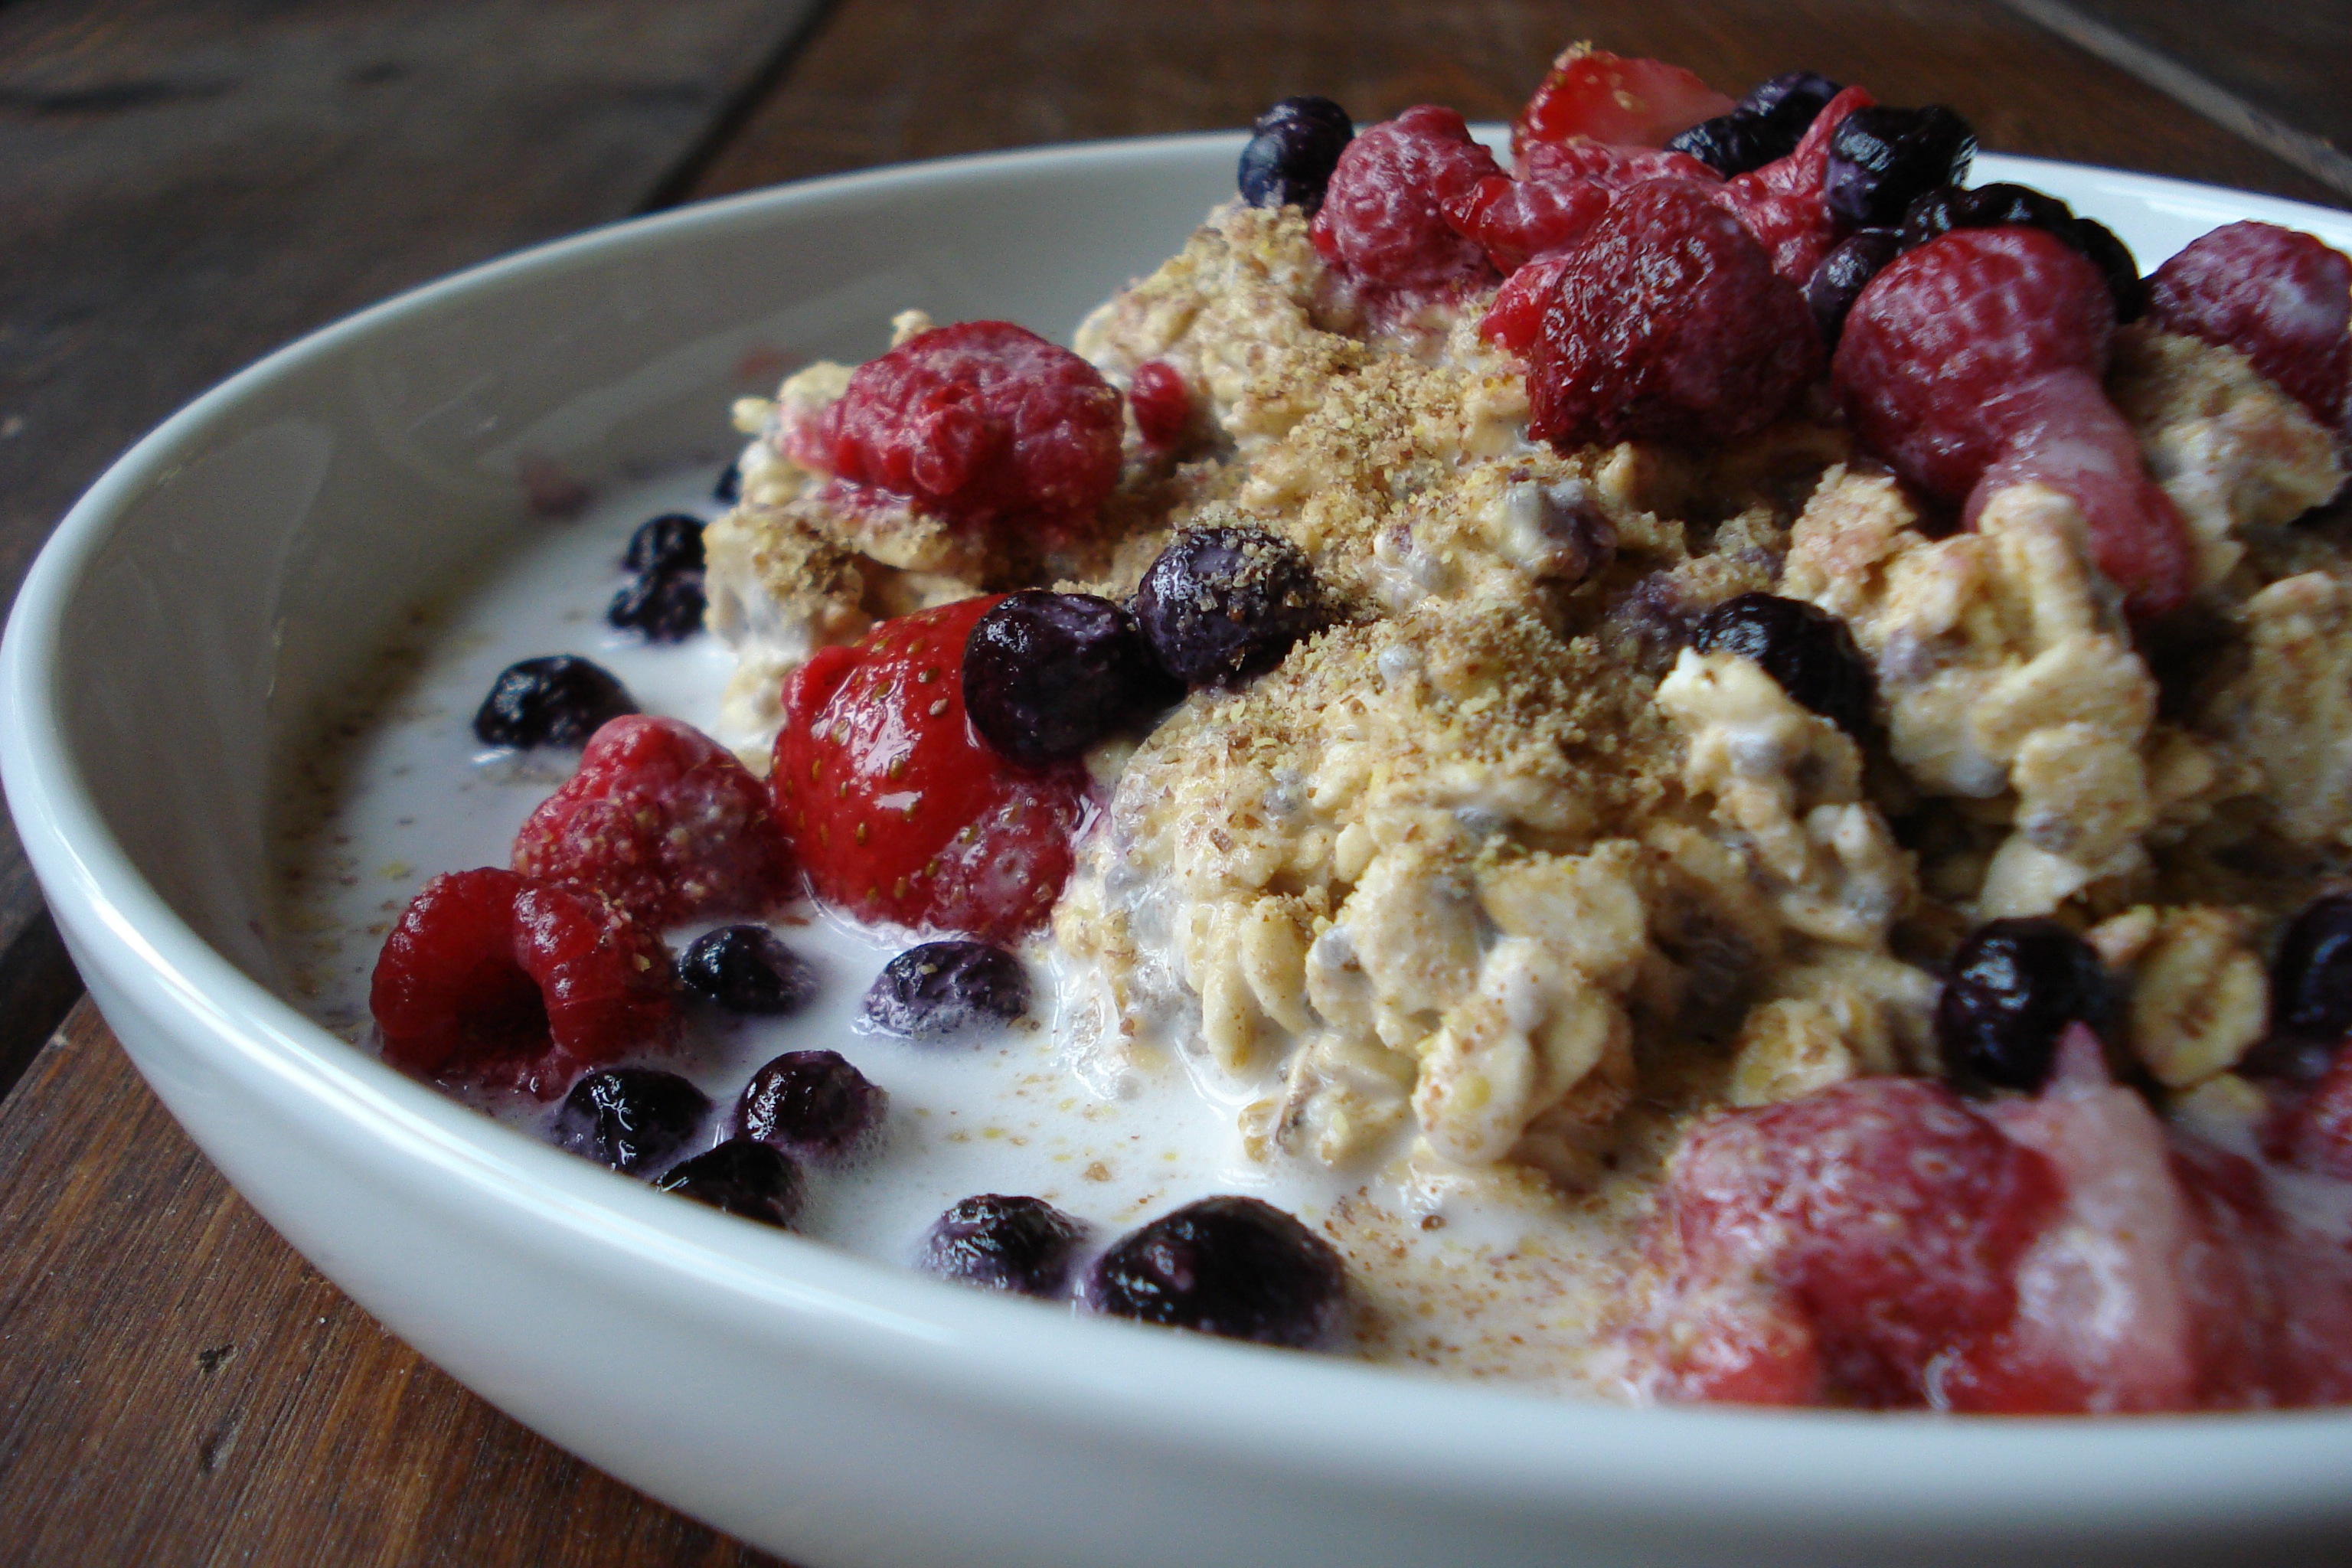
Refrigerator Oatmeal
Yet another version of oatmeal we like for variation, moreso in the warmer months….
1/2 cup rolled oats
1/2 cup milk of choice
1/2 TBSP chia seeds (optional)
1/8 tsp cinnamon
1/2 TBSP ground flax seeds
berries
extra milk for serving
- Before bed, mix together oats, milk, chia seeds, and cinnamon.
- Cover and place in refrigerator over night (I use a glass pyrex bowl w/ lid).
- In the morning, sprinkle ground flax, berries, and milk over the top.
Serves 1.
________________________________________________________________________
SIDE NOTES:
~ Adapted from http://poetryoffood.com/stories/greens-grains
~ This is another super easy way to eat old-fashioned oats. No cooking required! We call it “ice cream sundae oatmeal” because of the way it looks – and it’s just delicious. We don’t use a sweetener for this one, but of course, do what works for you (we tend to use coconut milk which for us, gives it just enough natural sweetness).
~ I do take it out of the refrigerator as soon as I get up in the morning & let it sit on the counter so it’s not super cold. Digestion is just starting to rev up in the morning – & the process is like starting a warm, little fire in the belly. It’s not the best option to eat or drink something ice-cold, especially first thing in the morning, as it tends to put out the digestive “fire” our body is trying to start for the day. Of course, if you’re in a hurry, you can eat it straight from the fridge, but this info is at least good to know, as even for those who have little time in the morning, they can easily let it sit out while they brush/shower/dress, even if it’s only 20 mins (I usually let mine sit about an hour).
Dairy Free, Gluten Free, Egg Free, Nut Free, Sugar Free, Vegan, Gluten Free, Raw
If eating dairy free, use coconut milk or another non-dairy option. If eating strictly gluten free, be sure to use certified gluten free oats. Although this recipe appears to be raw, rolled oats (and even steel cut as well as most oat groats for that matter) are toasted and/or steamed during processing. If you want to turn this into a truly raw breakfast, seek out raw oat groats (not easy to find) and roll them yourself, and make your own coconut milk from fresh or frozen (unpasteurized) coconut.
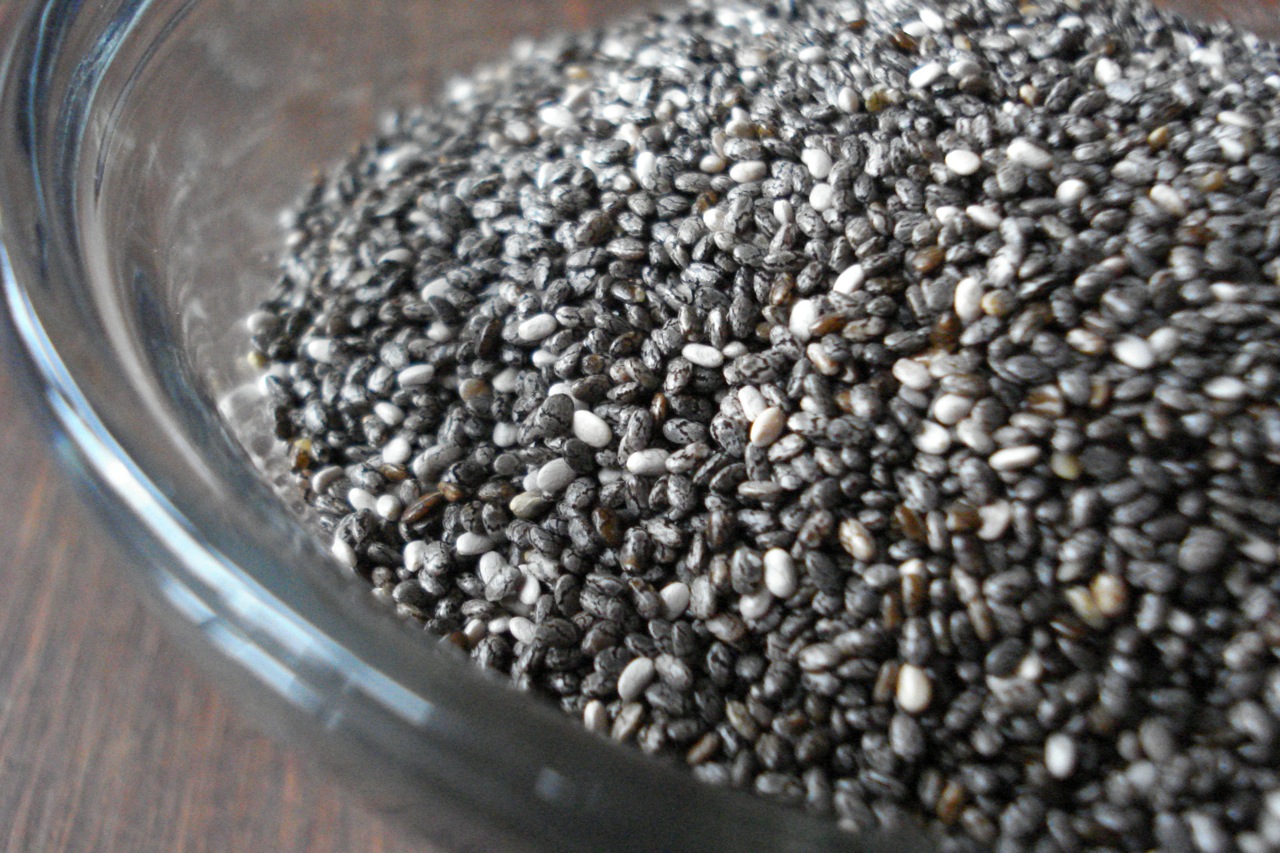
~ Chia seeds are an excellent vegetarian source of omega fatty acids (next best after flax), an easily digestible form of protein, and are full of antioxidants, minerals, vitamins & soluble fiber. They don’t really have much of a flavor, but add texture. Easy to add to salads, smoothies, and breakfast cereals. Although they’re tiny little seeds to start with, they expand quite a bit when added to liquid. If you prefer, you can do without them for this oatmeal, but keep in mind it’s an excellent (& effortless) way to get a true power food into your life.
Traditional Breakfast Porridge
1/2 cup rolled or steel cut oats (can use gluten free oats)
1/2 cup water (for soaking)
1 TBSP plain yogurt (or lemon juice if dairy intolerant)
1/2 cup water (for cooking)
1/4 tsp pure salt
1/2 TBSP ground flax seeds
(real) butter (or coconut oil)
sweetener of choice
- Before bed, mix oats, 1/2 cup water & yogurt together in small saucepan.
- Cover & leave in a warm place overnight (see notes below).
- In the morning, bring an additional 1/2 cup of water to a boil in a separate pot or tea kettle, then add it to the oat mixture, along with the salt.
- Stir once to combine, then cover & cook over medium low heat for a few mins (3 – 5).
- Remove from heat & stir in ground flax.
- Add toppings of choice.
Serves 1.
________________________________________________________________________
SIDE NOTES:
~ From “Nourishing Traditions.”
~ For those who have to rush out the door in the morning, but would like to be able to enjoy a warm, nutritious breakfast – this will do the trick. It usually comes around twice a week at our house and the kids say “Yay.” I do too, especially because it’s the easiest breakfast I make. I quadruple this recipe to feed a family of 4.
~ To soak the oats, stir together the oats, water & yogurt in the pot you plan to cook in the next day. Cover the pot and place it in the oven with the oven light turned on (in other words – I don’t turn the oven on – just the oven light).
~ If possible, grind flax seeds just prior to serving, as pre-ground flax tends to go rancid pretty quickly due to the high oil content. Cuisinart has a nut/seed grinder (very similar to a coffee grinder) with removable, dishwasher safe parts. This is what I use & it’s pretty effortless. I keep my flax seeds in the fridge, and just pulse them for a few seconds in the grinder when I need a tablespoon or 2. Alternately, if you can’t find a seed grinder, you can simply use a coffee grinder (but the grinder should be dedicated solely to nuts & seeds – if you do grind coffee beans, you should have a separate machine).
~ Grains that are fermented (as are the oats in the above breakfast porridge) are extremely nutritious. The fermentation process breaks down hard to digest proteins and encourages the production of many beneficial enzymes (which actually increase the amount of many vitamins – especially the B vitamins). The end result is a very nutritious, easy to digest food. However, depending on your taste buds – this may be somewhat of an acquired taste. Think sourdough bread – it’s something like that. For us, it only took a couple of tries before it became our oatmeal of preference, especially in the winter months. I do remember though, that the thought of this recipe didn’t sound too appealing at first, and I automatically assumed it would be a flop for the kids – but that didn’t stop me from trying it. We’ve been eating it for a couple of years now, and in all honesty, the kids absolutely love it. You never know until you give it a try, but remember, this one may need 3 or 4 tries before it clicks. If it’s simply not happening, try OATMEAL-&-BERRIES for a version of soaked oatmeal that is not fermented.
~ Adding high quality butter, cream or coconut oil will help you absorb the fat soluble vitamins in the oats (in addition to providing nutrients of their own).
~ Try a little date sugar (pictured above), maple sugar, or maple syrup over the top. Or, mix in a few drops of liquid stevia to sweeten without sugar.
I am so into breakfast! It’s my favorite meal of the day.
Dairy Free, Gluten Free, Egg Free, Nut Free, Sugar Free, Vegan, Grain Free, Raw
If eating gluten free, be sure to use certified, gluten free oats. If eating dairy free, use lemon juice instead of yogurt and coconut oil instead of butter. If eating sugar free use stevia or lakanto instead of sugar.
Crispy Kale
1 bunch of kale
coconut oil, melted
pure salt
- Preheat oven to 375.
- Fold kale leaves in half (lengthwise) at the stem, and with one slice, cut the stem out & discard.
- Tear or cut the kale into bite sized pieces.
- Pour some oil into a large bowl, add the kale and toss well to combine.
- Spread the kale onto 2 baking sheets and sprinkle with salt
- Bake until crispy but not burnt (should take approx 10 to 15 mins).
______________________________________________________________________________________
SIDE NOTES:
~ This is a really simple, yummy way to serve kale. Extremely kid friendly. To us, kale cooked this way tastes somewhat like roasted cauliflower (which we happen to love). In addition to (or instead of) the salt, you can add any spices/herbs you’re in the mood for.
~ Try to have the kale dry before you add it to the bowl w/ oil. If you wash the leaves before you cut them, just pat them dry with a clean towel. If you wash after cutting, I find it easy to just whirl the greens in a salad spinner which gets rid of most of the water within just a few seconds.
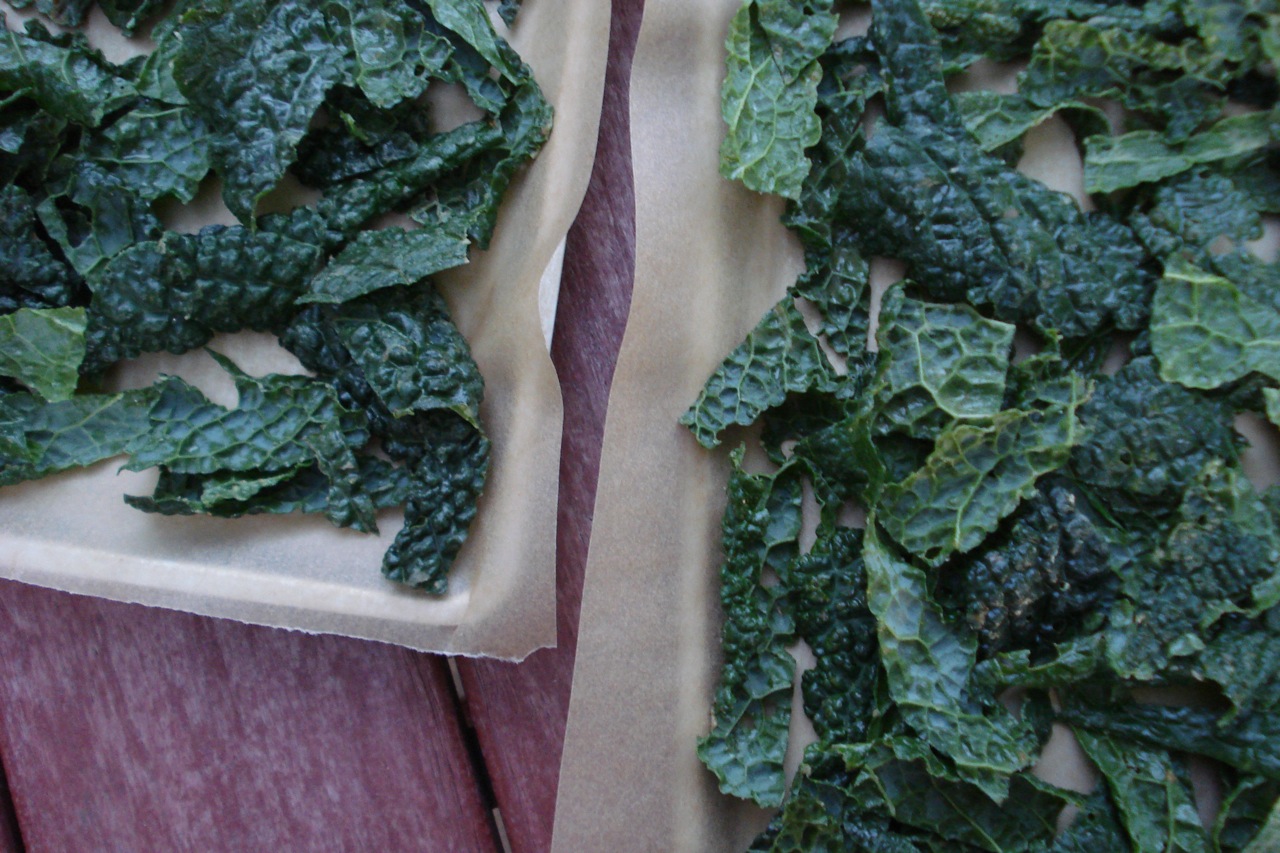
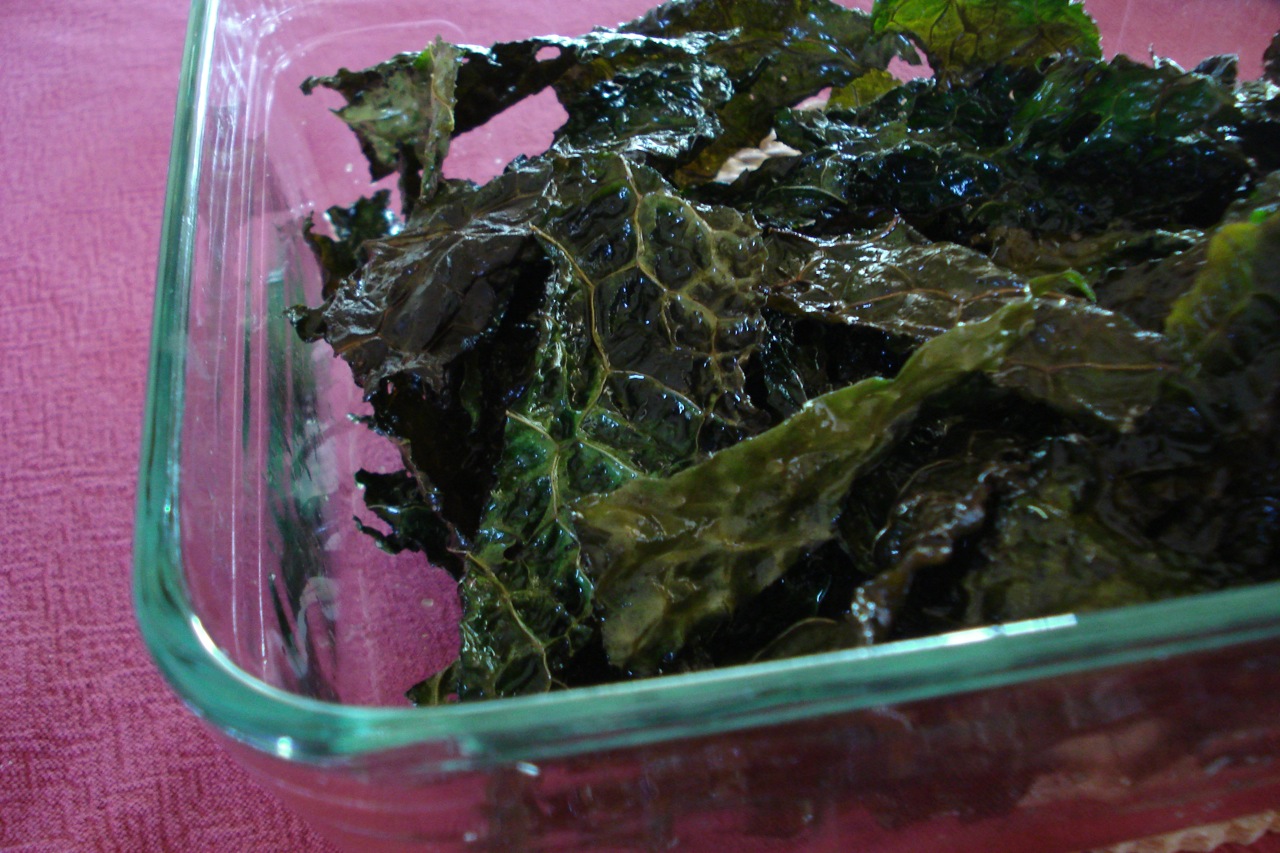
~ If you use curly kale, you won’t need to flip the pieces halfway through. If using flat kale, you might need to flip the pieces once so both sides get crispy. Obviously, if you have the choice, get curly kale. Pictured on this page is flat kale (that’s what I happened to have on hand from my CSA farm) The photo up top was taken just before it went in the oven, and the photo below is cooked.
This stuff is addicting & not unlike eating potato chips! =)
Dairy Free, Gluten Free, Egg Free, Nut Free, Sugar Free, Grain Free, Vegan, Raw
Spicy Smothered Green Cabbage
2 TBSP butter, ghee, or coconut oil
2 tsps mustard seeds
1/4 to 1/2 tsp red pepper flakes (depending on how spicy you like it)
1 tsp natural sugar (or 2 drops liquid stevia)
1/2 tsp pure salt
1 small green cabbage (about 2 pounds)
5 TBSPs water
- Quarter, core, and thinly slice the cabbage.
- Heat butter (or oil) in a large saute pan over medium heat.
- Add mustard seeds, red pepper flakes, sugar (or stevia), and salt.
- Cook, stirring frequently, until the mustard seeds start to pop, about 2 mins.
- Immediately add the cabbage & saute, stirring occasionally, until it wilts, about 4 mins.
- Add the water, stir to combine, cover, & cook until most of the water has evaporated, about 4 mins more.
______________________________________________________________________________________
SIDE NOTES:
~ Adapted from “Vegan Soul Kitchen” (Thx for the cool book J.V.! – it’s only taken me about 10 months to actually open it….busy days…)
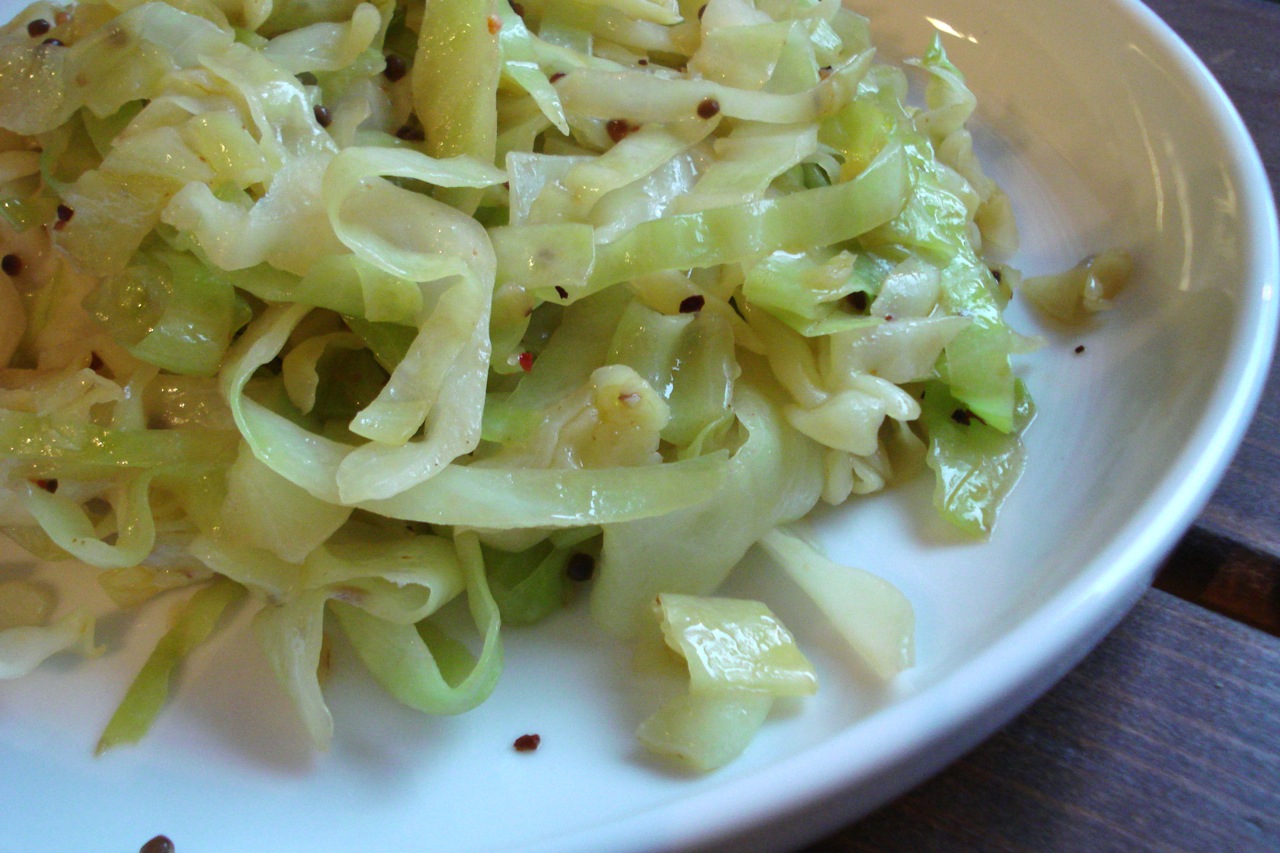
~ I love watching my kids gobble up vegetables. Especially green ones with a bad reputation. And in fact, they both had seconds of this. I don’t really think cabbage deserves its bad rap. It’s just a green crunchy thing with very little flavor. If you mix it with tasty herbs & spices, it’s awesome. And I probably don’t have to tell you how healthy it is. It’s at the top of the heap as far as cancer fighting vegetables go. I don’t know that I would call this cabbage smothered as the author does, as that puts a particular image in my mind. However, I’m keeping the title intact, as it was that particular word that caught my attention. Even coming from someone who likes vegetables, smothering them does have a certain appeal =)
~ The middle of a cabbage is hard & needs to be cut out, so after you quarter it, just slice off the inner white part from each quarter.
~ Try TANGY-SWEET-COLESLAW for another tasty way to put this season’s cabbage to good use.
Dairy Free, Gluten Free, Egg Free, Nut Free, Sugar Free, Grain Free, Vegan, RawIf eating dairy free, use coconut oil instead of butter. If eating sugar free, use stevia instead of sugar.
Easy Curried Lentils
2 to 4 TBSPs butter, ghee, or coconut oil
1/2 tsp garlic powder
1/2 tsp curry powder
1 cup (dry) sprouted lentils (truRoots brand)
salt & pepper
- Add lentils to 3 cups boiling water.
- Cook for 5 mins, turn off heat, cover w/ lid & let sit for 2 mins.
- Drain excess liquid.
- Melt butter in saute pan.
- Stir in curry & garlic powder until combined, then add drained lentils.
- Saute for about 5 mins, or until done to your liking.
- Add salt & pepper to taste.
Serves 2 to 4 depending on the accompaniment.
______________________________________________________________________________________
SIDE NOTES:
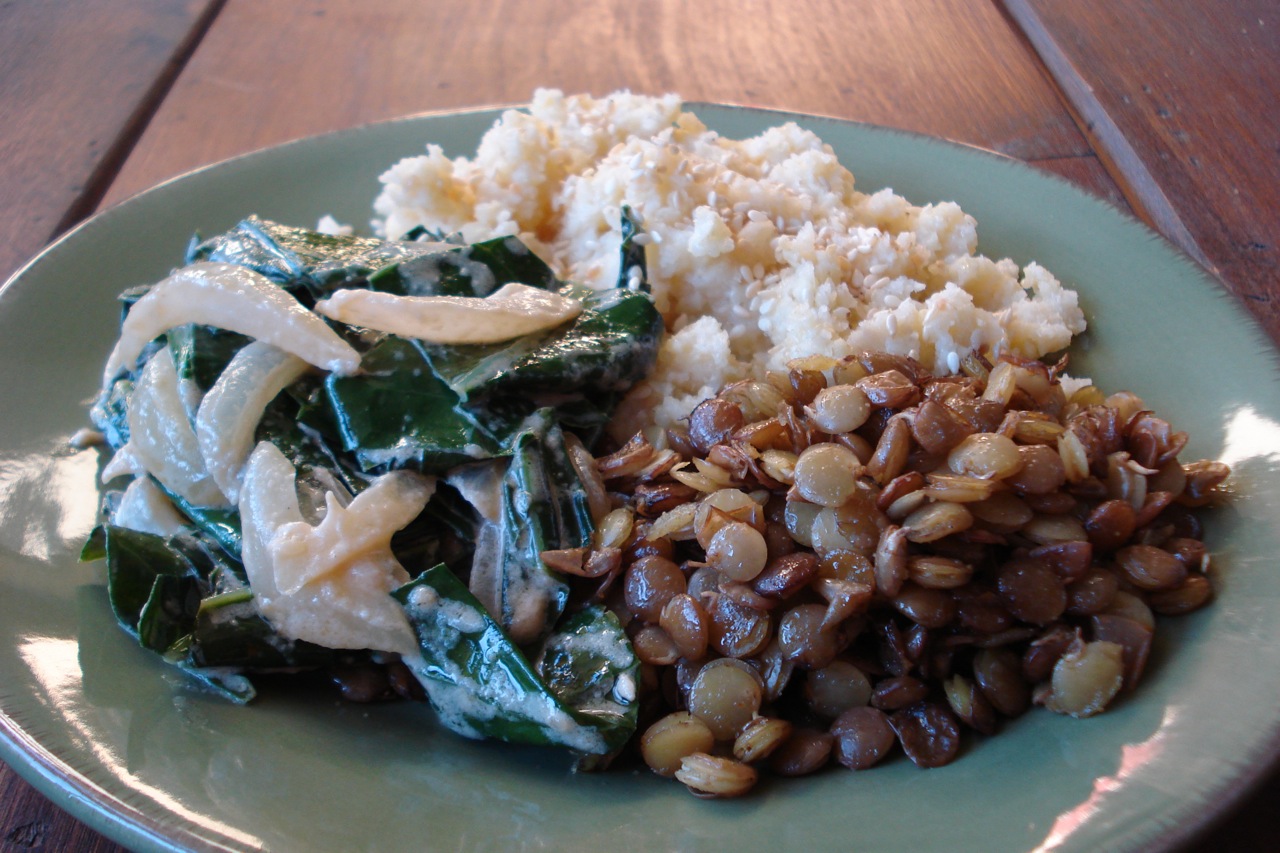
~ Really simple with delicious flavor. These lentils are quick & easy to prepare due to the fact that they’re pre-sprouted. After cooking & draining, you can alternately add them to soups and salads. They’re shown here with COLLARD-GREENS-W-TAHINI-SAUCE & SESAME-MILLET.
~ For this one, my 1/2 tsps (spices) are rounded/heaping.
~ Of course, you can make this recipe with regular lentils. It will just take longer to cook. The upside to sprouted legumes, aside from the quick cook, is the fact that they’ll be more nutritious (increased nutrient content, easier digestion & better absorption of nutrients). If interested, check your local health food store for truRoots sprouted green lentils, or order online. Of course, you can sprout your own lentils, but then, the recipe title wouldn’t begin with the word easy.
Dairy Free, Gluten Free, Egg Free, Nut Free, Sugar Free, Grain Free, Vegan, RawIf eating dairy free, use coconut oil instead of butter.
Pecan Butter
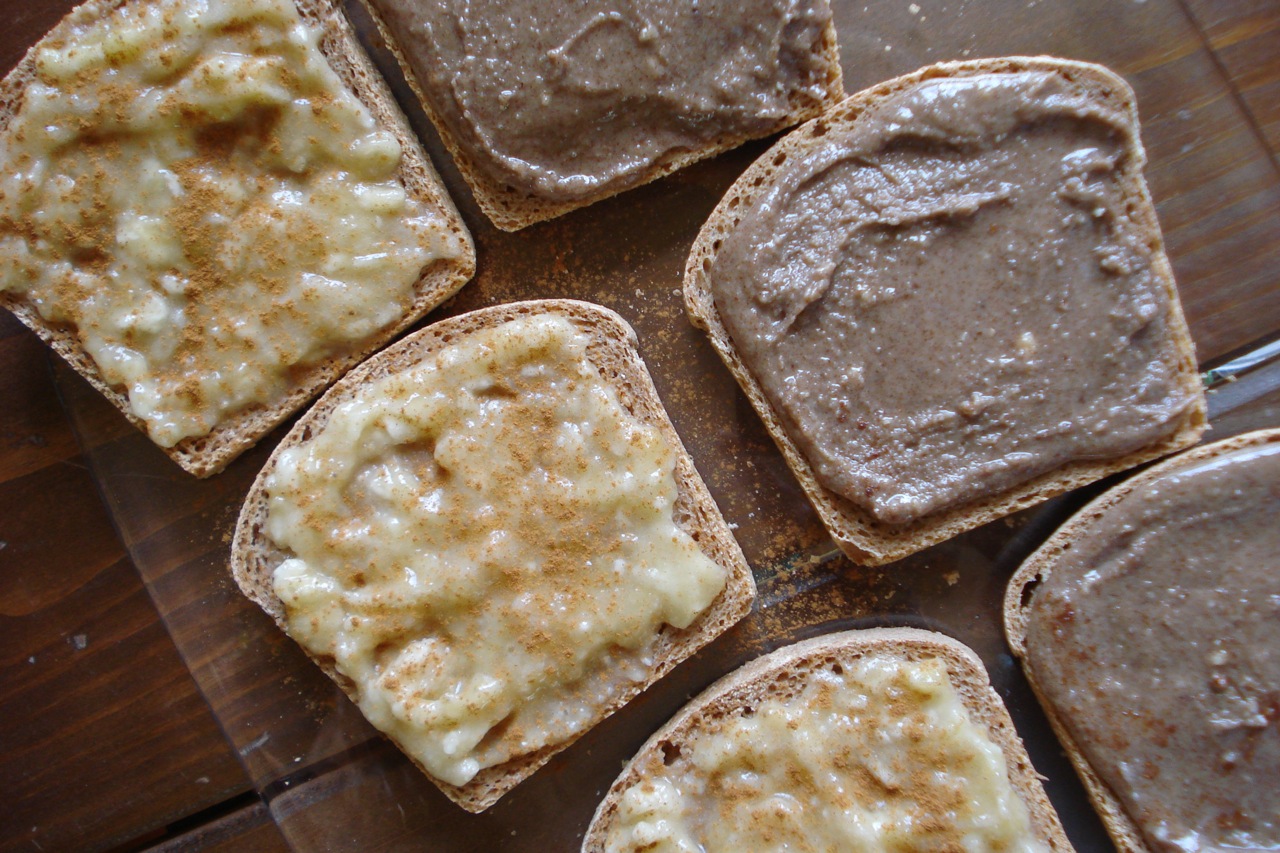
Shown above with mashed banana and a sprinkle of cinnamon.
3 cups pecans
- Process in food processor or Vitamix blender until creamy.
______________________________________________________________________________________
SIDE NOTES:
~ This is so easy to make, and so unbelievably delicious. Since pecans are softer than almonds, this is something you can easily make in a food processor. You just have to be sure to have enough pecans in there to give the machine something to process. As far as using a blender – the only reason I recommend the Vitamix, in particular is because it has a tamper, which is necessary to push the nuts into the blade as it’s blending. If you have another type of blender that also uses a tamper – should work just fine (though might take longer). If your blender doesn’t have a tamper, use a food processor. If you have a Vitamix…..For the large container, use 3 cups minimum. For the smaller container, use 2 cups.
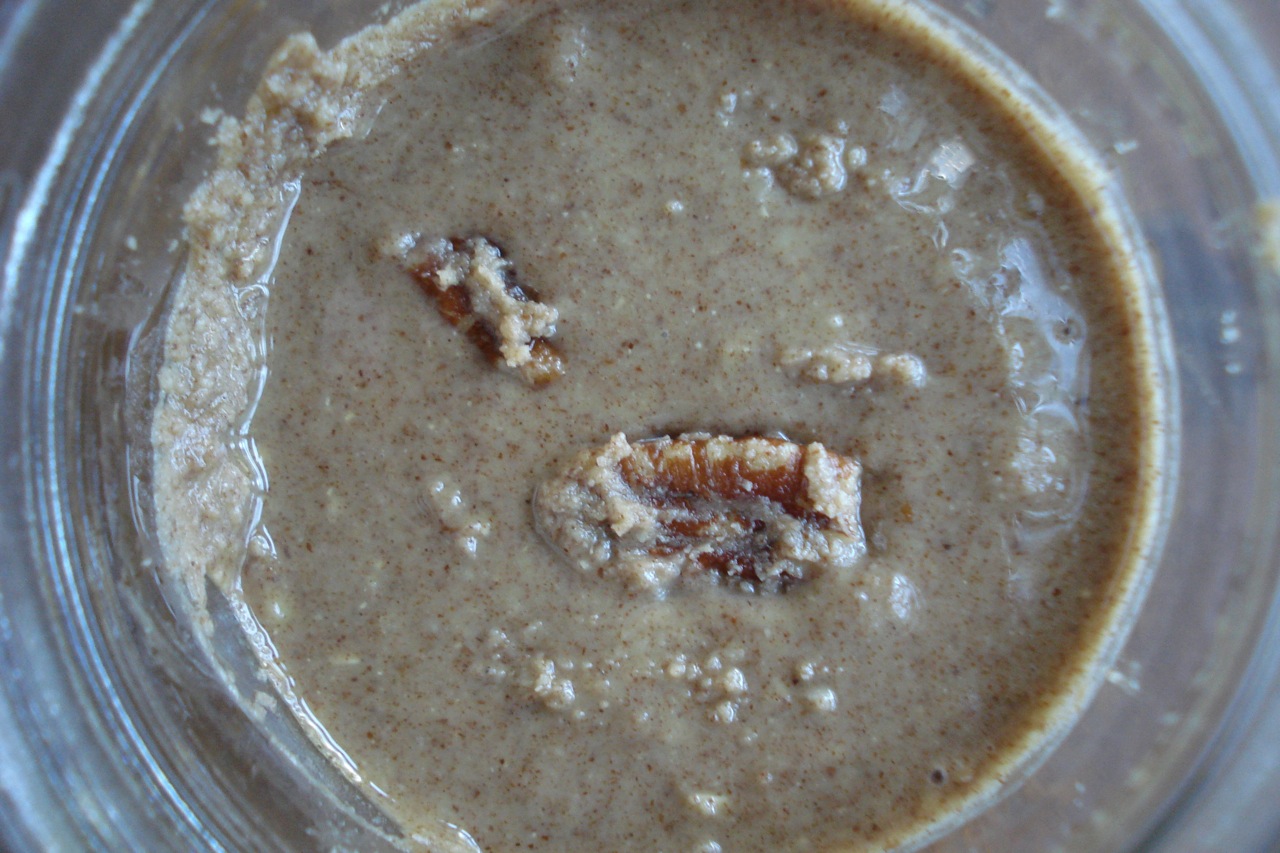
~ The flavor of this nut-butter – using nothing but pecans – is amazing. It tastes like there’s already maple syrup and cinnamon in there! And – you can make it as chunky or creamy as you’d like.
~ Method 1 – roasting the pecans: Place pecans on a cookie sheet, and roast at 250 for about 10 minutes. Let pecans cool down a bit before you blend them. They should be just warm to the touch (about 100 degrees). In my experience, if the pecans are blended while they’re too hot, or too cool, the consistency of the butter isn’t right (pastey instead of creamy).
~ Method 2 – soaking and dehydrating the pecans (my prefered method): Soak raw pecans in water at approximately a 3:1 ratio (water to pecans), and add a little high quality sea salt as well (the salt actually helps to improve their digestibility and nutrition). Let soak at least 7 hours or overnight, and dehydrate at about 100 degrees for at least 24 hours. The pecans must be bone dry if you want to turn them into butter.
Dairy Free, Gluten Free, Egg Free, If on a strictly raw diet – use raw (preferably germinated) nuts and careful that they don’t heat up as you’re blending.Nut Free, Sugar Free, Vegan, Grain Free, Raw
_______________________________________________________________
_______________________________________________________________
WHY BOTHER SOAKING & DEHYDRATING?
In short – Nuts & seeds contain “enzyme inhibitors” which prevent them from sprouting prematurely. This is the reason why (unless cooked) they can last, unspoiled for decades, or longer. They are in a dormant state, and simply won’t break down.
Of course, once they’re in someone’s belly, you want them to break down. But, if they contain these enzyme inhibitors, your body will not be able to digest them, AND, if you’re eating the nuts with other foods, the enzyme inhibitors within the nuts will prevent you from breaking down those foods as well. That means poor nutrient absorption, and usually a belly ache. (Any of you get that bloated feeling – like you have a belly full of rocks and/or constipation after eating a lot of raw nuts?)
Think about it – you can have a packet of seeds that you planned on planting 12 years ago – just sitting in your junk drawer. After all that time, you can still plant them & they will sprout & grow. The reason they last that long is because of the enzyme inhibitors – keeping them in that dormant state. But now we want to grow these seeds into plants, so how does that happen? The thing that gets rid of the enzyme inhibitors is a long soak in water. Sprouting & growing only happens because the seeds get wet (from rain). After soaking in the moist dirt, the enzyme inhibitors are deactivated, and a few days later, you see something green popping through the dirt.
The only other thing, besides water, that will deactivate enzyme inhibitors is heat. So – cooking your nuts & seeds will also deactivate the enzyme inhibitors, making them more digestible. The only thing is that cooking also kills the valuable enzymes along with the enzyme inhibitors. And this, in a nutshell (pun intended) is what the whole raw food movement is about. Eating food with those delicate & beneficial enzymes intact – this is what the “big deal” is with raw food. It’s an entire discussion, in & of itself that I’ll save for some other time. All I can say for now, is that yes – enzymes are extremely important and don’t get the attention they deserve. Most people don’t even know they exist. Will elaborate on this in another post, but hope this small amount of info helps to explain why some of us nutty people take the time to soak our nuts & seeds =)
Lemon Basil Vinaigrette
6 TBSP extra virgin olive oil
2 TBSP fresh lemon juice
1/4 tsp pure salt
handful fresh basil, chopped
1/4 tsp black pepper
pinch of crushed red pepper
- Mix =)
Store any extras in the fridge.
______________________________________________________________________________________
SIDE NOTES:
~ This is a great dressing if you’re avoiding vinegar (or even if you’re not!).
~ Swap out the basil for any herb (or combination of herbs) you’d like.
~ LEMON JUICE TIP – Sometimes I don’t have fresh lemons on hand when I need them. On the other hand, if I buy a bottle of lemon juice, I’m inevitably at some point holding half a bottle in my hand, alternating between sniffing & wondering if those floating white “things” are supposed to be there. I’ve found the best thing to do is to buy a whole bunch of organic lemons when I can get a good deal, juice them all, and put the juice into ice-cube trays in 1 TBSP servings. This way, when I need a tablespoon or 2 of fresh lemon juice, I just pop out a couple of cubes. See “FAVORITE-TOOLS-&-GADGETS” page for ice-cube tray with snap on lid. Comes in really handy for things like this.
Dairy Free, Gluten Free, Egg Free, Nut Free, Sugar Free, Grain Free, Vegan, Raw Be sure to use fresh lemon juice if eating raw.
Yogurt Cucumber Dip
1 cup plain Greek yogurt
1/2 TBSP extra virgin olive oil
1 garlic clove, pressed or minced
1/2 cup finely chopped (or shredded) cucumber
1/8 tsp pure salt
freshly ground black pepper
1 TBSP fresh parsley, chopped or torn
- Mix everything together.
_____________________________________________________________________________
SIDE NOTES:
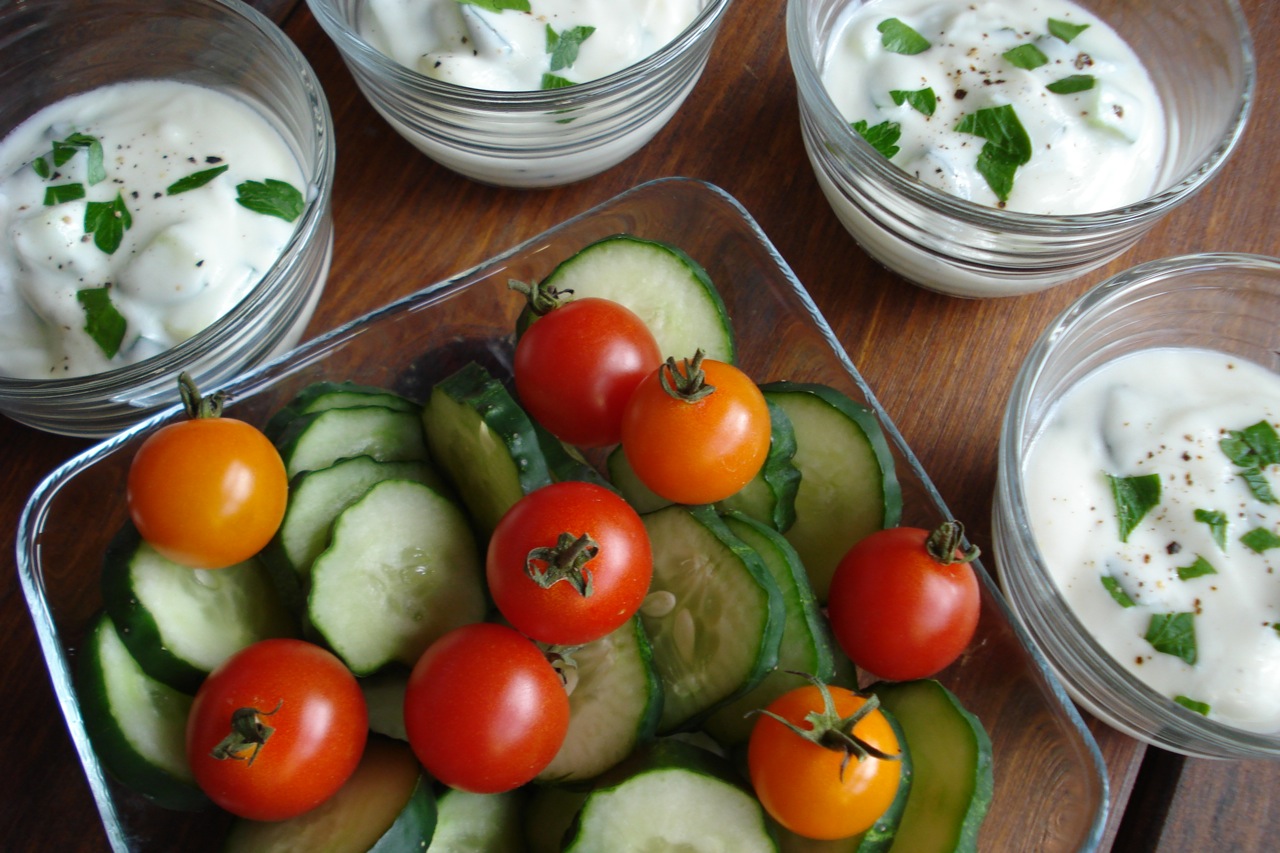
~ Was inspired to concoct this after a friend shared her version with us on a recent camping trip (Thx Lynn!). It’s great as a dip for any type of raw veggie – especially fresh, juicy, cherry tomatoes!
~ For a thicker version, if you’d like, before mixing in the cucumbers, set them in a strainer & sprinkle with plenty of salt. Let sit for a little while (about 15 – 30 mins) & then press with a clean cloth or paper towels to remove the excess moisture. But this step is not necessary.
Dairy Free, Gluten Free, Egg Free, Nut Free, Sugar Free, Vegan, Grain Free, RawI recommend using real yogurt, but you can substitute a non-dairy version if need be.


