Arugula w/ Golden Vinaigrette
1/2 cup extra virgin olive oil
1/4 cup lemon juice
1 TBSP brown mustard
1 tsp ground turmeric
pinch of pure salt
freshly ground black pepper
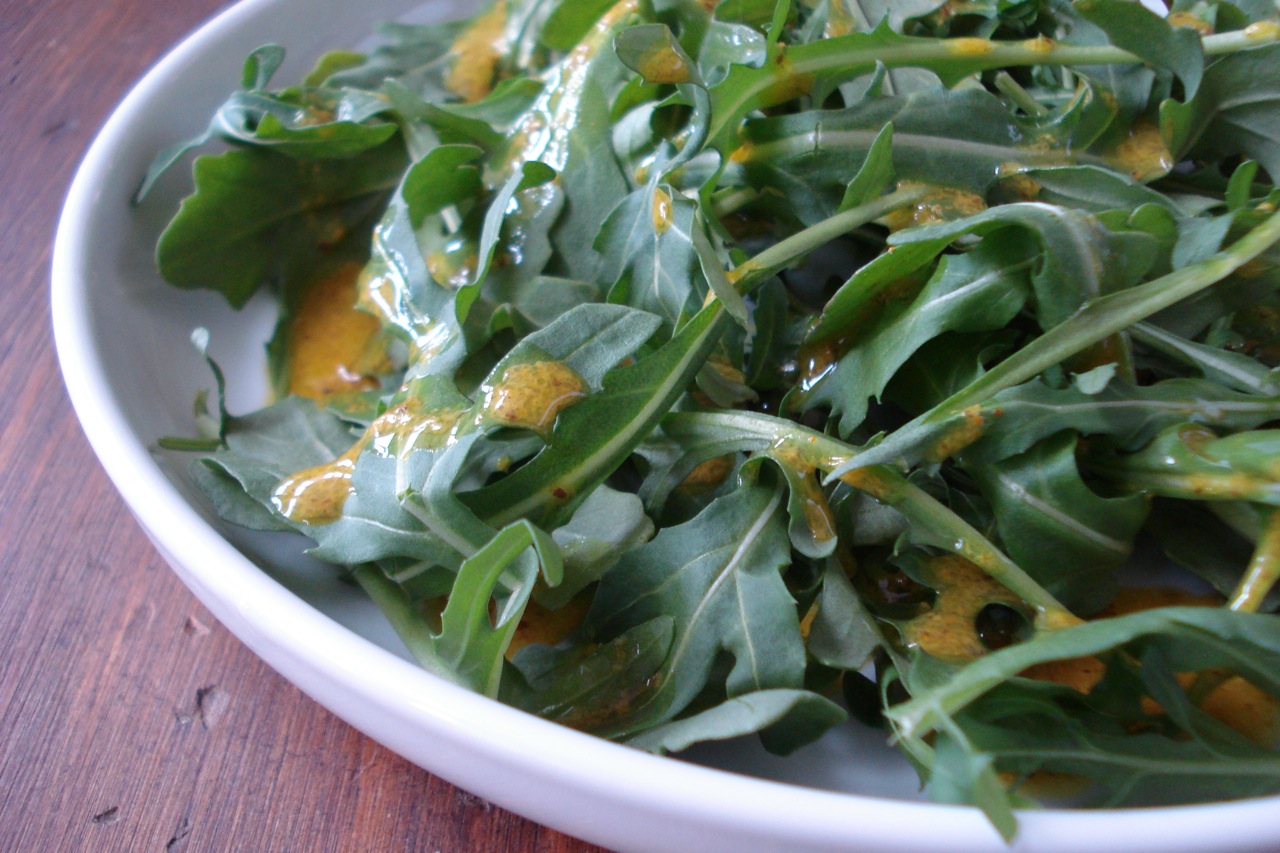
- Whisk all ingredients together and toss with salad greens (pictured here with baby arugula).
______________________________________________________________________________________
SIDE NOTES:
~ A salad doesn’t have to be fancy and time-consuming to make. This is a great example of how a few handfuls of greens with the right dressing can be absolutely extraordinary. I am in love with this simple salad.
~ Turmeric (one of the primary spices that make up curry powder) has a long list of health attributes, most notably its amazing, anti-inflammatory effect. Although it’s only come into vogue over the past few years, it’s been used as a remedy by ancient healers for thousands of years.
~ This dressing pairs extremely well with arugula – but of course, you can use any salad greens you’d like. If you’re unfamiliar with it, arugula has a nice, peppery bite.
~ If it’s easier, you can put all the dressing ingredients in a jar with a tight-fitting lid, and shake vigorously instead of whisking.
~ I sometimes steam the arugula first and then drizzle the dressing over the wilted greens.
~ Adapted from The Ultrametabolism cookbook.
ENJOY!
Dairy Free, Gluten Free, Egg Free, Nut Free, Sugar Free, Grain Free, Vegan, Raw
If eating gluten/sugar free, be careful with your choice of mustard.
My Shopping List
I’ve recently spent some time compiling a list of all the store-bought, convenience products I use. The list represents several hundred hours of research (over the years), as I’m not one to haphazardly grab random products from grocery store shelves. Over the past 6 months, I’ve done a great deal of additional research to seek out newer products. I was excited to have found so many new, tasty keepers =)
I purposely don’t have a website with advertisements, as that’s not my style, but of course, I do dedicate quite a bit of time to posting recipe ideas and health information in the name of sharing, and am very grateful to have the opportunity to do so.
If anyone is interested in this type of list, I’m humbly asking for a $30 donation. Upon receiving payment, I’ll email you the list. It’s as simple as that.
If you do decide you’d like to partake in this exchange, I hope the information included saves you time (from having to play food detective) and provides you with some additional choices you can enjoy and feel good about offering your family.
For those who purchase, I’d be happy to answer inquiries in regard to specific products you’re curious about that aren’t on the list (simply email me the product ingredients and I’ll take a look as time allows). It could be that I’m unaware of the product, or that I purposely passed it up for one reason or another (of which I’d share with you).
If anyone would like to receive periodic updates (as I find new acceptable products), please include an additional $15 payment ($45 total). This service does not expire – You will receive personal email notifications from me indefinitely, whenever I come across a new product that makes the grade. Of course, all email communication will be sent BCC to protect privacy.
Please email me at dianeschnier@gmail.com with “YOUR SHOPPING LIST” in the subject line if interested in this exchange. Please also indicate whether you want the list – OR – the list AND periodic updates and I’ll generate and email you a paypal invoice (if you prefer not to use paypal just let me know and you can mail a check).
To help you decide whether or not this exchange would be of value to you, there are over 300 individually listed items (specific brands) and here are the CATEGORIES INCLUDED….
APPLE BUTTER
APPLE SAUCE
ARTICHOKE HEARTS: CANNED
BABY FOOD
BAKING POWDER
BAKING SODA
BARS
BEANS: BAKED, CANNED
BEANS: CANNED
BEANS: DRIED
BREAD: BAGELS
BREAD: BUNS
BREAD: ENGLISH MUFFINS
BREAD: PIZZA CRUST
BREAD: SLICED
BROTH
BUTTER
CANDY
CAPERS
CEREAL
CHEESE: COTTAGE
CHEESE: CREAM
CHEESE: RAW
CHILI: CANNED
CHIPS: GENERAL SNACK
CHIPS: TORTILLA
CHOCOLATE: BARS
CHOCOLATE: CHIPS
CHOCOLATE: POWDER
CHOCOLATE: SNACKS
COCONUT: BUTTER
COCONUT: FLOUR
COCONUT: MEAT
COCONUT: MILK
COCONUT: OIL
COCONUT: SHREDS/FLAKES
COCONUT: WATER
COFFEE
COOKIES
CRACKERS
CREAM
CURRY PASTE
EGGS
FISH
FLOUR
FRUIT: FROZEN
FRUIT SNACKS: DRIED
GHEE
GRAINS
HOT SAUCE
ICE CREAM
KETCHUP
KOMBUCHA
MAYO
MEATS, PROCESSED
MISO
MUSTARD
NUT BUTTER
NUTS: PEANUTS
NUTS: SOAKED, DEHYDRATED
OATS: GROATS
OATS: ROLLED, STEEL CUT
OIL: FLAX
OIL: OLIVE
OIL: SESAME
OIL: TOASTED SESAME
OLIVES
PASTA
PICKLES
PIZZA: FROZEN
POPCORN
PRETZELS
PUMPKIN: CANNED
RELISH
RICE
RICE & BEANS: CANNED
SALAD DRESSING
SALSA
SALT
SAUERKRAUT
SEEDS
SOUP
SOUR CREAM
SOY SAUCE and/or TAMARI
SPICES
SUNDRIED TOMATOES
SWEET POTATO: CANNED
SWEETENERS: ALTERNATIVE
SWEETENERS: DRY
SWEETENERS: LIQUID
TAHINI
TEA
TEMPEH
TOMATO PRODUCTS
TORTILLAS
VEGETABLES: FERMENTED
VEGETABLES: FROZEN
VEGGIE BURGER: FROZEN
VINEGAR: APPLE CIDER
VINEGAR: BALSAMIC
VINEGAR: BROWN RICE
VINEGAR: RED WINE
WATER: BOTTLED
WATER: SPARKLING, BOTTLED
WORCESTERSHIRE SAUCE
YOGURT
Besides products, there are various tips and notes included here and there throughout the list.
HOLIDAY GIFT IDEA: Give a copy of my shopping list to someone who is striving to take better care of themselves, and include one or more of the healthy snack items on the list. If you want to go all out, make up a gift basket with a related group of delicious, wholesome foods!
FYI – I’m not affiliated in any way with any of the companies mentioned on my shopping list.
“Nutella” (Choc. Hazelnut Butter)
2 cups hazelnuts, roasted & skinned
2 TBSP cacao (or cocoa) powder
1 to 2 TBSP natural sugar (or 6 – 12 drops liquid stevia)
- Heat oven to 350 degrees.
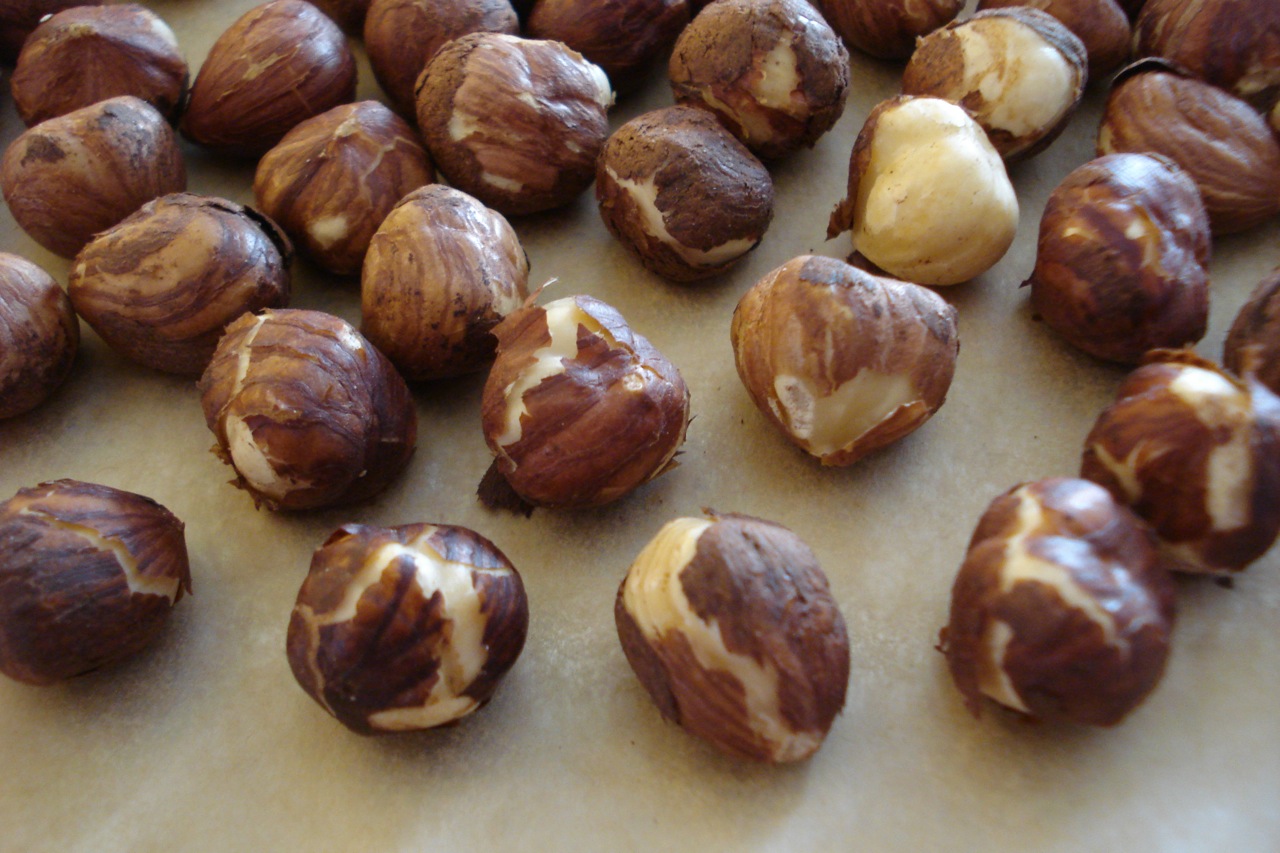
- Roast hazelnuts for 10 – 15 minutes (until skins split).
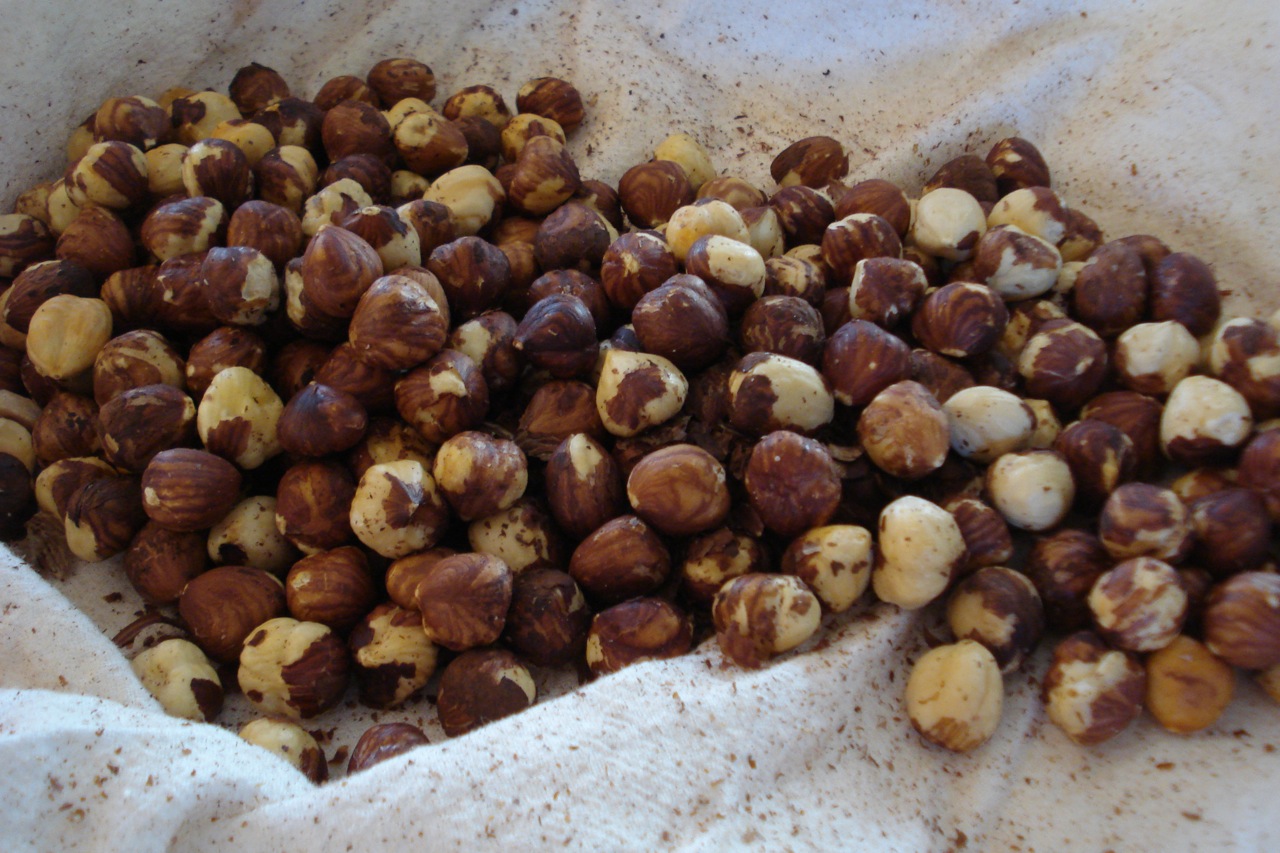
- Remove from oven and wrap in a clean kitchen towel.
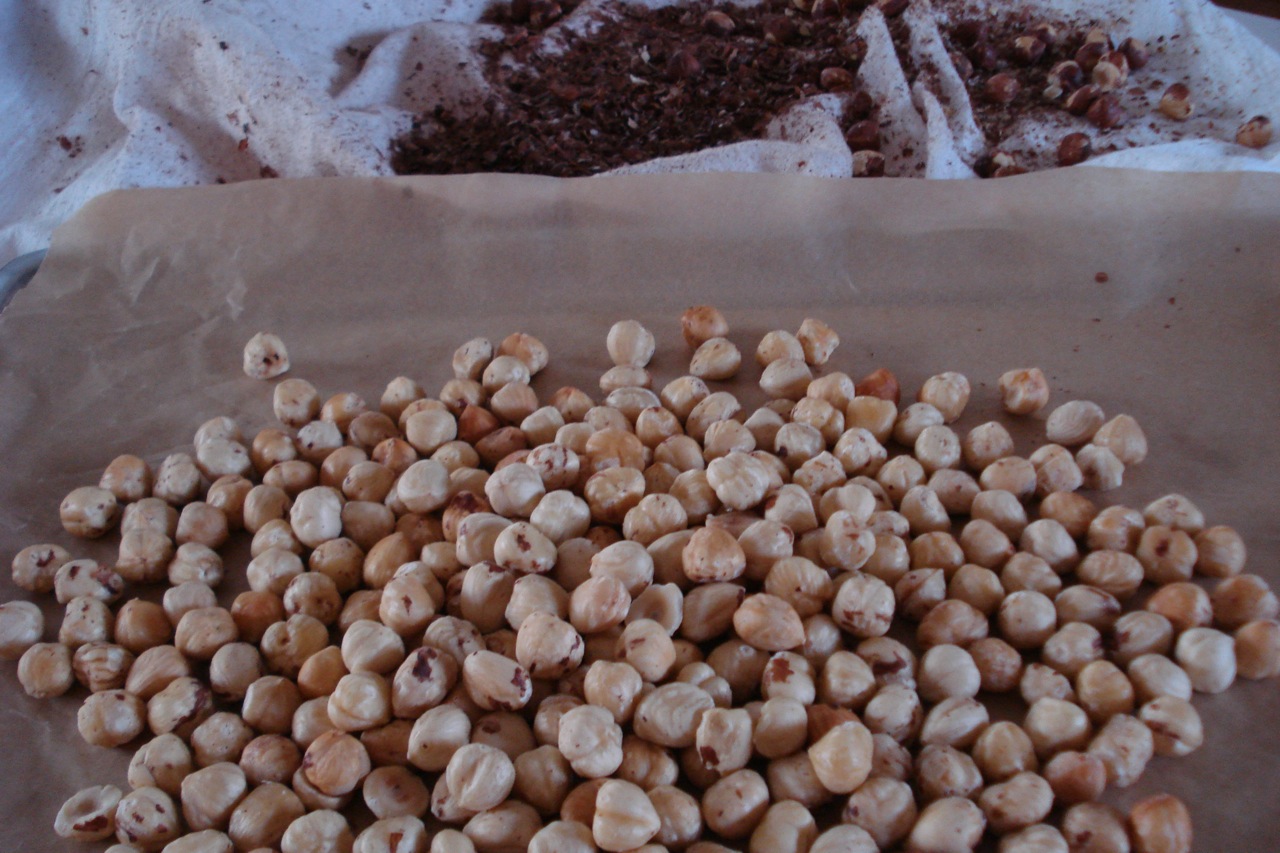
- Rub the nuts together in the towel until the skins flake off.
- Add the nuts to a food processor or Vitamix blender and process until you get creamy butter.
- Add the cacao and sugar and process again until combined.
______________________________________________________________________________________
SIDE NOTES:
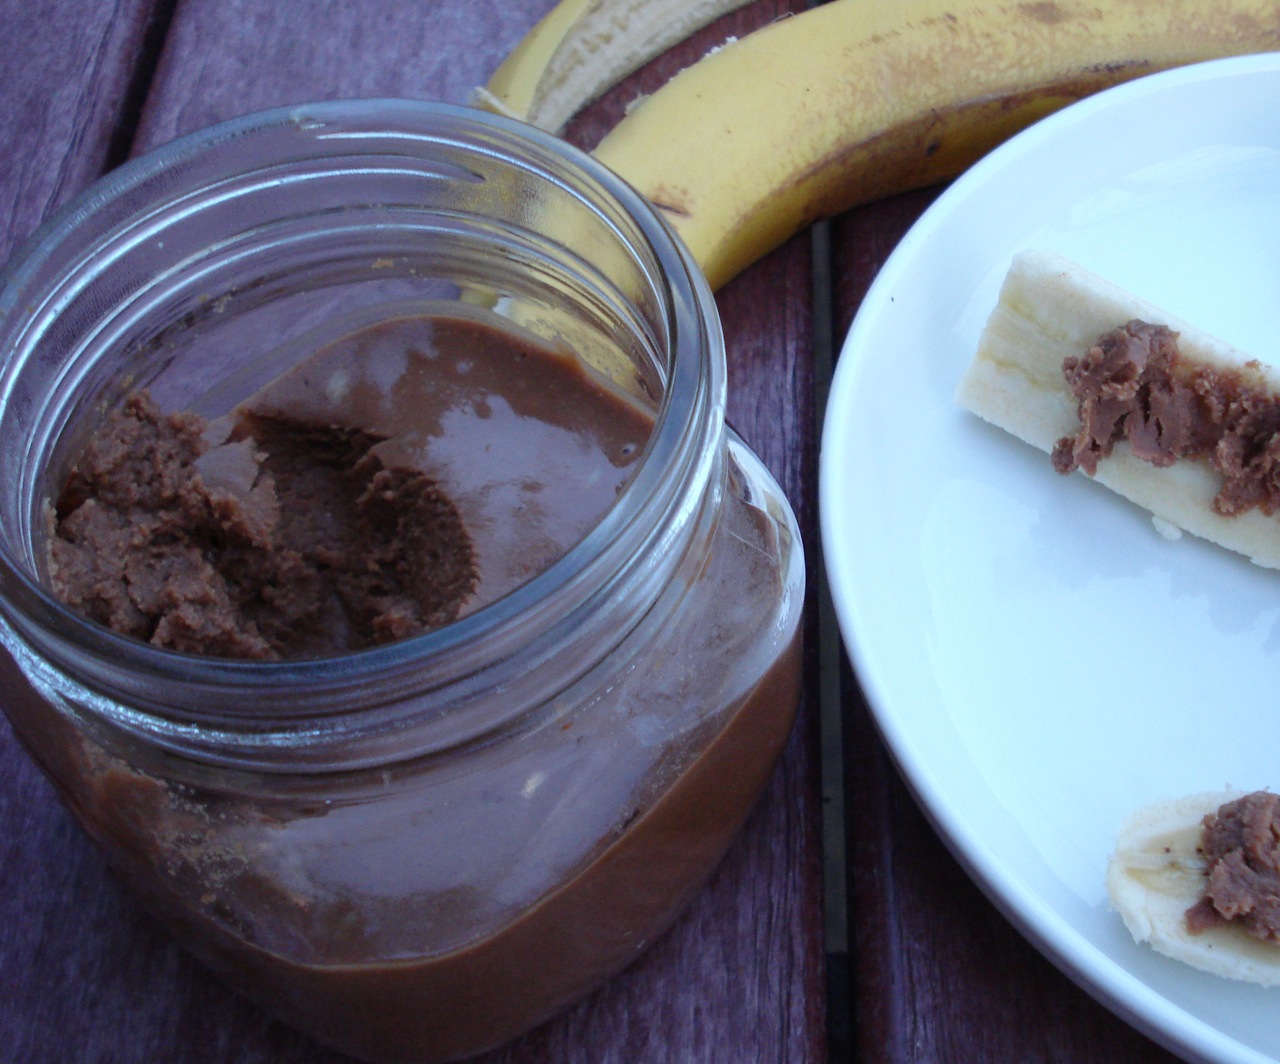
~ To be honest, I’ve never actually tasted “Nutella“, but I kind of liked the idea of it. As you can see, the spread I’ve made is mostly hazelnuts with a little scoop of chocolate and a hint of sugar. Store bought Nutella is mostly sugar – 55%, and only 13% hazelnuts (the rest is mostly vegetable oil & chocolate with a little skim milk powder and vanilla “flavor”). So as far as I can tell, it’s more like a chocolate-y sugar spread as opposed to a nut butter. So, I can’t promise my version tastes anything like real Nutella, but I can say for sure that it’s very tasty.
~ I recommend starting with 1 TBSP sugar, tasting, and adding more only if needed. We tend to want something like this with fruit which is usually sweet enough in its own right. So for me, 1 TBSP was just right, but the kids liked it a bit sweeter.
Dairy Free, Gluten Free, Egg Free, Nut Free, Sugar Free, Vegan, Grain Free, Raw
If avoiding sugar, try using 6 – 12 drops of liquid stevia instead of sugar.
~ If you can get good quality hazelnuts already peeled, it will make this recipe a total breeze. In this case, just warm the pre-skinned hazelnuts a bit (until they’re just warm to the touch) and proceed with adding them to the blender.
~ This takes roughly 2 minutes to blend in my Vitamix. You should be able to use a food processor but it will take longer to turn the nuts into butter. If anyone tries this with a food processor, please comment to verify that it does indeed work in that type of machine. If anyone’s interested, my Vitamix distributor code is 06-004158 which gives the buyer free shipping and I get credit for the referral (thx!).
~ The longer you blend the hazelnuts, the thinner & creamier the butter will get (I didn’t blend it very long so it was thicker – the way I like it).
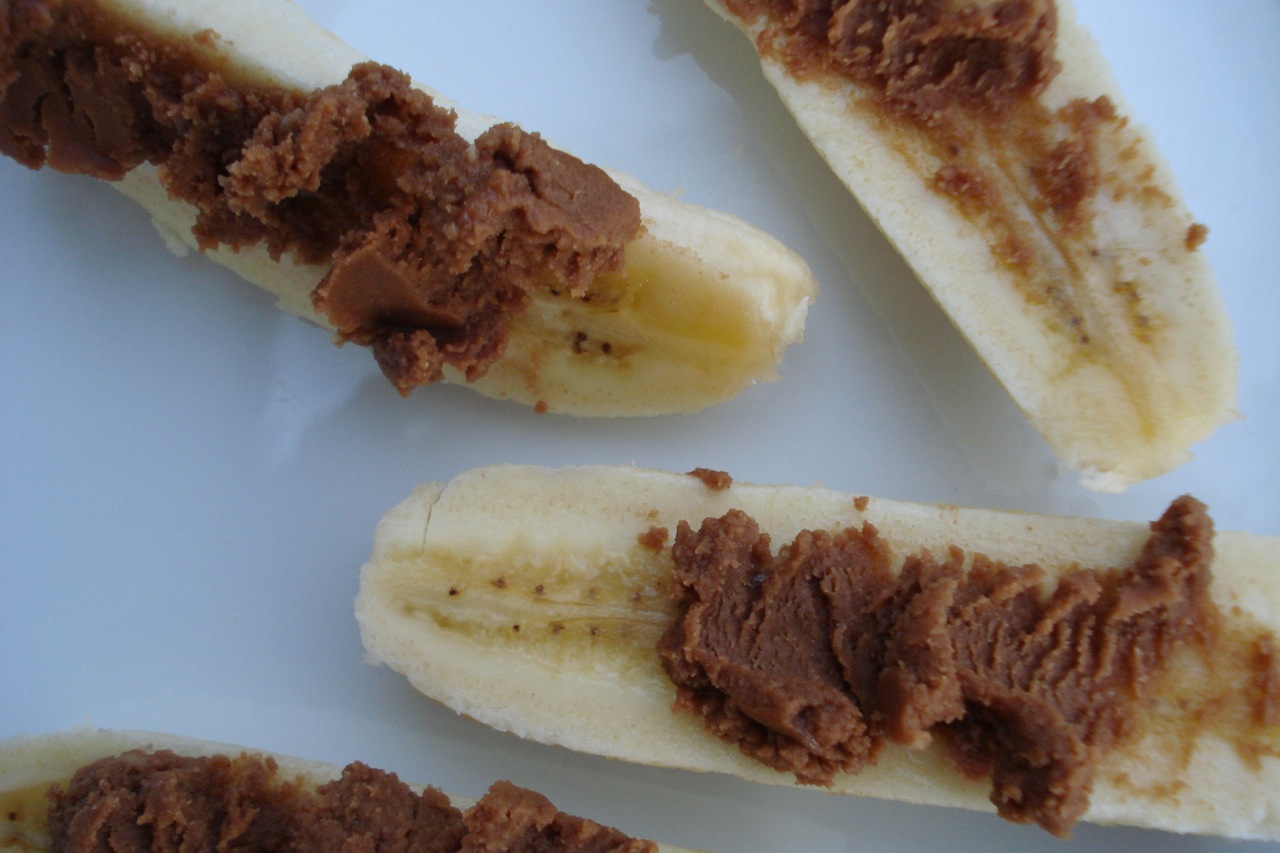
~ Try this chocolatey-nut-butter with bananas, strawberries, raspberries, blueberries, cherries, apples – really, any fruit you’ve got! It can also be spread on bread and topped with sliced bananas (or other fruit/jam) for a yummy sandwich.
~ A little jar of this spread makes a very thoughtful holiday gift (don’t forget to include the bananas!).
___________________________________________________________
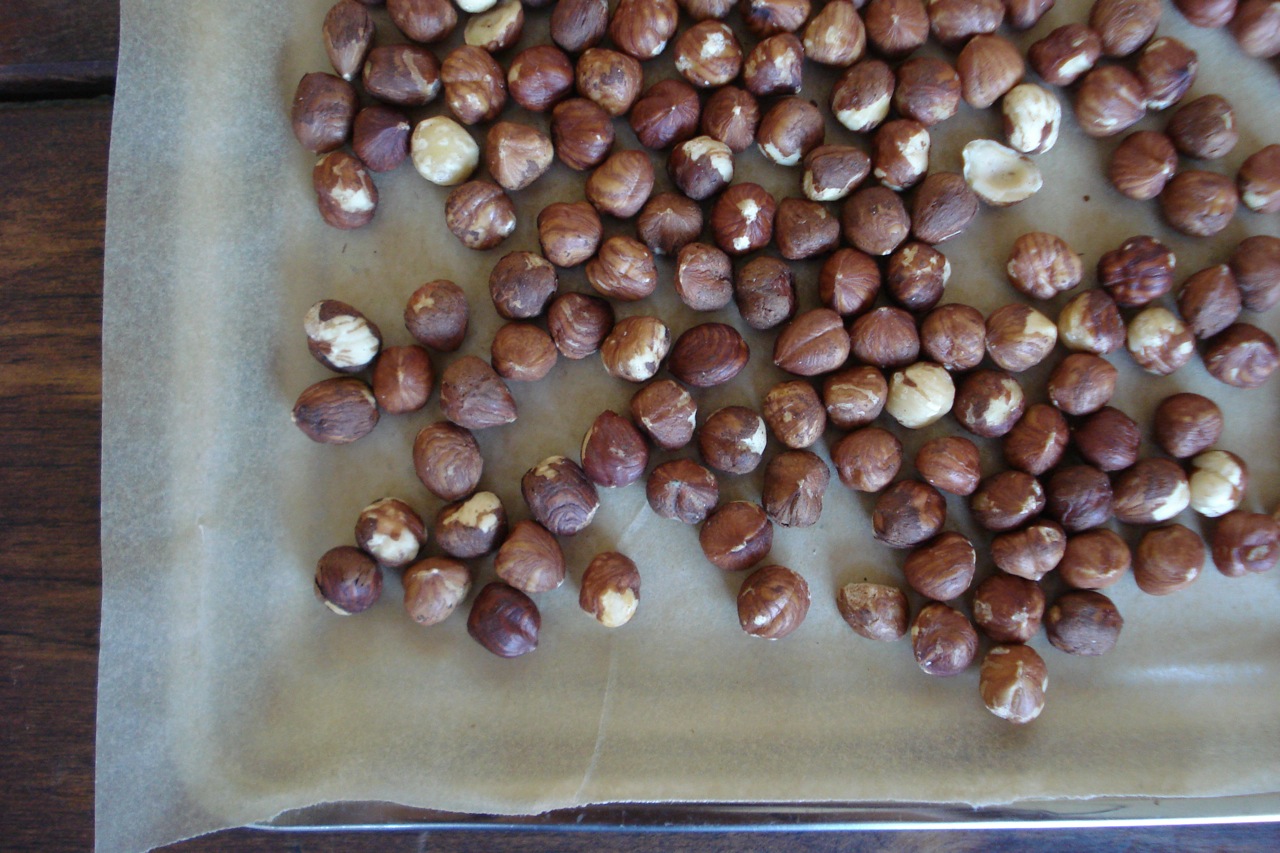
PHOTO INSTRUCTIONS ON HOW TO ROAST & SKIN THE HAZELNUTS……
Place them on a cookie sheet and roast at 350 for approx 10 – 15 mins.
Remove from oven when most of the hazelnut skins have split.
Transfer to clean cloth or kitchen towel and rub the nuts vigorously in the cloth until the papery skins slip off. If the skins aren’t coming off, put them back in the oven for another 5 or so minutes. They won’t all slip off easily. You’ll have to nudge some of them with your fingers.
Once they’re skinned, put them in the blender & proceed with recipe.
Chipotle Mayo
1 cup mayo
2 tsps chipotle powder (or less)
- Mix.
_________________________________________________________
For a fancier version:
Optional add-ins….
2 tsps lime juice
1 TBSP finely chopped cilantro
2 cloves of garlic, minced or crushed (or 1/8 tsp garlic powder)
1/4 tsp dried oregano
dollop of high quality sour cream
______________________________________________________________________________________
SIDE NOTES:
~ Chipotle mayo is a great way to add a smokey, spicy flavor to any meal. Use it any way you’d use regular mayo (on a sandwich, burger, burrito, taco, fish, chicken, as a dip for sweet potato fries or roasted potatoes, chicken salad, egg salad, tempeh salad, etc…)
~ You should be able to find chipotle powder in the spice aisle. It’s got quite a kick to it, so you may want to start off with 1/2 tsp per cup of mayo and work your way up. Using 2 tsps (as we do) yields a pretty spicy spread.
~ If you’d like to try making homemade mayo (so delicious), click HERE for recipe.
Dairy Free, Gluten Free, Egg Free, Nut Free, Sugar Free, Vegan, Grain Free, Raw
Of course, the gluten free, sugar free, and raw status depend on your choice of mayo. It’s easy to make a homemade mayo that falls into these categories (see link above).
Balsamic Mustard Vinaigrette
3/4 cup extra virgin olive oil
1/3 cup balsamic vinegar (or to taste)
2 tsps high quality brown mustard
1 large garlic clove, crushed
1/2 tsp dried oregano
1/8 tsp pure salt
a few grinds of black pepper
- Whisk together all ingredients (or combine in jar with tight-fitting lid and shake well).
Store in the refrigerator.
______________________________________________________________________________________
SIDE NOTES:
~ Very easy/tasty dressing to whip together. Of course, the key to making a salad dressing (or anything for that matter) taste delicious, is using the highest quality ingredients available.
~ Tweak the measurements to your personal preference. Use more or less balsamic depending how much you like vinegar, try adding an additional teaspoon of mustard, more garlic, a pinch of crushed red pepper flakes for a kick, different herbs… (etc).
~ You can substitute red wine vinegar or apple cider vinegar if need be. In fact, yesterday, I used half balsamic & half red wine vinegar (because I ran out of balsamic) and it tasted great.
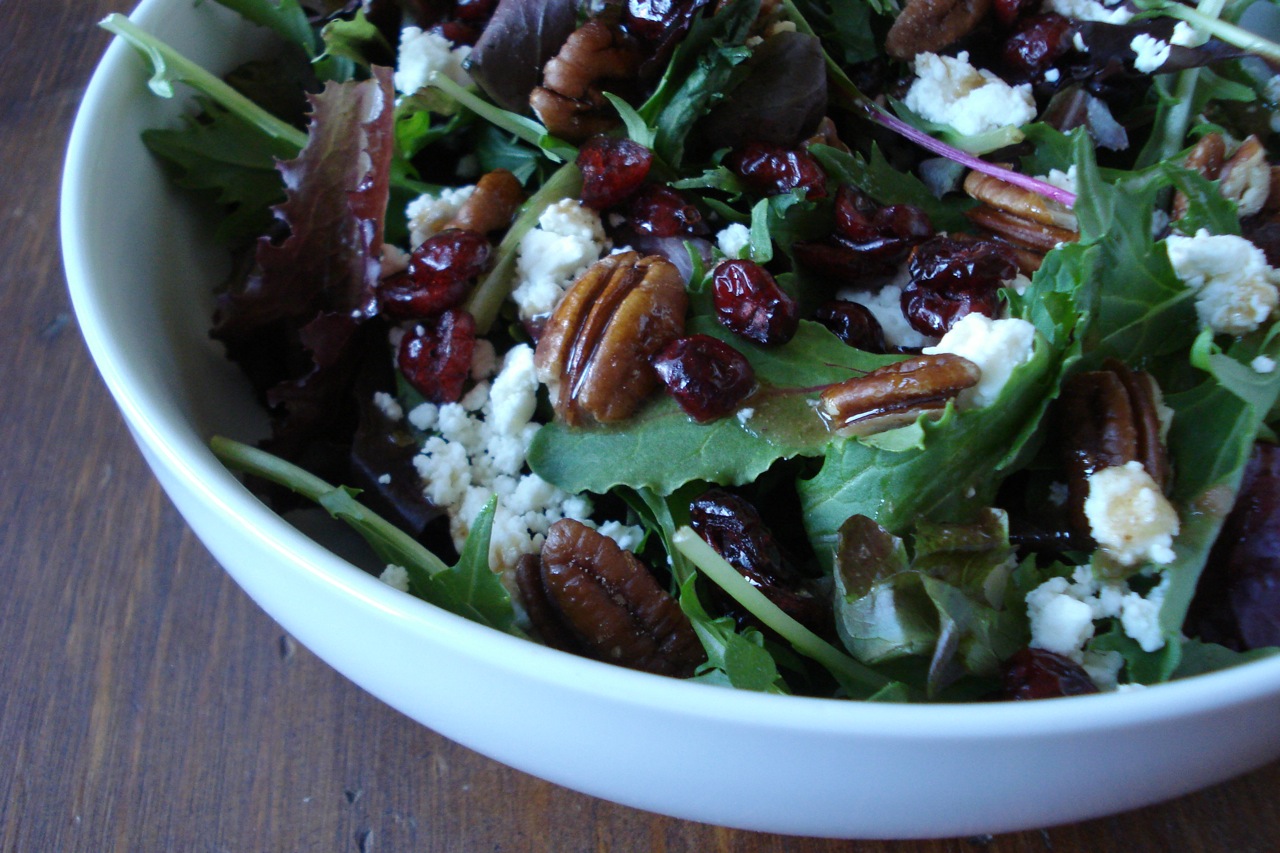
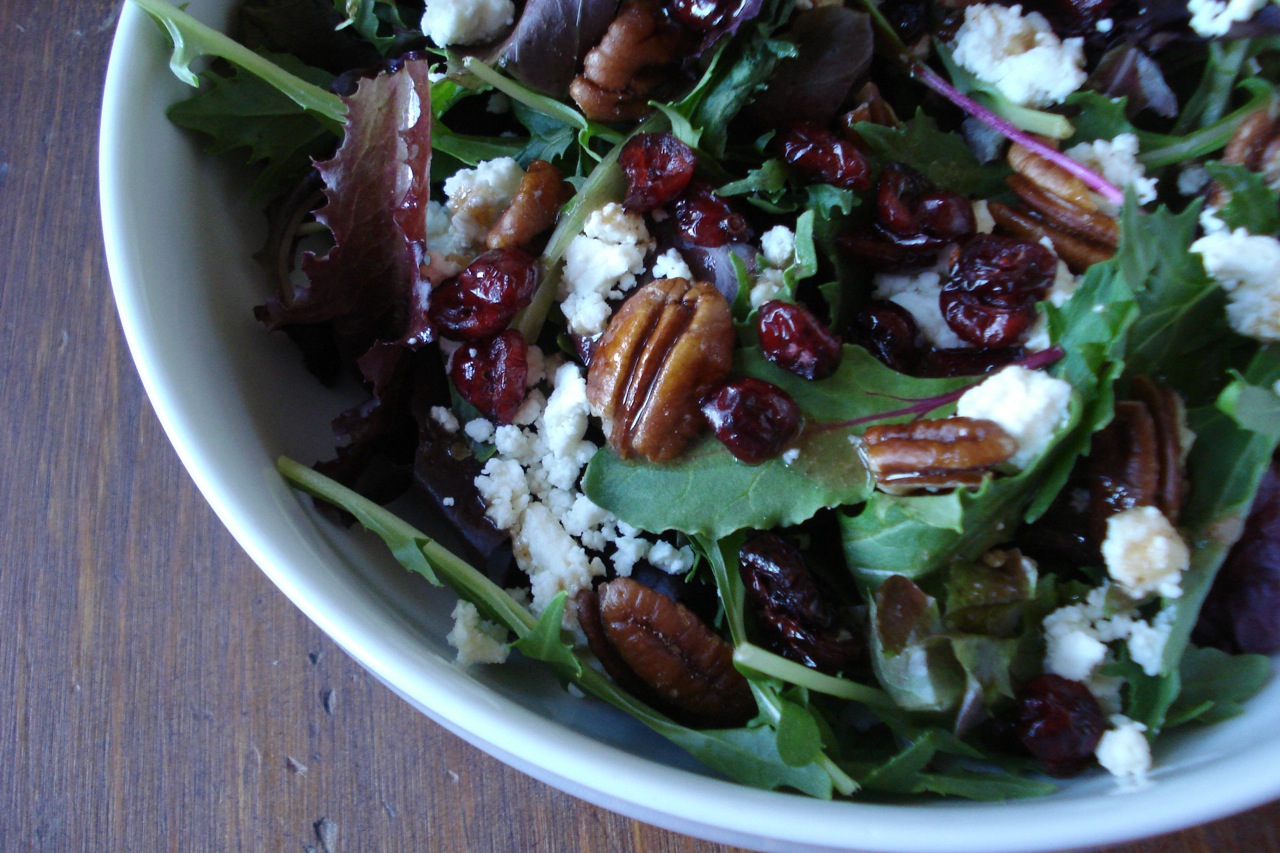
~ Shown above is this tasty salad: CRANBERRY-PECAN-FETA-SALAD
Dairy Free, Gluten Free, Egg Free, Nut Free, Sugar Free, Grain Free, Vegan, Raw
If eating raw, substitute raw apple cider vinegar or raw red wine vinegar
Cranberry Pecan & Feta Salad
mixed salad greens
dried cranberries
pecans
feta cheese (optional)
Italian dressing
- Toss together and enjoy.
______________________________________________________________________________________
SIDE NOTES:
~ This salad is based on something I picked up at Whole Foods a while back while traveling. If I remember correctly, they used goat cheese which was really tasty. I happened to have feta in the fridge so that’s what I used & it was just as good (albeit a bit different).
Dairy Free, Gluten Free, Egg Free, Nut Free, Sugar Free, Grain Free, Vegan, Raw
If you’re eating dairy free, try using sliced avocado instead of feta. If avoiding nuts, omit the pecans (can substitute sunflower seeds. If eating strictly raw, use fresh cranberries instead of dried.
~ If you’d like to make your own dressing, here are a few options:
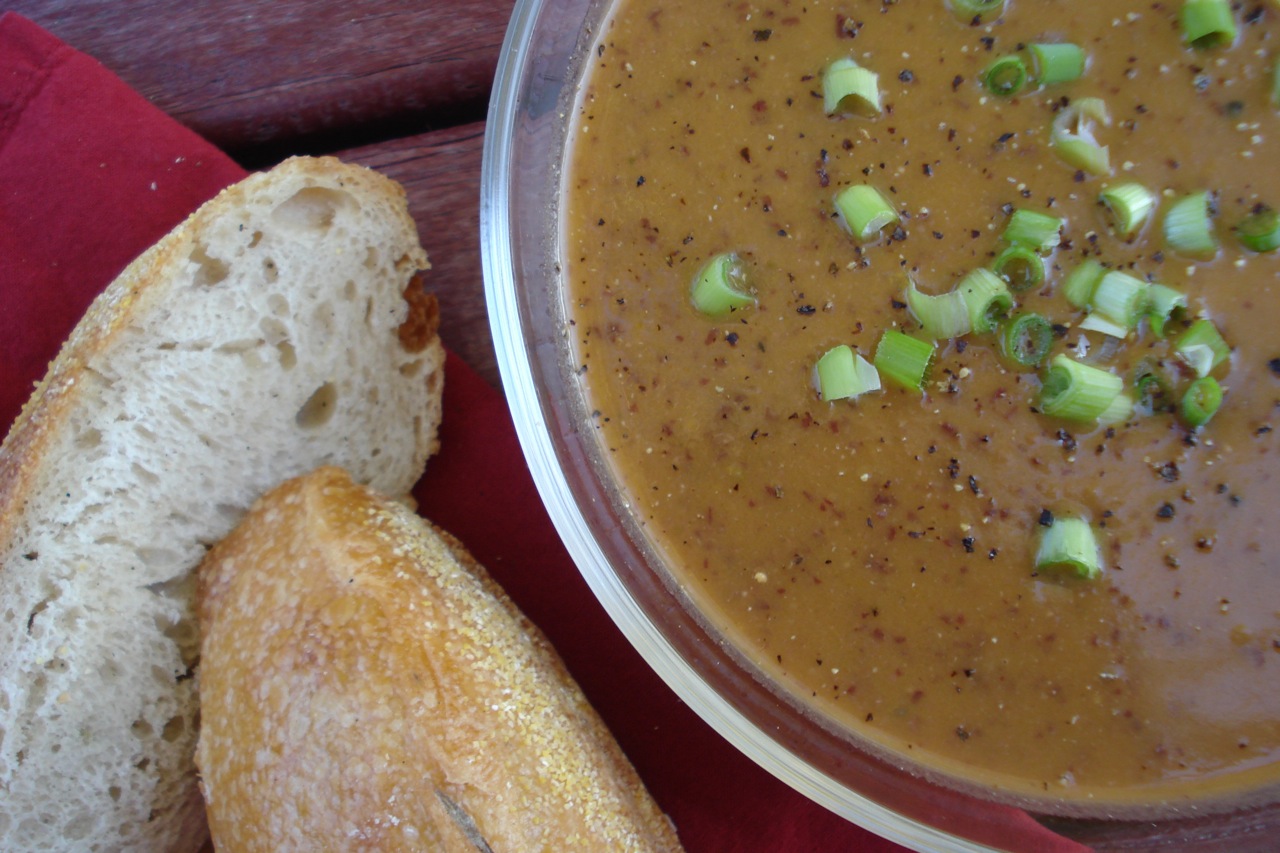
Farmer Bean Soup
1 & 1/2 cups dried red kidney beans
2 carrots, peeled and cut into quarters
1 medium yellow onion, peeled and quartered
1 celery stalks, quartered
6 scallions, green tops only, cut into quarters
1 large sprig rosemary, needles only
3 TBSP extra virgin olive oil
8 cups broth (veggie or chicken)
1/2 tsp pure salt
freshly ground black pepper to taste
1 thinly sliced onion for garnish (optional)
a few dashes of your favorite hot sauce or worcester sauce (optional)
lime wedges for serving (optional)
- Soak the beans overnight in cold water.
- Rinse and drain the beans.
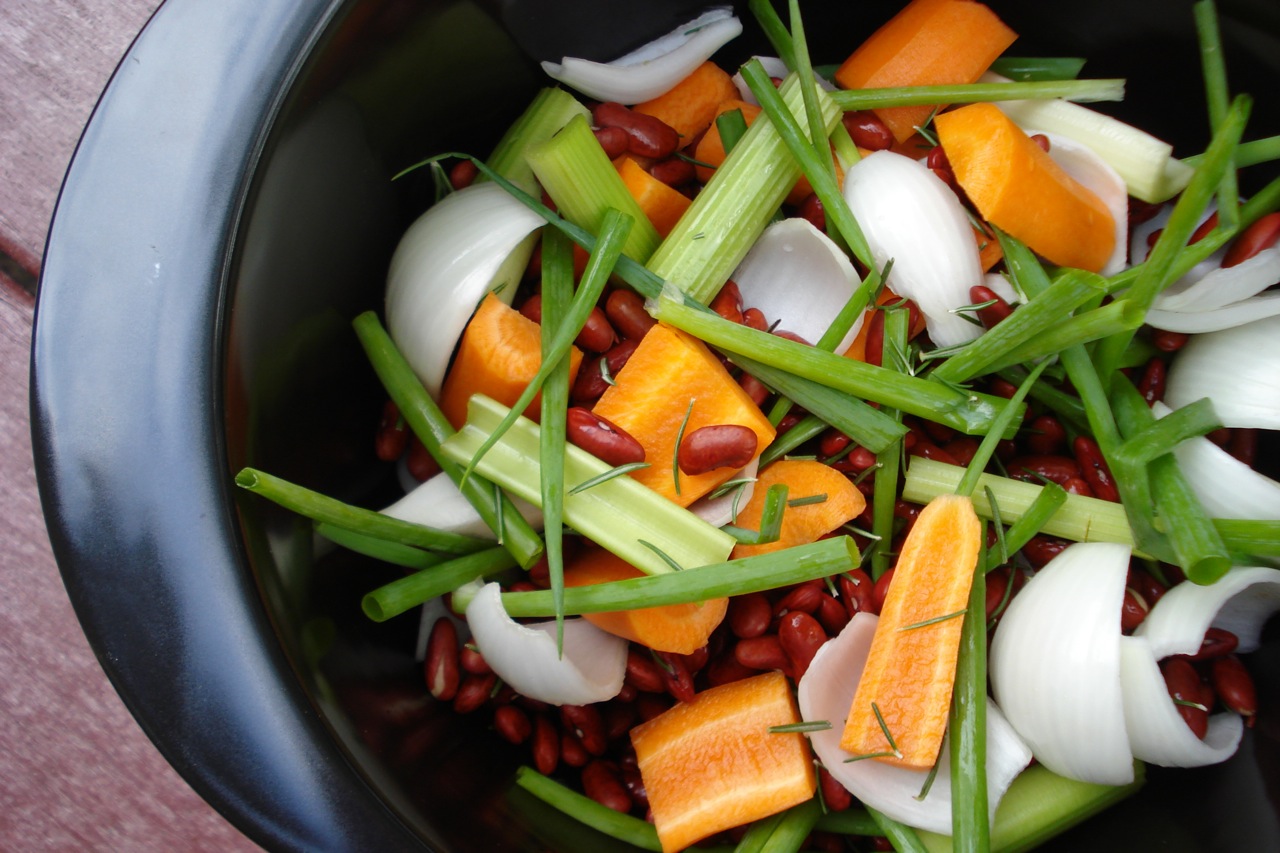
- Put the beans in a soup pot with carrots, onions, celery, scallions, rosemary, and olive oil.
- Add the broth.
- Bring to a boil, then lower the heat to a simmer and cook, covered, until the beans are tender (about 50 minutes).
- Puree right in the soup pot with a stick blender (or transfer in batches to a regular blender).
- Season with salt and pepper to taste.
- Serve, garnished with onions (if using).
Yields 6 servings.
______________________________________________________________________________________
SIDE NOTES:
~ I love these types of soups, where you can drop everything in a pot, then walk away for an hour. This is especially easy to make, as it doesn’t require a lot of dicing. All the veggies are simply chopped into large chunks (see photo below), so a few minutes is all it takes for the prep work. The only thing is to remember to soak your beans the night before. Again, doesn’t take any effort. Just put them in a bowl with water & forget about them until you drain & add them to the soup pot the next day.
~ The original recipe calls for less salt (1/4 tsp) but we found it needed quite a bit more. It probably depends on what kind of broth you’re using (some store-bought varieties contain more salt than others). Remember to be careful though, you can’t un-do salt. You can always add more at the table if needed.
~ Love my immersion (stick) blender for soups like this.
~ The worcester sauce and lime was my addition. While I call them “optional”, we feel the soup really needed these little side-kicks to make it work (was a bit on the bland side without them). Feel free to add any additional seasonings and spices that sound good to you. (See below for more side-kick suggestions.)
~ I used the white part of the scallions for the garnish.
Dairy Free, Gluten Free, Egg Free, Nut Free, Sugar Free, Grain Free, Vegan, Raw
Always check the labels of any packaged goods you’re using (broth, hot sauce, worcester sauce…) if eating gluten and/or sugar free.
~ We happened to have left over oven-roasted red potatoes from the previous nights dinner that went really well with this (some of us mixed them right into our soup). A salad and/or some crusty bread is nice as well.
~ Pureed soups are a great place to hide vegetables for picky eaters. Just look at all of ’em! Do whatever works for your kids – crumble in crackers, mix in pieces of crusty bread, add croutons, let them dip in cucumber or carrot sticks, mix in a little extra worcester sauce, add a swirl of yogurt or sour cream, combine with cooked brown rice…etc.
I’m glad my sister recommended this soup. It’s easy & good!
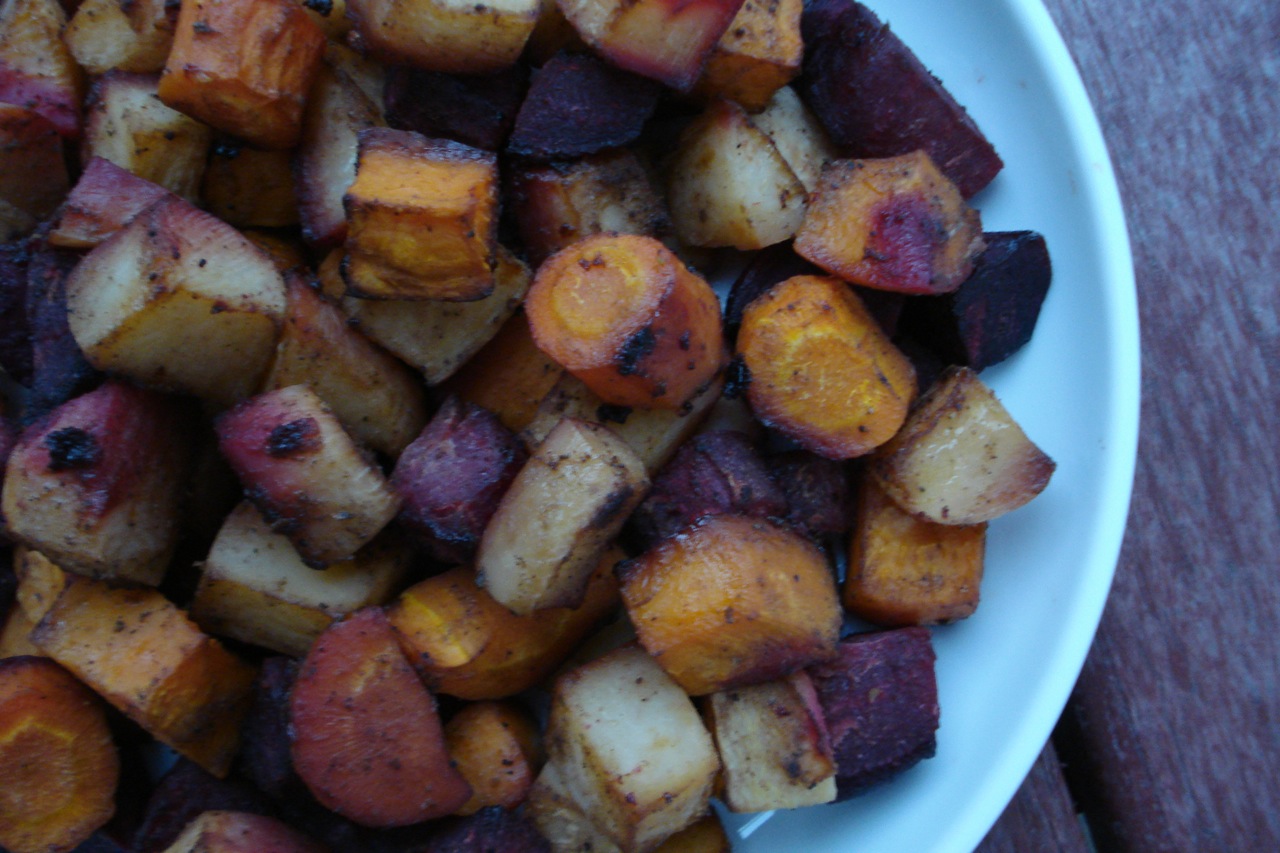
Caribbean Roasted Root Veggies
DRESSING:
3 TBSP tamari/soy sauce
2 TBSP coconut oil
2 TBSP red wine vinegar
1 TBSP natural sugar
1 small onion, coarsely chopped
1/2 tsp dried thyme
1/2 tsp ground cinnamon
1/2 tsp ground cloves
1/2 tsp ground black pepper
2 tsp grated fresh ginger
1 large garlic clove, minced or crushed
- Puree dressing ingredients in a blender.
VEGETABLES:
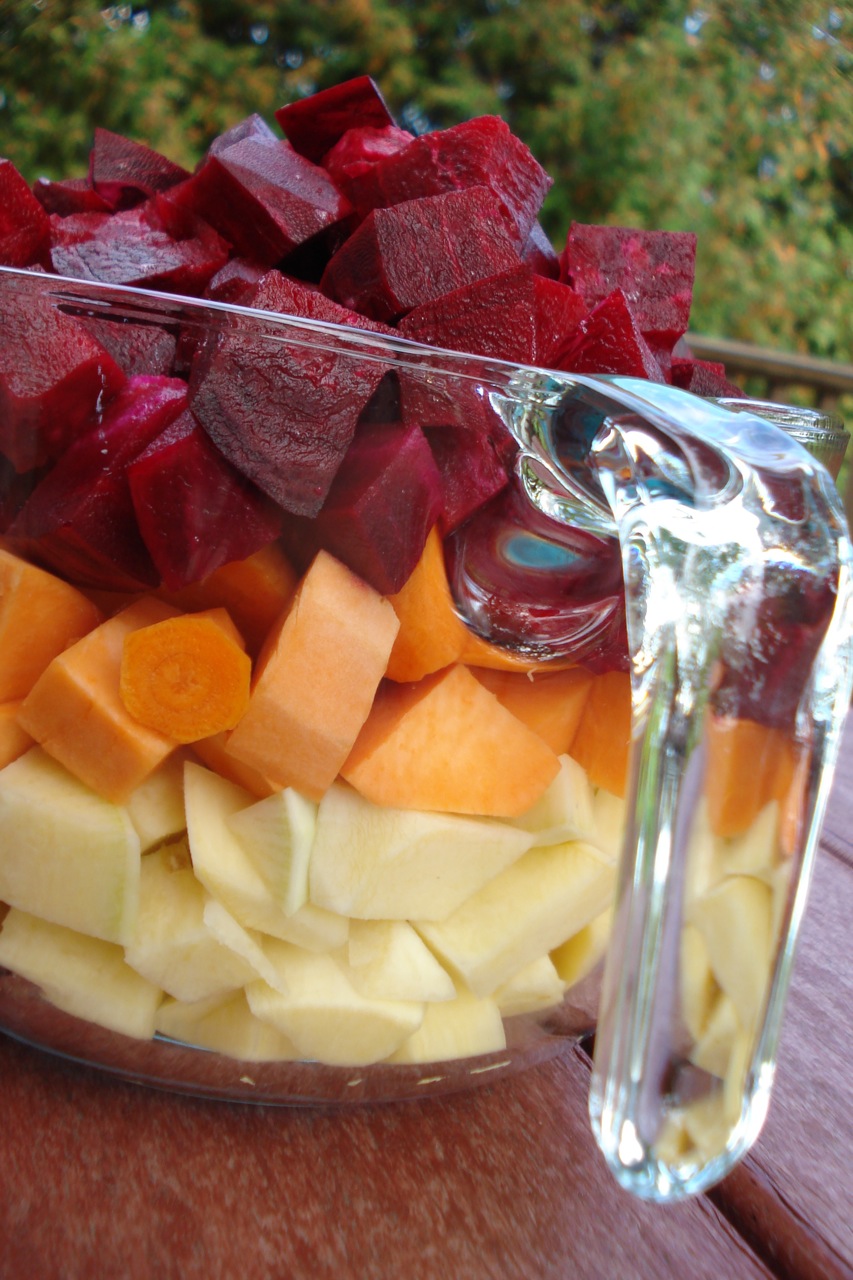
12 cups (more or less) mixed root vegetables, chopped
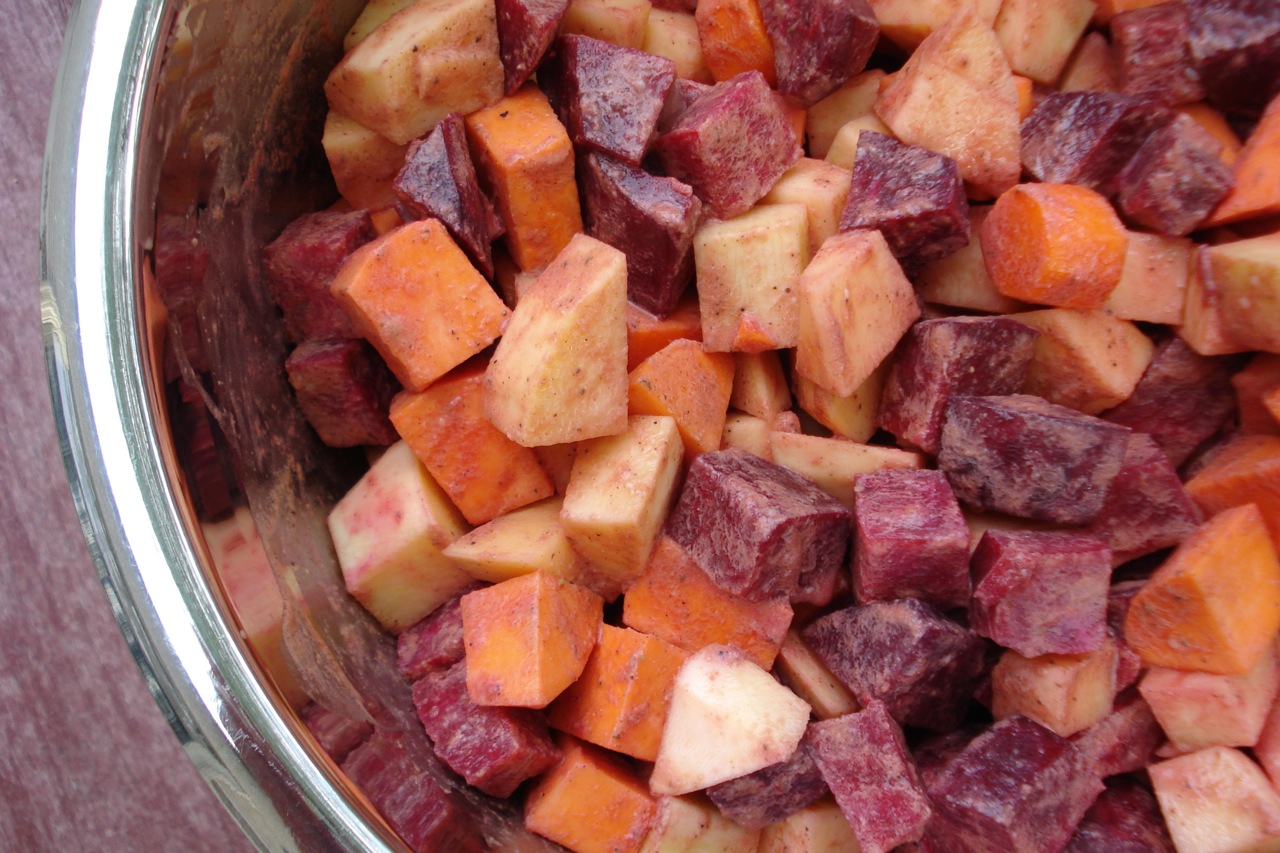
This time, I used a combination of rutabaga, beet, sweet potato, and carrot. Other good options are parsnip, turnip, white potato, or any type of winter squash.
- Preheat oven to 400.
- Peel and chop vegetables (try to keep them roughly the same size so they cook evenly).
- Toss vegetables in a large bowl with dressing.
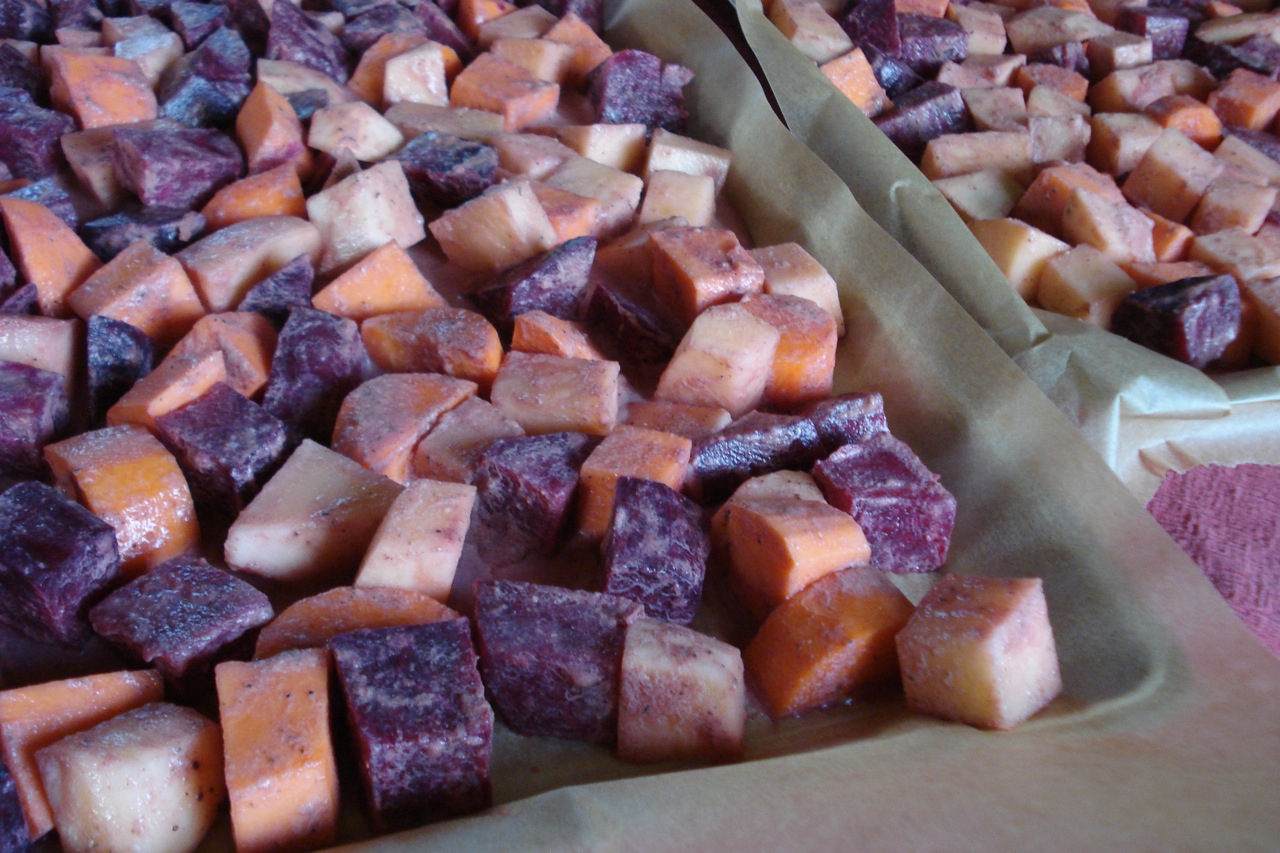
- Line two cookie sheets with parchment paper.
- Spread vegetables on sheets in a single layer and bake for approx 1 hour – give or take a few.
______________________________________________________________________________________
SIDE NOTES:
~ If you chop the vegetables smaller, they’ll cook a little faster. If they’re in larger chunks, it may take longer than an hour. Be sure to take a peek every now and then to make sure they’re not burning.
~ When spreading the veggies onto the baking sheets, better to transfer them with a slotted spoon rather than pouring them from the bowl. Depending on how many vegetables you’ve got, you may have extra dressing at the bottom of the bowl. You want to avoid the extra liquid being transferred to the baking sheets (making a puddle) – as it will end up burning in the oven.
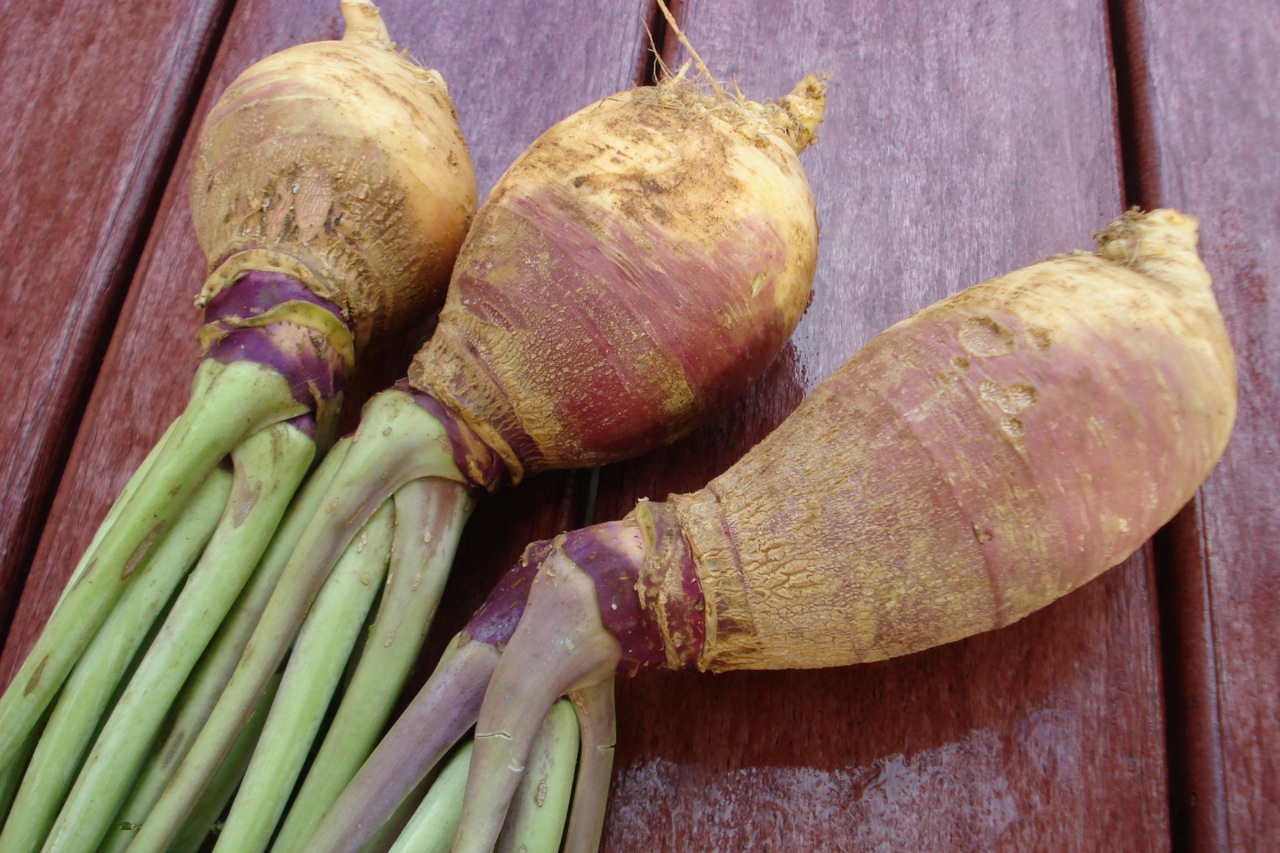
~ If you’re unfamiliar with rutabagas (not the most common vegetable), this is what they look like out of the ground. If trying to find them at the store, they won’t have the long green stems attached, it will just be bulbs of various shapes and sizes. Peel them the way you would a potato. The inside is white. I’m at a loss as to how to describe the flavor – they taste like rutabagas =)
~ Dressing adapted from “Moosewood Restaurant Favorites”.
Dairy Free, Gluten Free, Egg Free, Nut Free, Sugar Free, Grain Free, Vegan, Raw
If eating gluten free, use a gluten free tamari. If avoiding sugar, substitute 6 drops liquid stevia.
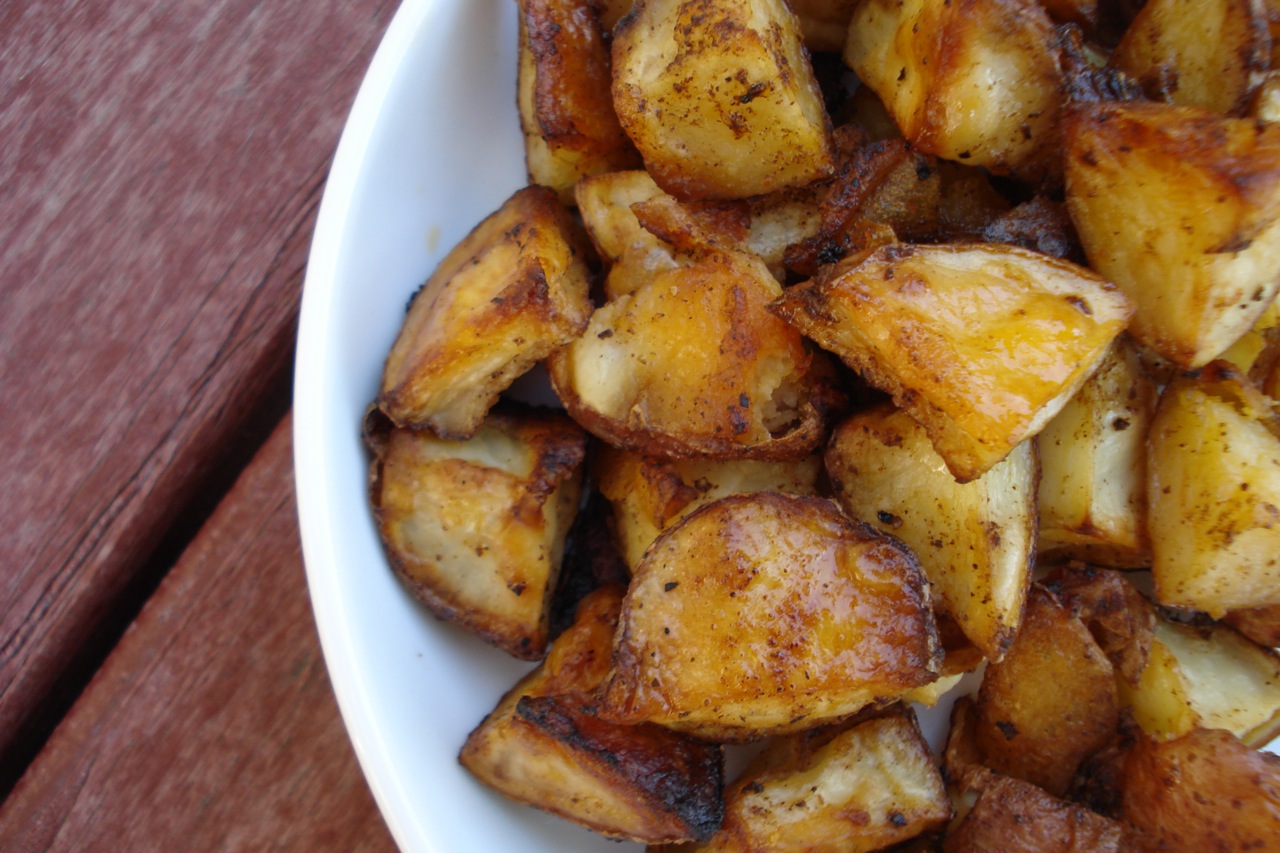
Oven-Roasted Chipotle Potatoes
3 & 1/2 lbs potatoes (red or white)
1/4 cup melted butter, ghee, or coconut oil
1 tsp pure salt
3/4 tsp garlic powder
1/2 – 1 tsp chipotle powder (or regular chili powder)
freshly ground black pepper to taste
- Preheat oven to 425.
- Wash potatoes well and chop into bite sized pieces (leave skin on).
- Melt ghee (or whatever you choose to use) and pour into a large bowl (big enough to eventually hold the potatoes).
- Add seasonings and mix well.
- Add the potatoes and toss to coat.
- Transfer to two cookie sheets lined with parchment paper.
- Roast for 45 mins to an hour, depending on how crispy you like them (can toss them once, half way through, but it’s ok if you forget or don’t feel like it).
Serves a family of 4 with a little left over.
______________________________________________________________________________________
SIDE NOTES:
~ Boy was this concoction good. It was a spur of the moment, just throw it together kind of thing. Really worked out well. The kids loved it.
~ Chipotle powder is a smokey type of chili powder (made from smoked, dried jalapenos). It’s extremely tasty and has a nice kick to it. If you don’t have it or can’t find it, you can substitute regular chili powder which will yield a similar flavor (though not as spicy or smokey).
~ If making this for young kids or people who don’t like spicy, cut the chipotle powder way down, or just use a little bit of regular chili powder. Using the full 1 tsp of chipotle is very spicy. Of course, you can make fantastic oven-roasted potatoes without the chipotle or chili powder at all. Simply use salt, pepper, and garlic & these potatoes will still be to die for. On a similar note, you can add any other additional spices you’d like. Rosemary is a popular herb for this type of dish, but you can experiment and use parsley, sage, thyme, basil, oregano, cinnamon, crushed red pepper, cayenne…etc, or any combination that sounds good to you.
~ The first time I made these, I used two 9 x 13 pyrex baking dishes and the potatoes ended up sticking (had to scrape them up with a metal spatula). Wasn’t that big of a deal. Didn’t demolish the potatoes or anything (photo above was from that first time). It was just a little annoying. Second time, I used parchment paper covered cookie sheets which eliminated the problem. Either way will work, but parchment paper is better.
~ I chose to use powdered garlic for this because I knew the cook time would be long, and I imagined little bits of garlic would end up burning being in the oven for so long at such a high temperature. If you do prefer to use fresh, I recommend tossing in whole cloves as opposed to crushed or minced (less likely to burn this way).
~ When cutting the potatoes, if you notice any areas where the potato is green-ish under the skin, cut that part out and discard it (or get rid of the whole potato if need be).
Dairy Free, Gluten Free, Egg Free, Nut Free, Sugar Free, Grain Free, Vegan, Raw
If eating dairy free use coconut oil instead of butter.
~ We had this next to broiled salmon and CRISPY-KALE. I actually tossed the kale in the same bowl I tossed the potatoes. Since the inside of the bowl was coated with the chipotle flavored ghee, our kale was extra tasty =)
Coconut Milk Smoothie
3/4 to 1 cup coconut-milk-tonic**
2 TBSP high-quality protein powder (optional)
1 banana
3/4 to 1 cup fresh or frozen fruit
Add to blender (in that order), and blend. Yields one serving (approx 16 – 20 oz).
________________________________________________________________________
SIDE NOTES:
**The COCONUT-MILK-TONIC is just coconut milk, thinned out with some water (equal parts of both). Nothing fancy or difficult to prepare.
~ I load the blender in that particular order for a reason. If you add the milk first, you can measure it accurately right in the blender (most blenders have measurement markers right on the carafe). This eliminates having to dirty a measuring cup which means less clean up. If using frozen fruit, adding it after the banana is much easier on the blender. If you’ve got rock-hard, frozen strawberries or peaches at the bottom of the carafe, the machine will have a hard time running, and you might even burn out the motor. Getting things going with soft banana at the bottom is the way to go.
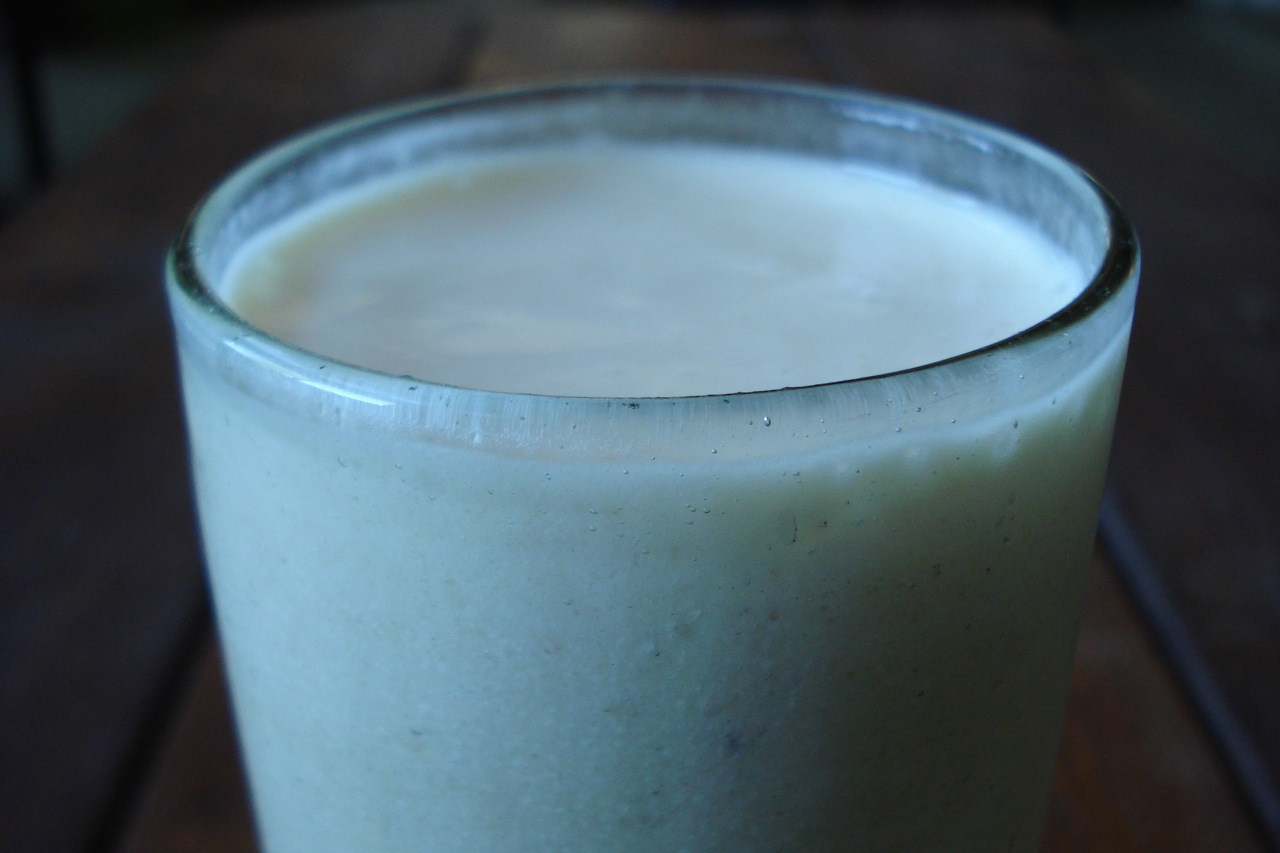
~ Pictured above is peach, but there are so many tasty variations – try blueberry, pineapple, strawberry/raspberry, or any other flavor that appeals to you. If you prefer, thaw out the fruit ahead of time so your smoothie isn’t so cold. And of course, use fresh fruit when it’s in season and available.
~ There’s really no right or wrong way to make a smoothie. Just toss in the ingredients you’re in the mood for in amounts that taste good to you. This particular combination just happens to be one of our favorites. But here’s a tip for adjusting the thickness… If you like a thicker smoothie, be sure to use a large banana, and consider using 3/4 cup milk to 1 cup frozen fruit. If you like more of a middle of the road thickness, try using equal amounts of milk and frozen fruit. And if you prefer it on the thinner side, use 1 cup of milk to 3/4 cups frozen fruit (personally, we don’t like them that thin).
~ If you have a large enough blender and want to make 4 servings at once, just add a whole can of (regular, not “lite”) coconut milk, 1 & 3/4 cups water, 1/2 cup whey powder, 4 bananas, and 3 1/2 to 4 cups of frozen fruit.
Enjoy
Dairy Free, Gluten Free, Egg Free, Nut Free, Sugar Free, Vegan, Grain Free, Raw
Keep in mind, if eating raw, you need to make your own coconut milk using fresh or frozen (unpasteurized) coconut meat. Additionally, if eating dairy free/vegan, omit the whey or substitute hemp protein powder.


