Ginger-Baked Tofu
1 pound extra firm tofu
2 TBSP lemon juice
2 TBSP mirin (japanese rice wine)
2 TBSP tamari/soy sauce
2 TBSP coconut oil
1 tsp sesame oil
1 TBSP pure maple syrup (or 6 drops liquid stevia)
1 TBSP peeled minced ginger (can buy this minced in jar if preferred)
2 garlic cloves, minced
1 tsp dried thyme
- Press tofu for 30 mins with weighted plate & drain.
- In the mean time, whisk the lemon juice, mirin, soy sauce, coconut oil, sesame oil & maple syrup (or stevia) together in a bowl.
- Mix in the ginger, garlic & thyme.
- Cut the tofu into triangles, place in baking dish in a single layer.
- Pour marinade over the top, & marinate for at least 30 mins & up to overnight (see details below).
- When ready to cook, preheat oven to 375.
- Bake tofu in its marinade, uncovered, anywhere from 40 – 60 mins.
- It’s done when the tofu is golden brown & the marinade is absorbed.
______________________________________________________________________________________
SIDE NOTES:
~ From “The Voluptuous Vegan”
~ I don’t care if you’re Frank Perdue – you’re going to really like tofu if you try this. (Though please make note that tofu should be consumed only rarely, if at all – see important note at the bottom of this page.)
Dairy Free, Gluten Free, Egg Free, Nut Free, Sugar Free, Grain Free, Vegan, Raw
If eating gluten free, use a gluten free tamari, and Eden brand mirin (which is both gluten & sugar free). If avoiding sugar, use stevia instead of maple syrup.
_____________________________________________________________________________
For those who are unsure of how to handle tofu, here are some detailed instructions & photos I hope will help….
_____________________________________________________________________________
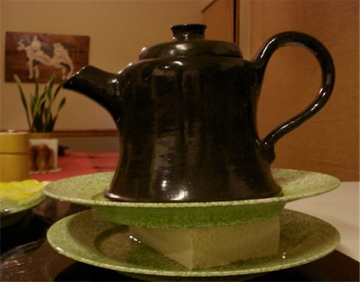
First – Press tofu for 30 mins with weighted plate.
Throughout the 30 mins, remove weight a few times, and get rid of the water accumulating on the plate (by tilting over sink while you hold the tofu firmly in place by pressing the 2 plates together).
____________________________________________________________________________
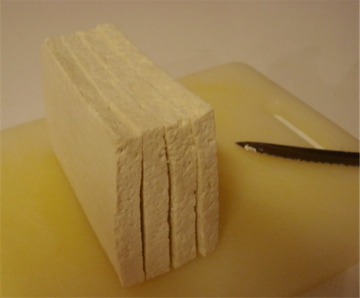
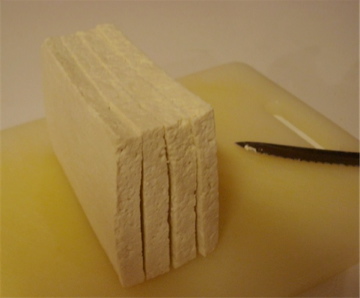
Then, stand tofu on its side, and cut into 4, equally thin rectangles as shown:
(Your best bet for getting the slices equal in thickness is to cut it down the middle first, then into quarters)
______________________________________________________________________________
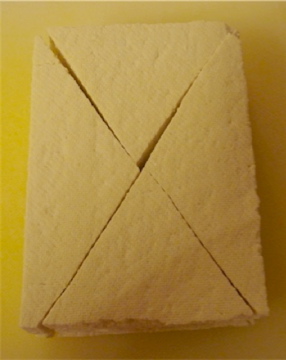
Next, place the tofu flat again (slices on top of each other) & make 2 diagonal cuts (like an X) to yield 16 triangles.
_______________________________________________________________________________
Then, arrange the triangles into a pyrex baking dish in a single layer, fitting the pieces together like a mosaic (may need more than 1 dish), and pour marinade over the top. Cover, and marinate for at least 30 mins (I always prepare it the night before & let it sit, covered, in the fridge overnight).

_______________________________________________________________________________
Personally, we don’t eat too much tofu anymore, as many studies have shown that fermented soy (tempeh, miso, soy sauce & natto), is the safest & healthiest type of soy to consume. Click HERE for more info on soy.
Of course, unless we’re talking about something like severe food allergies, or heroin injections, almost anything you enjoy, on occasion, is fine, including this delicious tofu dish =)
A good way to look at it…. If you’ve never eaten tofu before, don’t feel the need to get it into your diet somehow with the reasoning that it’s such an amazing health food (it’s not). If you happen to already love it, just try to phase it out a bit – eat it less frequently, & enjoy some delicious tempeh dishes more often!
Simple Quinoa & Millet Pilaf
1 cup quinoa
1 cup millet
1/2 tsp pure salt
- Rinse the grains well in a fine mesh strainer.
- Add the grains to a dry saucepan over medium-low heat.
- Stir with a wooden spoon until all of the water (clinging to the grains from rinsing) has evaporated.
- Continue stirring until the grains emit a faint, roasted aroma.
- Add 4 cups water & the salt.
- Stir once to dislodge any grains that might have stuck to the bottom.
- Cover & bring to a boil.
- Lower the heat & simmer, covered, for about 10 mins, or until the water is absorbed.
- Let the pilaf sit, covered, for 5 mins before fluffing with a fork.
______________________________________________________________________________________
SIDE NOTES:
~ This is obviously, a very plain, simple dish that needs to be coupled with something bursting w/ flavor (such as AFRICAN-GROUNDNUT-STEW).
Dairy Free, Gluten Free, Egg Free, Nut Free, Sugar Free, Grain Free, Vegan, Raw
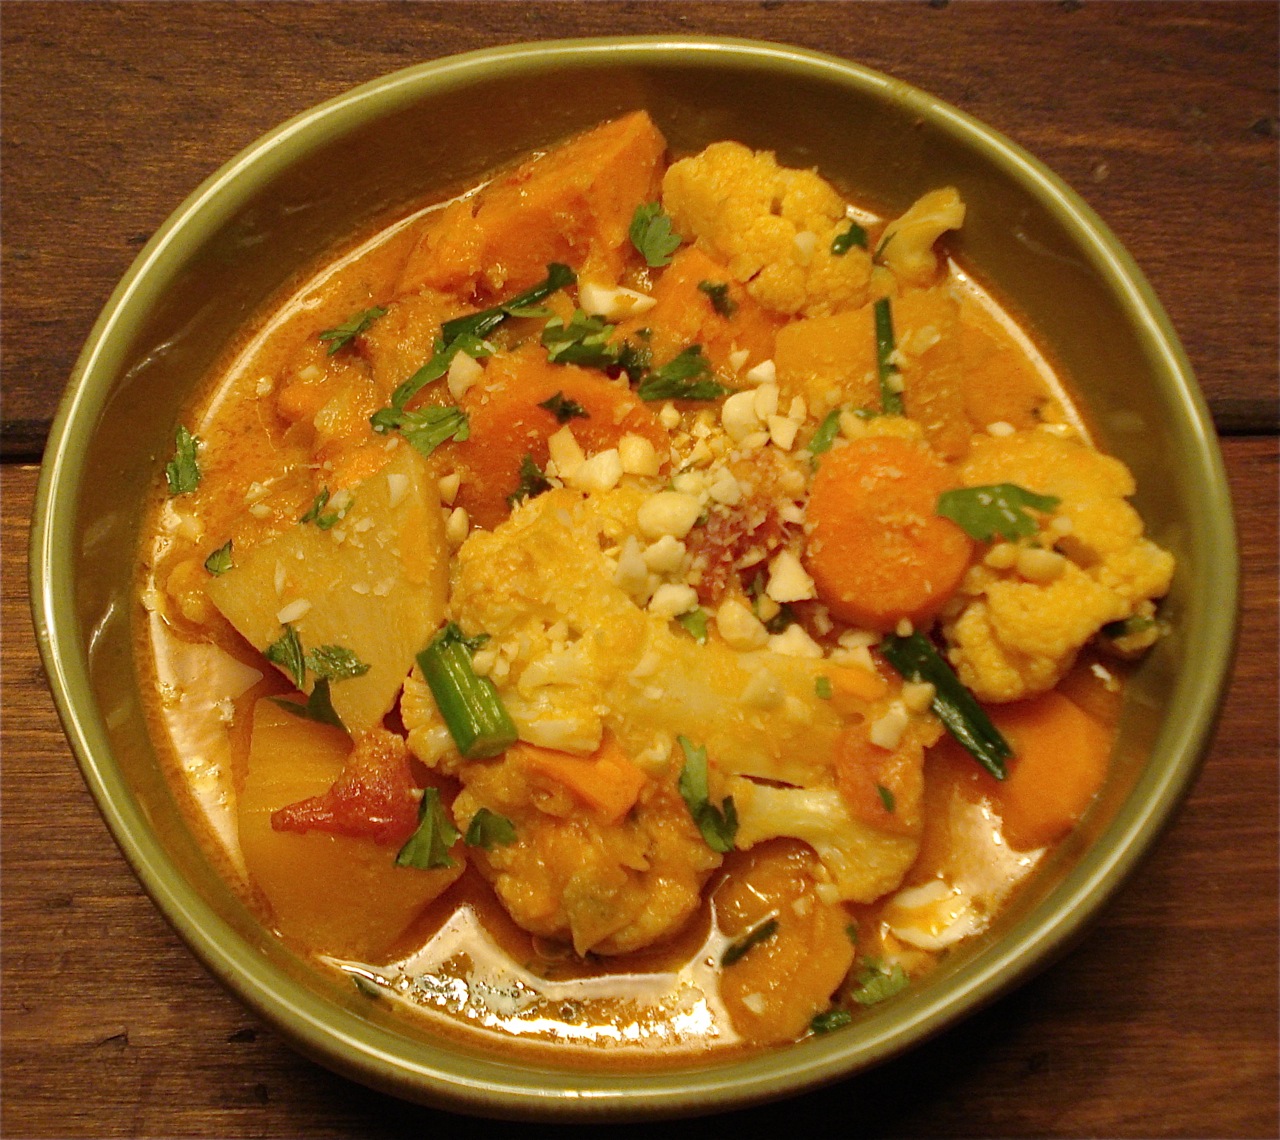
African Groudnut Stew
TO DIE FOR………..(but not an everyday dish!)
1 small head of cauliflower, cut into large florets (3 cups)
4 TBSP coconut oil, divided
pure salt
1 onion, diced (1 cup)
2 garlic cloves, minced
1 TBSP minced peeled ginger
1/4 tsp hot red pepper flakes
1 medium turnip, peeled & cut into large chunks (1 cup)
2 medium carrots, peeled & cut on the diagonal (1 cup)
1 celery stalk, cut on the diagonal into 2 inch pieces
1 (14.5 oz) can diced tomatoes
2 TBSP tamari/soy sauce
2 cups water
1 small sweet potato, peeled & cut into large chunks (1 & 1/2 cups)
1 lb butternut squash, cut into big chunks (about 4 cups)
1/4 cup natural, creamy peanut butter mixed with 1/2 cup warm water
2 TBSP ginger juice (or extra minced ginger)
1 scallion, chopped into 1 inch pieces (1/4 cup)
1/4 cup chopped fresh cilantro, plus more for garnish
pinch of cayenne pepper
1/2 cup chopped, roasted, unsalted peanuts, for garnish
- Preheat oven to 375.
- Toss the cauliflower in a bowl with 2 TBSP of the oil & sprinkle with salt.
- Spread on a parchment-covered baking sheet & roast in the oven for about 30 mins, stirring after 15 mins, until the cauliflower has begun to brown.
- Heat the remaining 2 TBSP of oil in a large (6-8 quart pot).
- Add the onions & cook over medium-low heat for about 5 mins, or until the onions are translucent.
- Add the garlic, ginger, and red pepper flakes & cook another 5 mins.
- Add the turnips, carrots, celery, tomatoes, and soy sauce & cook uncovered over medium heat, stirring from time to time, for about 5 mins.
- Add the water, cover the pot & bring to a boil over high heat.
- Lower the heat & simmer, partially covered, for 10 mins.
- Add the sweet potato, squash & 1 tsp salt & cook for another 15 mins, or until the vegetables are tender.
- Stir in the roasted cauliflower & the peanut butter mixture & cook for just a few minutes, stirring (gently) every so often to make sure nothing sticks to the bottom of the pot.
- Add the ginger juice, scallions & cilantro, adjust salt to taste & add a generous pinch of cayenne.
- Serve with peanuts & chopped cilantro sprinkled on top.
______________________________________________________________________________________
SIDE NOTES:
~ From “The Voluptuous Vegan”. For us, this is a special occasion dish – the main event of our annual Thanksgiving meal. It’s simply the best. Although I’d love to have it once a month or more, there’s a lot of prep work involved, & reserving it only for Thanksgiving makes it extra special when that time comes around.
~ When buying your ingredients, don’t forget to pick up parchment paper if you want to use it for roasting the cauliflower.
~ Get your nearest husband, friend or person who owes ya to help you peel & chop the veggies. I always have Al prep the squash, turnips & sweet potatoes.
~ Can use jarred minced ginger if you can’t get, or don’t want to deal with fresh (look in asian aisle).
~ The peanuts are more than a garnish. Everybody loves the peanuts on top. Use “kwik cut” tool (under “favorite tools/gadgets”) to chop (or pulse a few times in a food processor or blender).
~ Just as good the next day. Maybe better.
~ The following products are gluten free: All Eden Organic Canned Tomatoes, San-J Organic Wheat Free Low Sodium Soy Sauce. If avoiding sugar, careful what kind of peanut butter you use.
Dairy Free, Gluten Free, Egg Free, Nut Free, Sugar Free, Grain Free, Vegan, Raw
If eating gluten free, use a gluten free tamari, and be sure to double check the labels of packaged goods (tomatoes). If avoiding sugar, be careful what kind of peanut butter you choose. If avoiding nuts but can tolerated sunflower seeds, substitute sun butter for the peanut butter, and sunflower seeds for the peanuts.
Natural Root Beer
8 oz sparkling water
8 drops “Sweetleaf” root beer flavored liquid stevia
- Stir.
=)
Another good, natural soda can be made using the following 2 SweetLeaf liquid stevia flavors instead of the root beer flavor – vanilla creme & orange. Use 4 drops of each mixed into 8 oz sparkling water to make an orange creme soda.
Dairy Free, Egg Free, Gluten Free, Nut Free, Vegan, Sugar Free, Grain Free, Raw
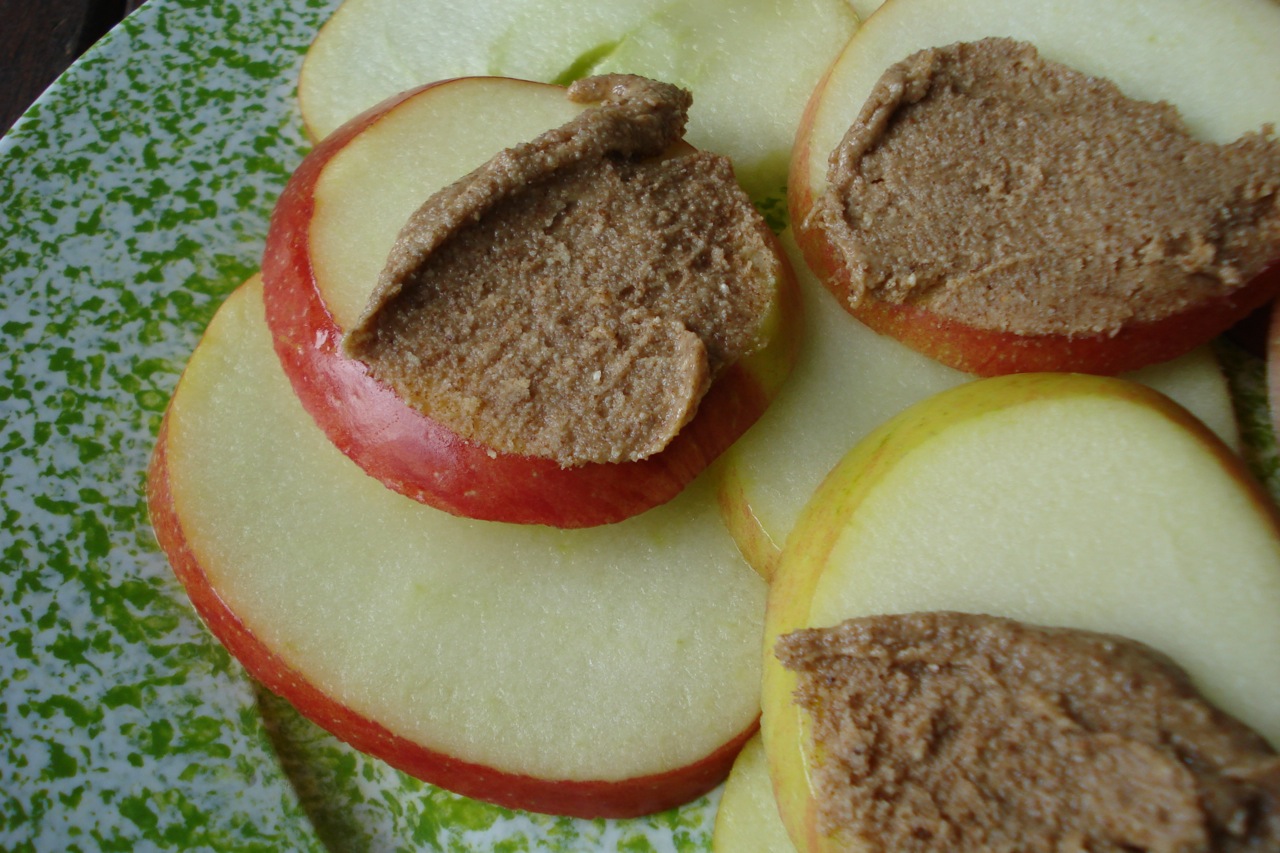
Apple Slices or Banana w/ Nut Butter
One of my all-time favorite snacks! Any type of nut butter will do. Nut butter is also delicious on bananas, carrots and celery.
If you’d like to try making a home-made nut butter, click the links below for detailed instructions:
“NUTELLA”-CHOC-HAZELNUT-BUTTER
MAPLE-CINNAMON-PUMPKIN-SEED-BUTTER
Dairy Free, Gluten Free, Egg Free, Nut Free, Sugar Free, Grain Free, Vegan, Raw
Can use a raw nut butter if you’d like.
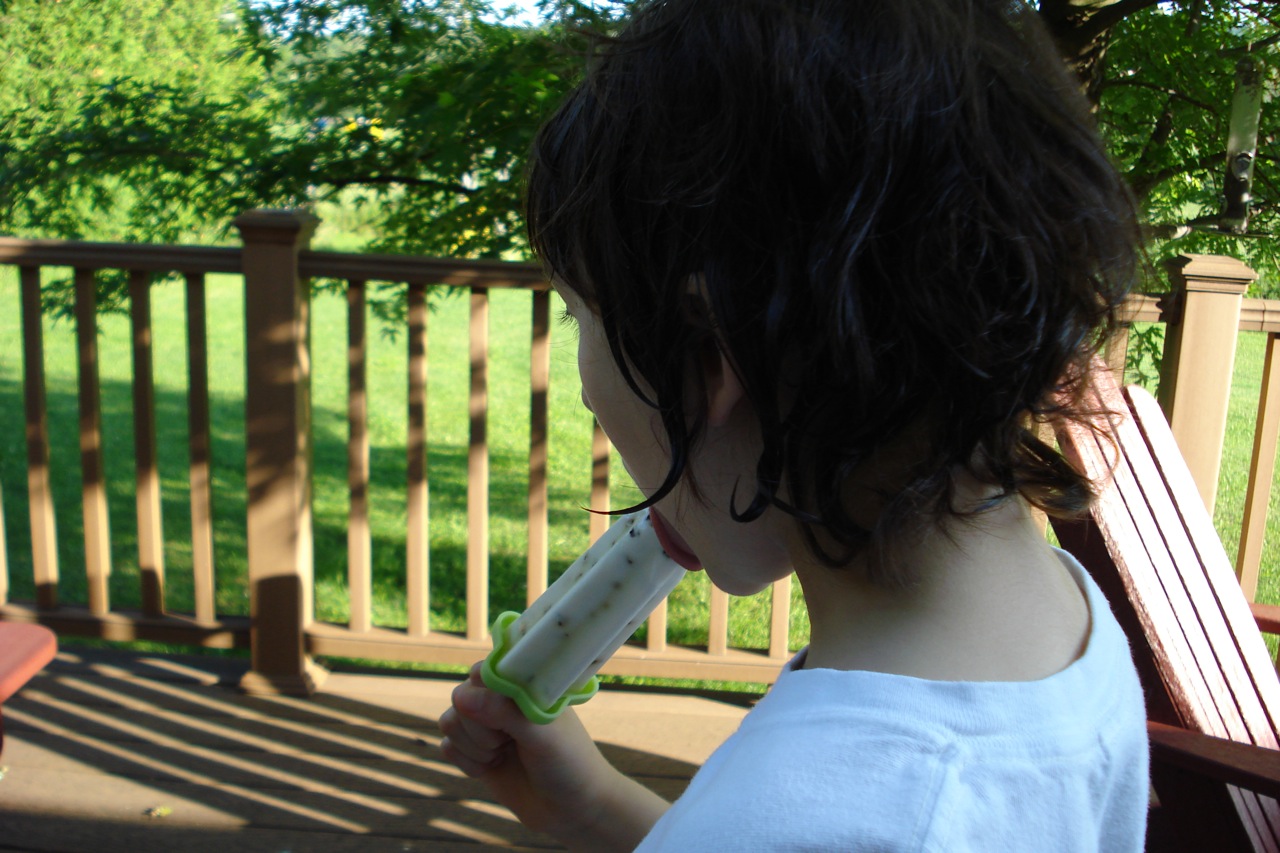
Ice Pops !
My goal here was to come up with a variety of delicious, wholesome, frozen treats that the kids would love. (I did it!) =)
Of course, you can puree just about anything & freeze it into a popsicle, so go with what you’re in the mood for & experiment. Or, use the following simple recipes as a basis to get started & go from there. I went back & forth a bit, tweaking, to get just the right ratio of flavor and sweetness, but I suggest you start with small batches so you can test & adjust the flavors to your own personal preference.
Liquid stevia works extremely well in these pops, but you can substitute honey (preferably raw) if need be. Just keep in mind that stevia is quite a bit sweeter than honey, so you’ll have to adjust accordingly.
These are some of the basic, staple ingredients I use:
~ Organic Plain Whole Milk Yogurt
~ Fresh organic fruit such as apples, bananas, watermelon…
~ Organic frozen fruit such as berries, peaches, cherries, pineapple
~ Navitas Naturals Cacao Powder
~ Navitas Naturals Sweet Cacao Nibs (for chocolate chips)
~ SweetLeaf Liquid Stevia (“SteviaClear” or “Vanilla Creme”)
For more ice-pop making details, scroll down to the bottom of this page.
____________________________________________________________________________________
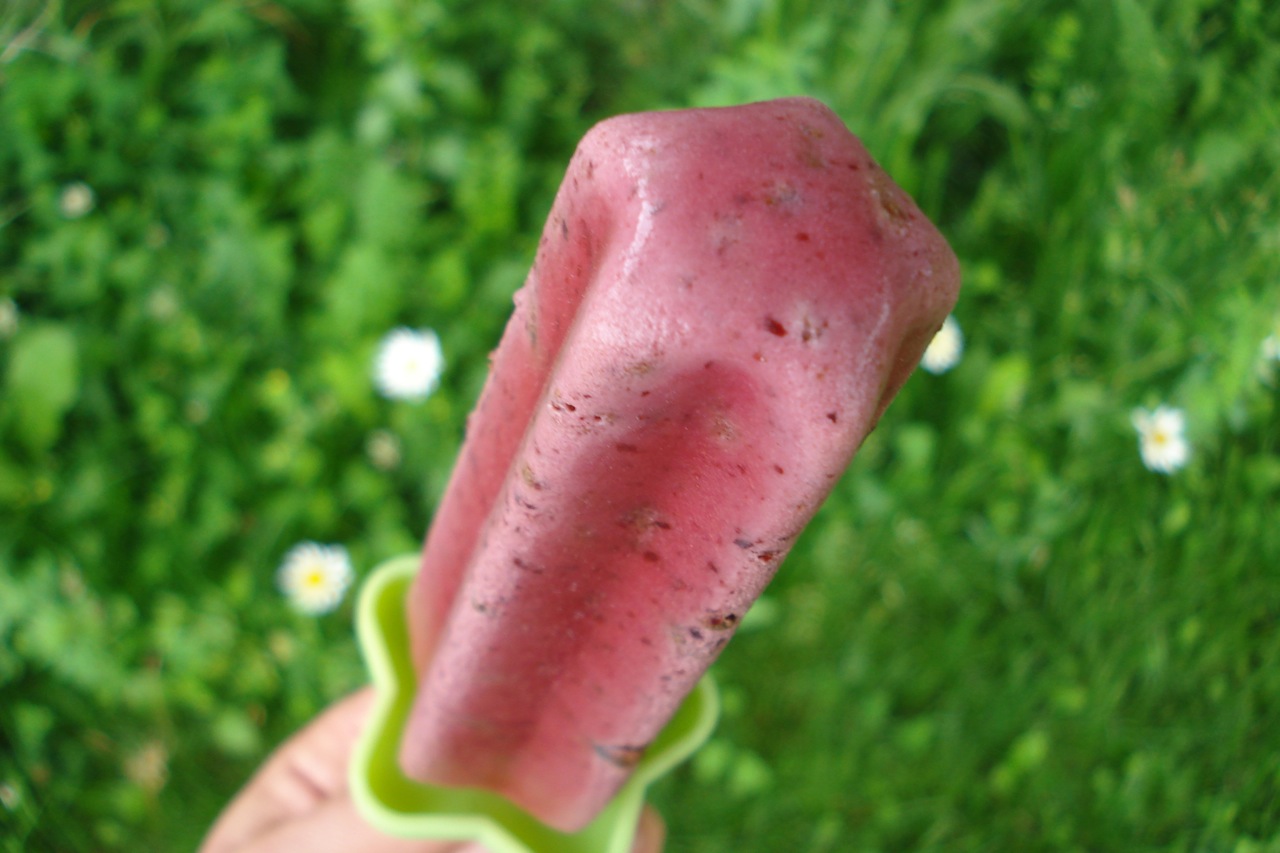
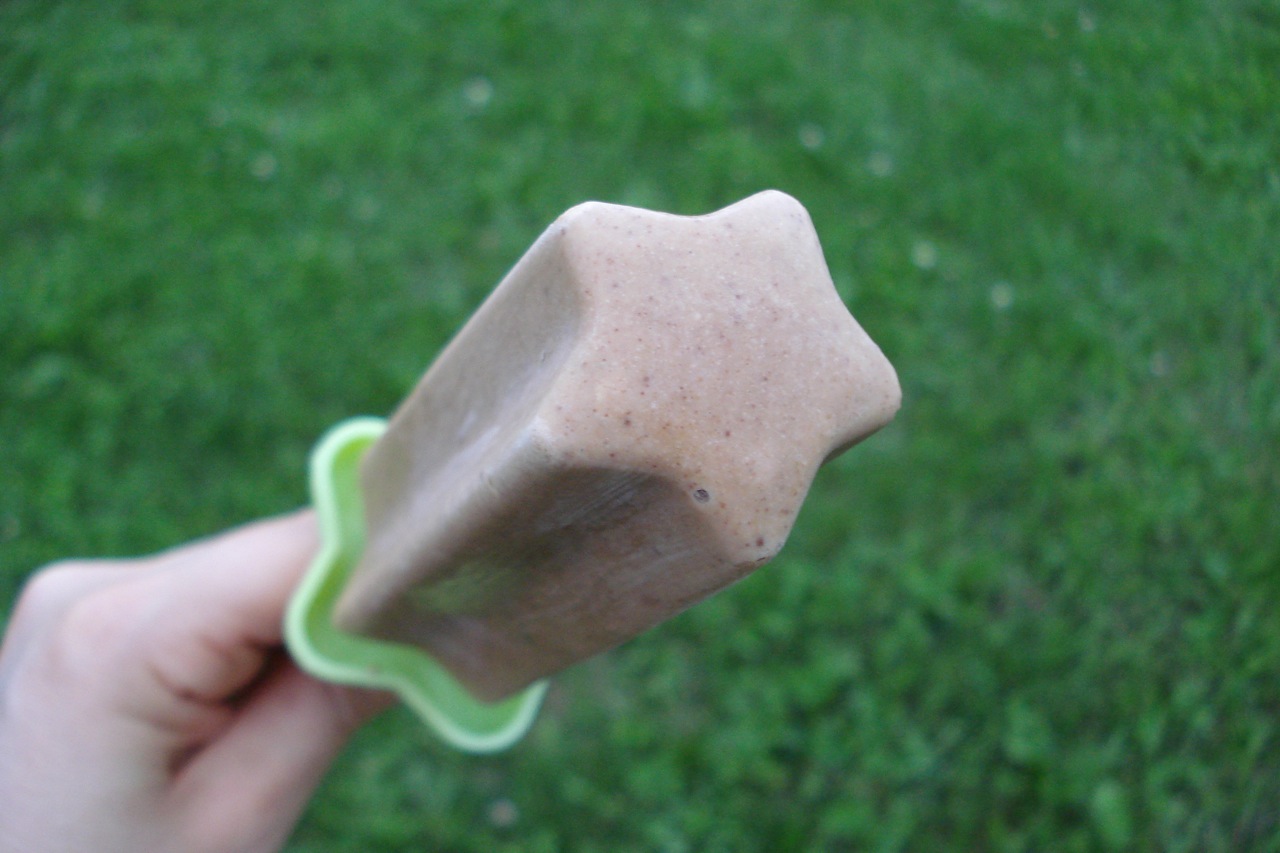
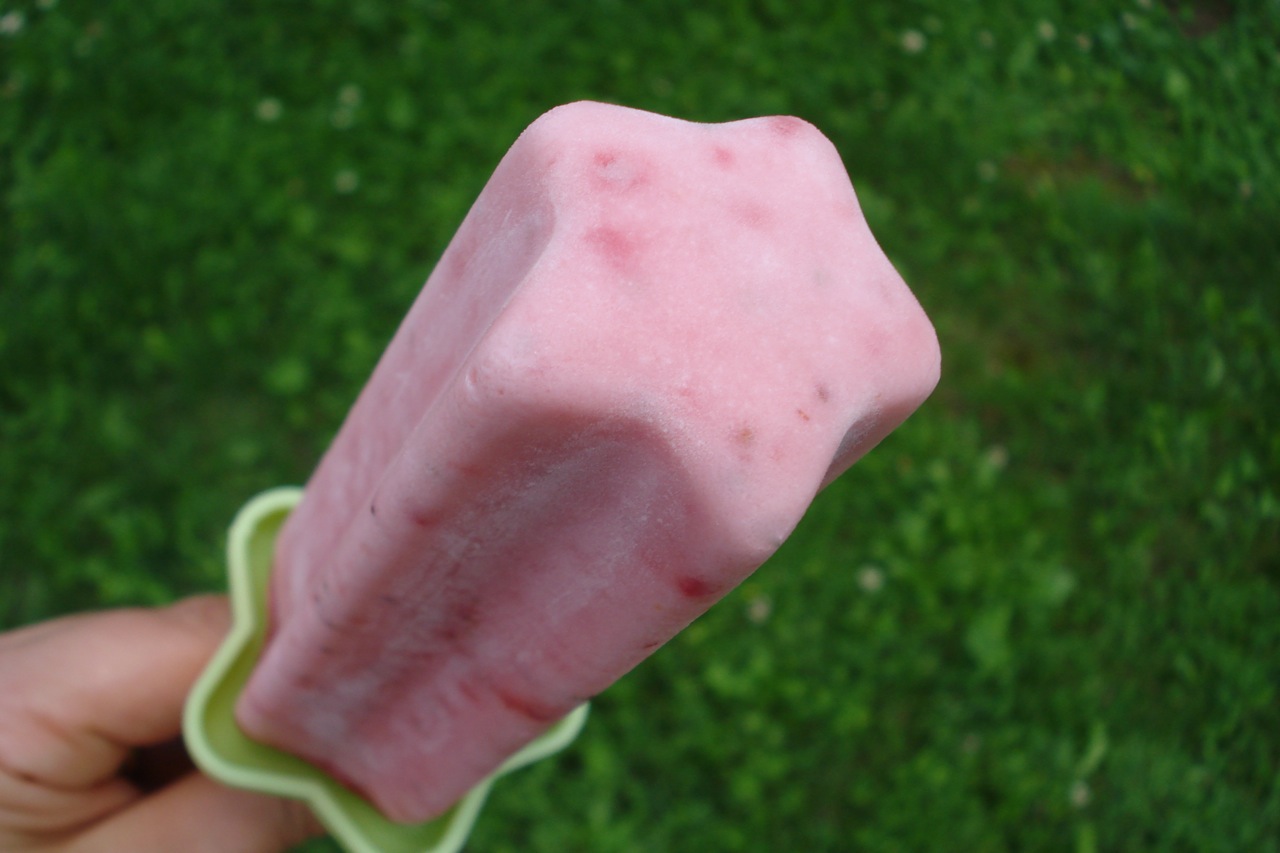
DARK SWEET CHERRY CHOCOLATE CHIP
3/4 cup plain yogurt
14 drops liquid stevia
1 cup pitted cherries (thawed if frozen)
chocolate chips (optional)
Mix stevia into yogurt. Puree cherries in blender and combine with yogurt. Stir in chocolate chips. Makes 3 star pops & 1 twirly.
__________________________________________________________________________________
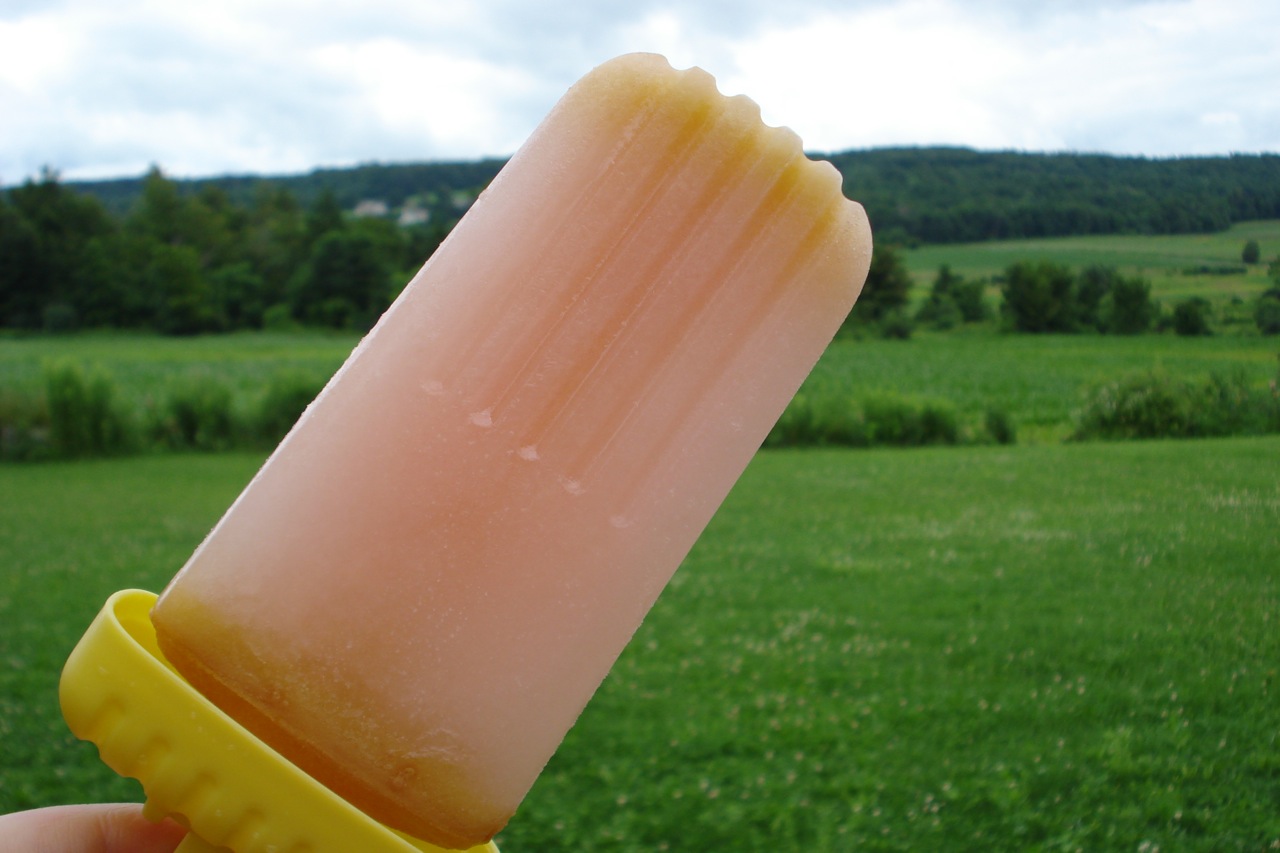
ORANGE ICE
Juice a few oranges (or use store-bought juice).
___________________________________________________________________________________
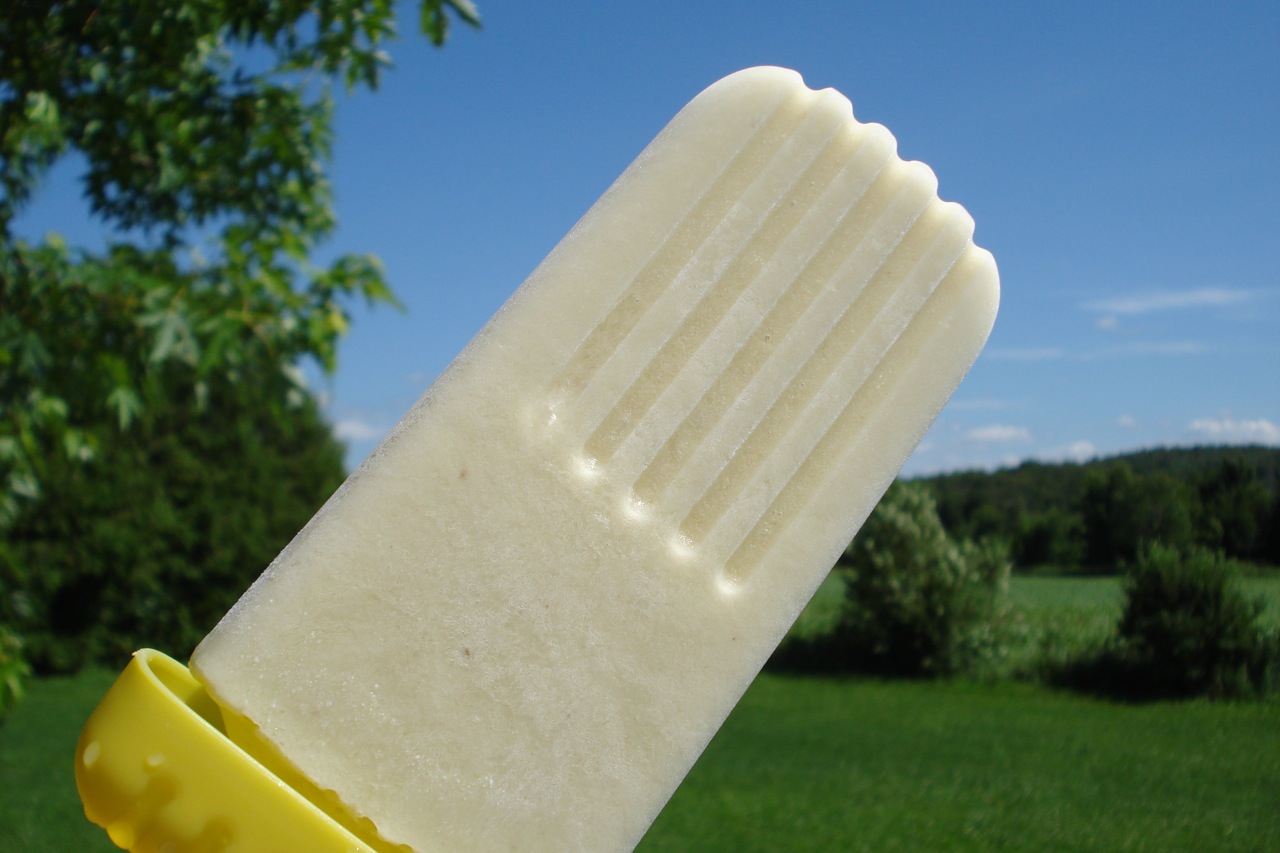
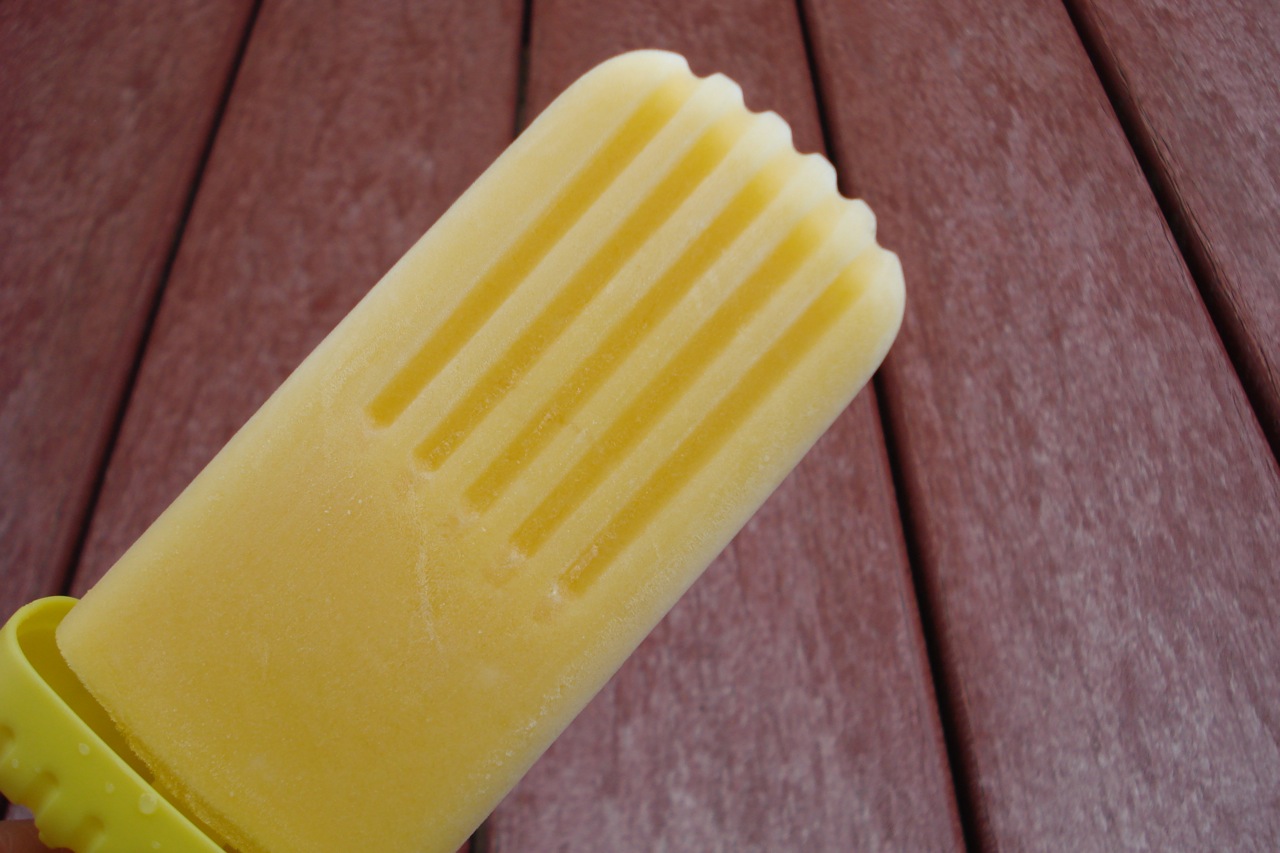
PINEAPPLE COCONUT
1 heaping cup pineapple chunks (thawed if frozen)
1 cup unsweetened coconut milk (regular – not light)
half of a ripe banana
8 drops liquid stevia
Blend all ingredients in blender. Makes 4 rectangular (4 ounce) pops, or 5 star pops.
____________________________________________________________________________________
APPLE CINNAMON
1 cup plain yogurt
12 drops SteviaClear liquid stevia
1 cup unsweetened applesauce
1/2 tsp ground cinnamon
Mix all ingredients together in a bowl. (For easy applesauce recipe, see condiments/dips section, or use store-bought)
__________________________________________________________________________________
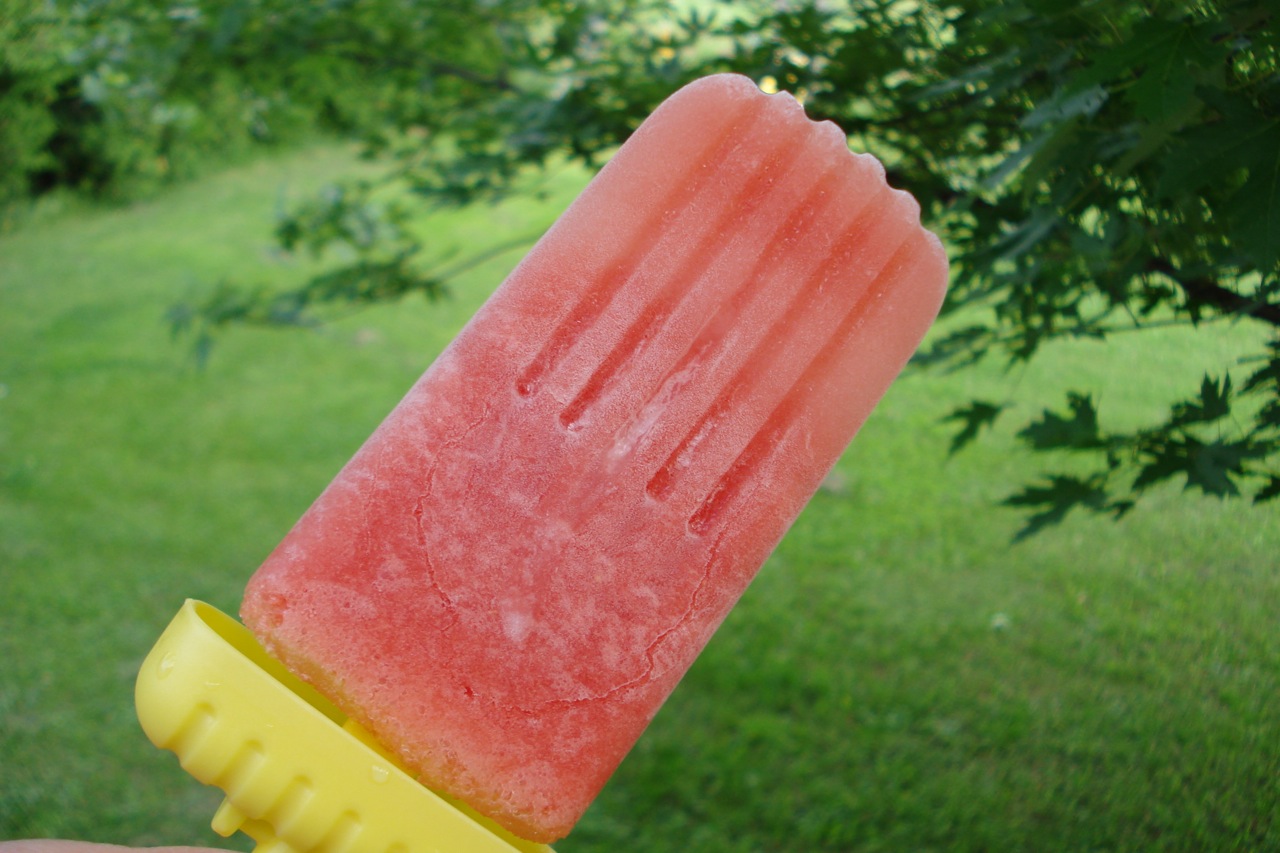
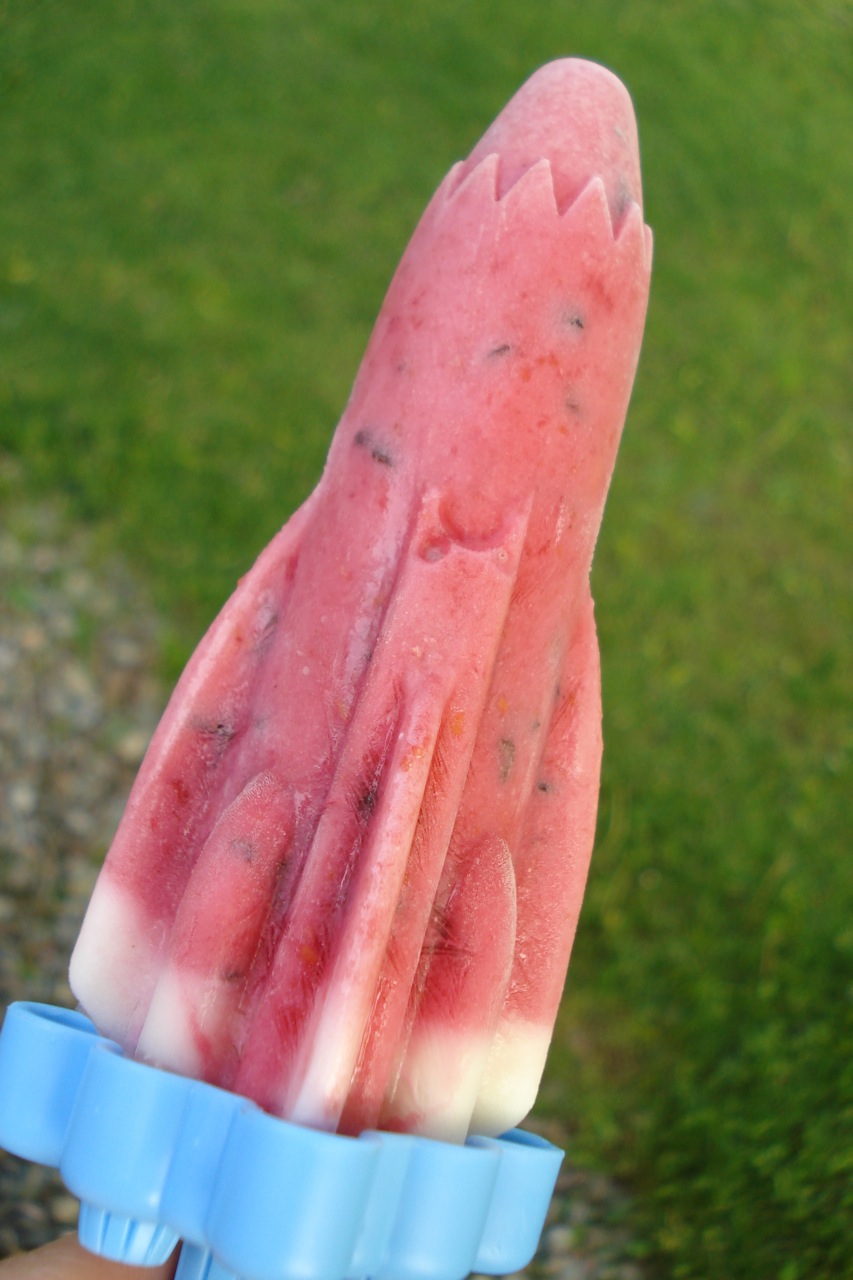
WATERMELON
watermelon
Remove seeds & puree in blender. (If you have a high-powered blender, you don’t have to worry so much about removing the seeds, & in fact, they’re quite nutritious – Lots of protein & some vitamins & minerals as well)
________________________________________________________________________________
LEMON ICE
1/2 cup fresh lemon juice (approx 3 lemons)
3 cups water
18 drops liquid stevia (more or less)
This one comes out a little different each time I make it, depending on how sour the lemons are. In general, it’s a 6 to 1 ratio of water to lemon juice. Then add as much sweetness as you need.
______________________________________________________________________________
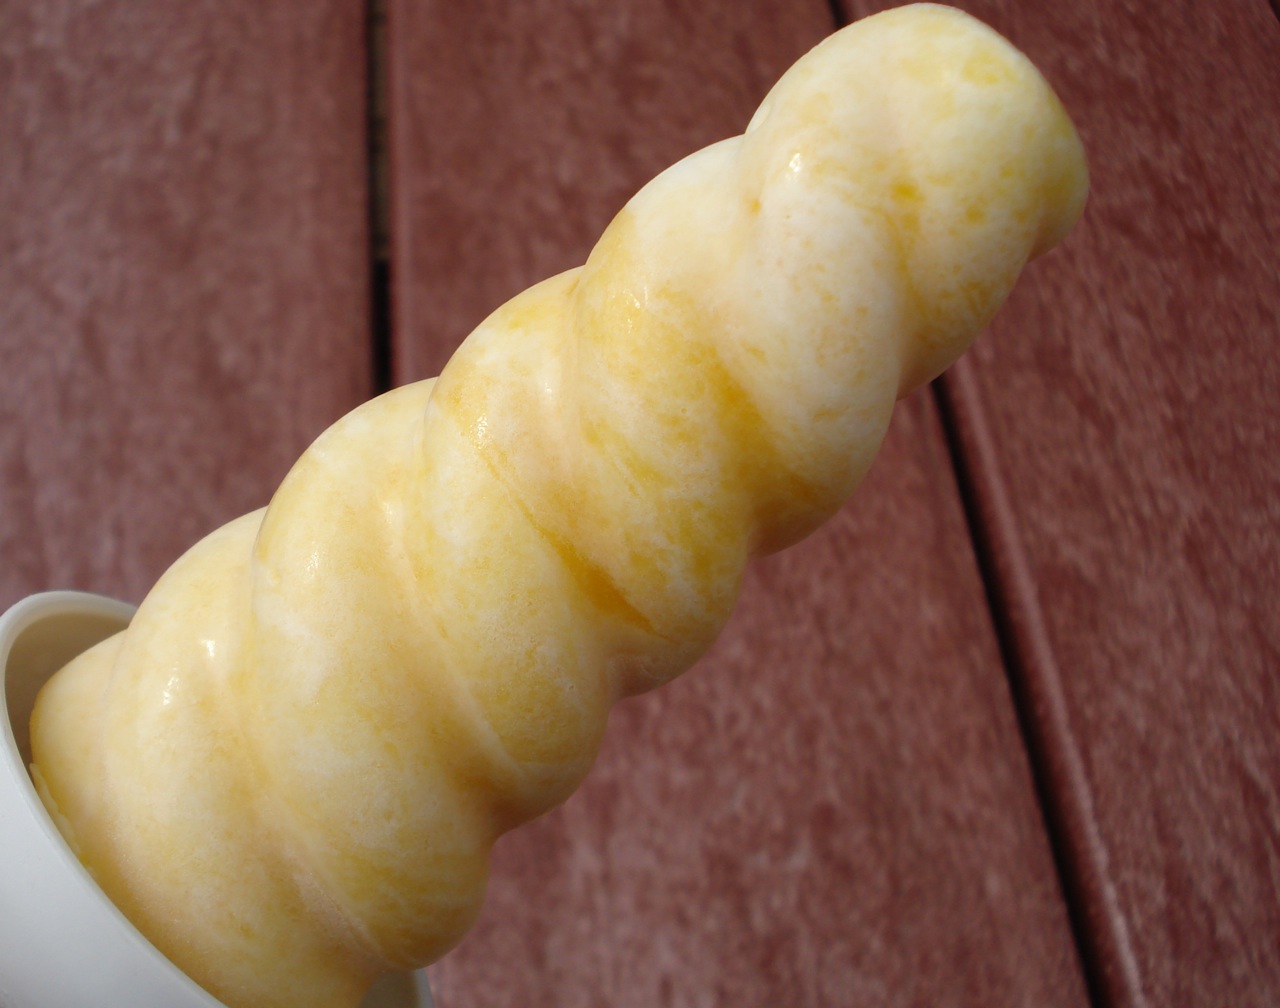
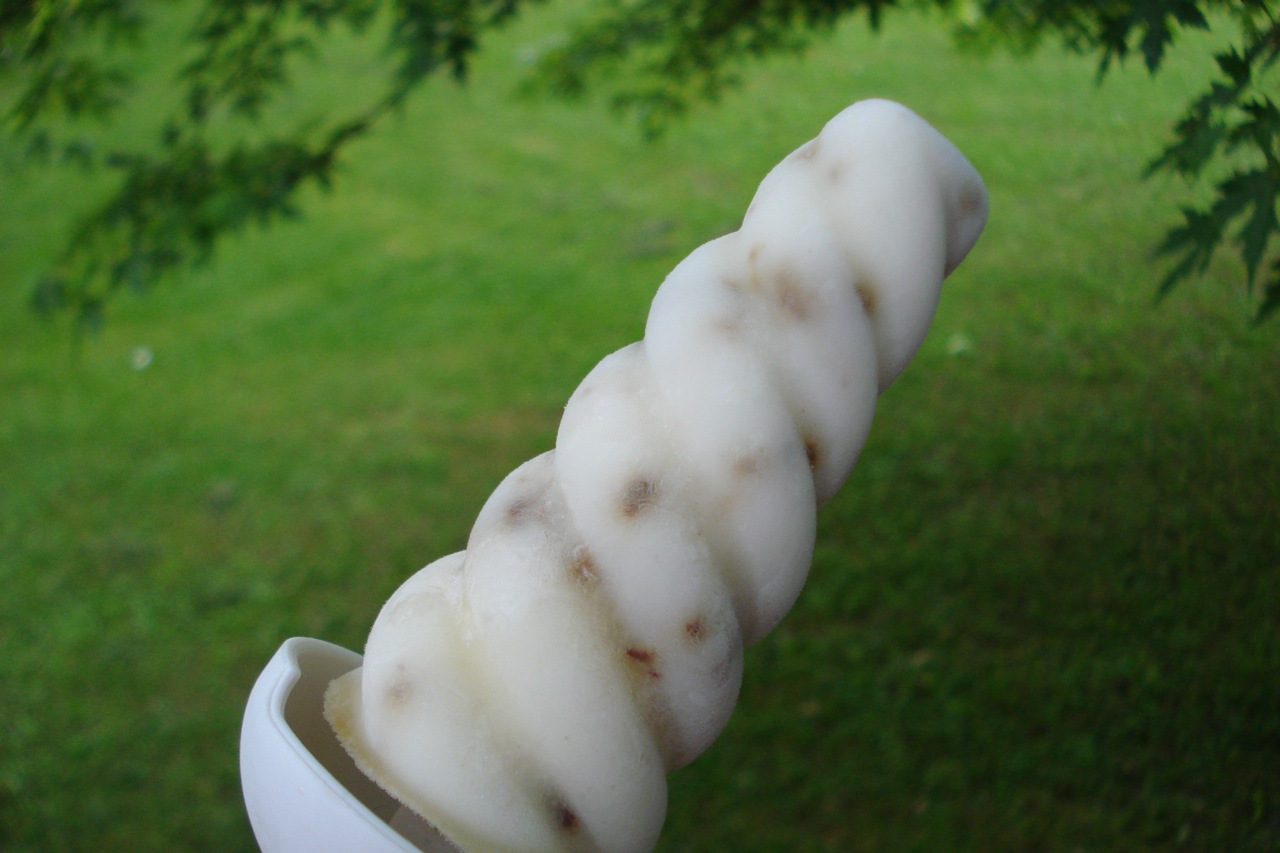
PEACHES N CREAM
3/4 cup plain yogurt
14 drops liquid stevia
1 heaping cup sliced peaches (thawed if frozen)
MIx together yogurt & stevia. Puree peaches in blender & swirl into yogurt. Makes 5 or 6 twirly pops.
If I happen to be opening up a new yogurt container, for this one, I like to use mostly the cream on top of the yogurt.
__________________________________________________________________________________
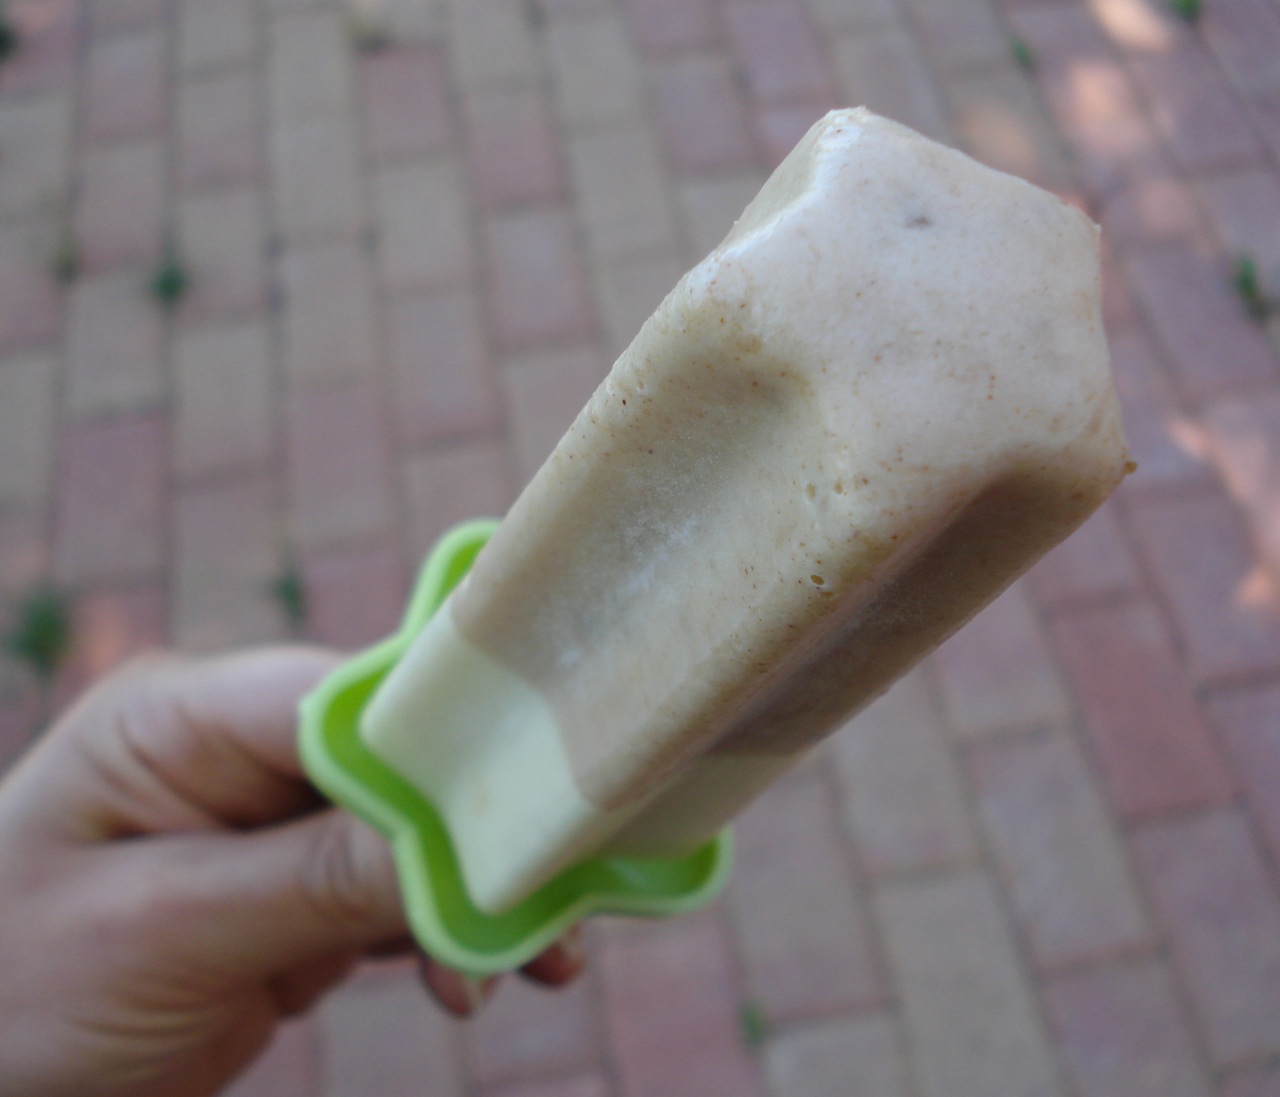
BANANA CINNAMON
1 very ripe banana, mashed w/ fork
1/2 cup plain yogurt
1/4 tsp ground cinnamon
12 drops liquid stevia
Mix everything together in a bowl.
In photo, I’ve actually got the pineapple coconut flavor on the bottom half. You can layer any flavors together that you’d like. Makes 1 star pop, 1 rocket & 1 twirly.
__________________________________________________________________________________
RASPBERRY CHOCOLATE CHIP
3/4 cup plain yogurt
14 drops liquid stevia
1 cup raspberries (thawed if frozen)
chocolate chips (optional)
Combine yogurt & stevia. Puree raspberries in blender. Mix together with yogurt & add choc chips if using.
_________________________________________________________________________________
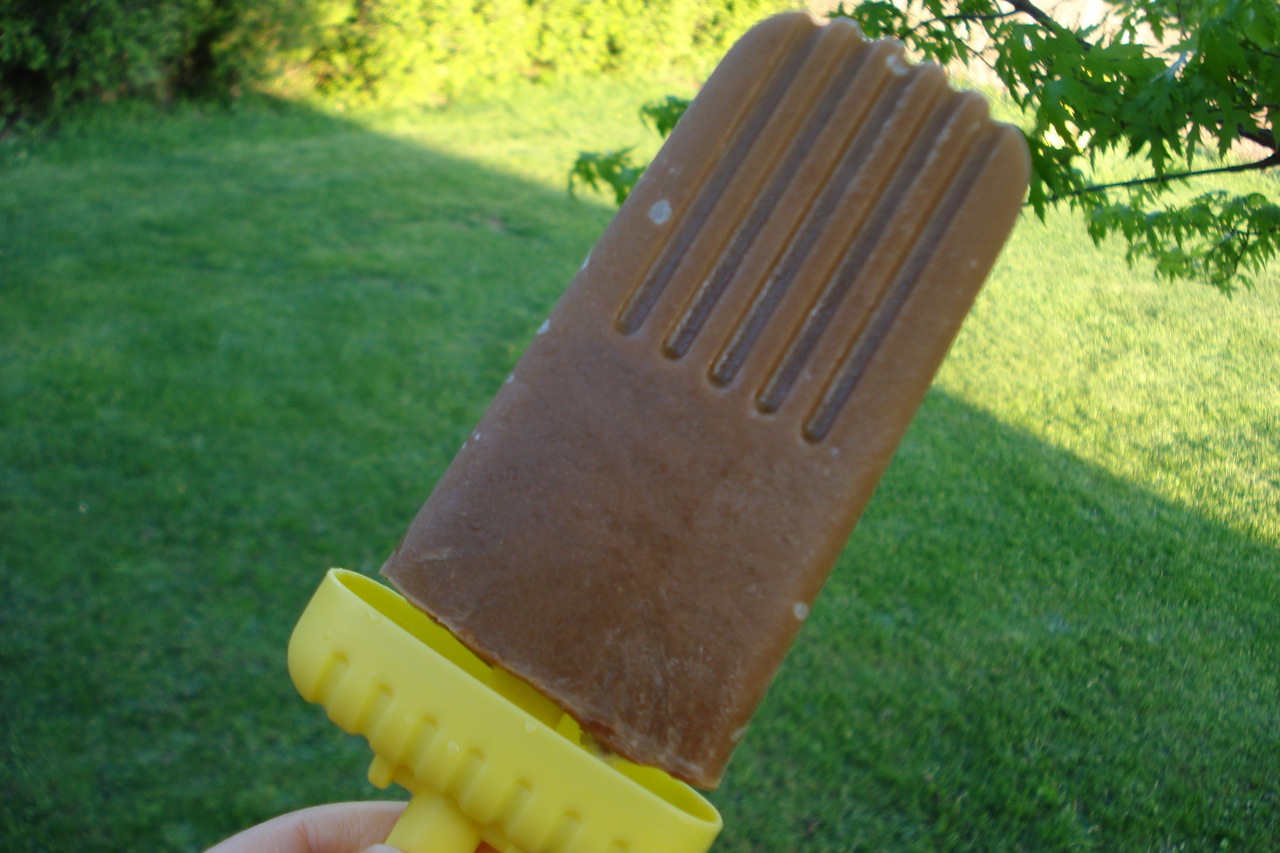
CHOCOLATE
1/2 cup plain yogurt
2 teaspoons cocoa powder
12 drops liquid stevia
Mix together in bowl. Makes 2 twirly pops w/ a little left over.
____________________________________________________________________________________
CHOCOLATE (variation 2 – dairy free)
2 TBSP coconut butter
2 TBSP cocao powder
1 avocado
3 dates, pitted
1 cup cold water
1 pinch sea salt
1/4 tsp pure vanilla extract
Blend well in a high-powered blender. (Cut the dates into small pieces before adding to blender if using a standard blender.)
(This chocolate pudding recipe is from www.renegadehealth.com)
I was actually giving the kids this one for a while, before I tried the simpler, variation 1. Avocado might seem weird, but this is what gives the pudding a creamy consistency, and you’d never know it was in there taste-wise. There was one time though, I guess I didn’t blend long enough….”Mommy, what’s this green chunk in my ice pop?” The kids do prefer variation 1, but this one is pretty darn good if you can’t eat dairy.
______________________________________________________________________________________
CHOCOLATE RASPBERRY
1 cup plain yogurt
1/2 cup raspberries (thawed if frozen)
4 teaspoons cocoa powder
30 drops liquid stevia
Puree everything in blender. Makes 6 twirly pops (6 two ounce ice pops).
It’s also great substituting strawberries for the raspberries.
_______________________________________________________________________________
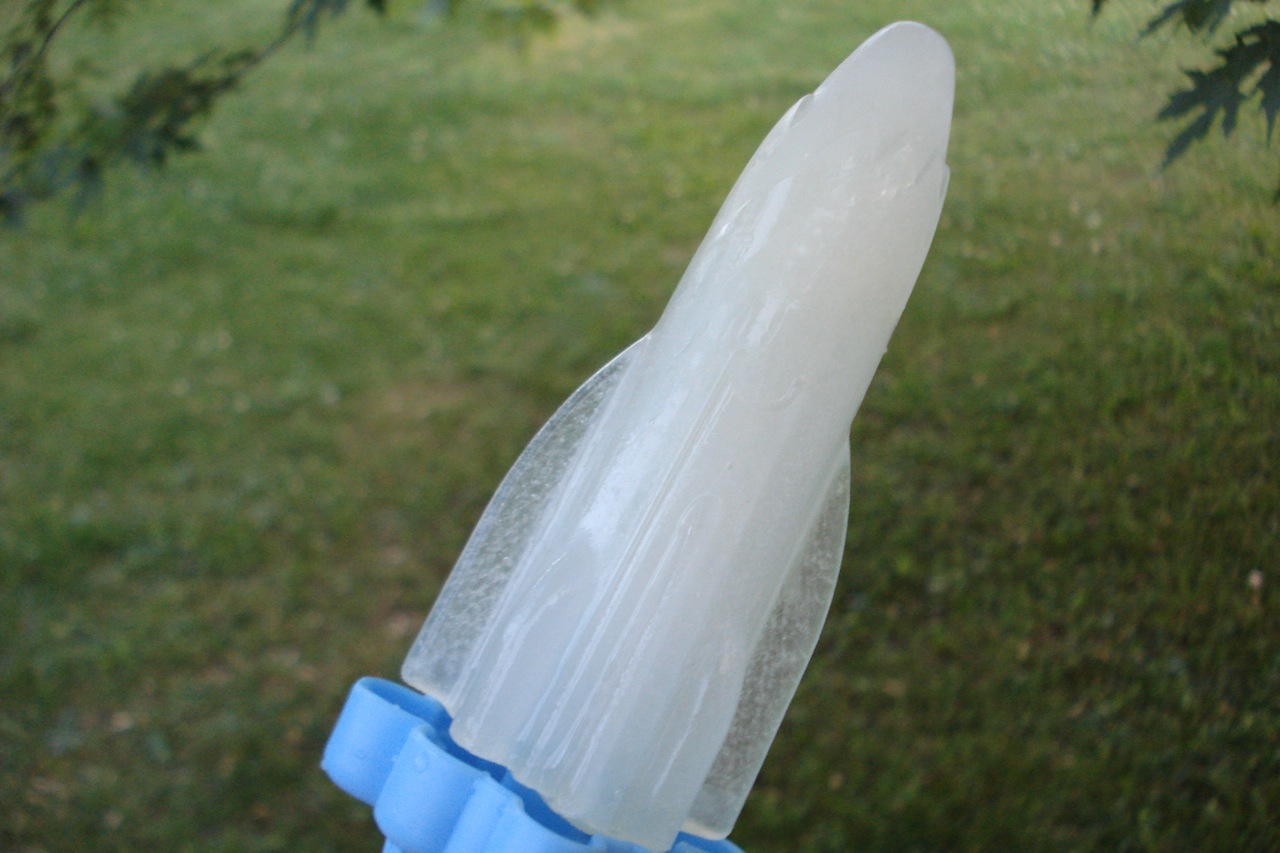
CHOCOLATE PEANUT BUTTER
1/2 cup plain yogurt
12 drops liquid stevia
2 tsps cocoa powder
2 TBSP (more or less) peanut butter*
Mix everything together in a bowl. Makes 2 rocket pops.
*If for whatever reason, you don’t eat peanuts, “Sunbutter” (made from roasted sunflower seeds) is the closest you’ll get as far as flavor goes (but you can also substitute almond, cashew, or any other nut-butter).
________________________________________________________________________________
MEXICAN ICE CREAM
1/2 cup plain yogurt
12 drops liquid stevia
2 tsps cocoa powder
1/4 tsp cinnamon
Mix together in bowl.
_________________________________________________________________________
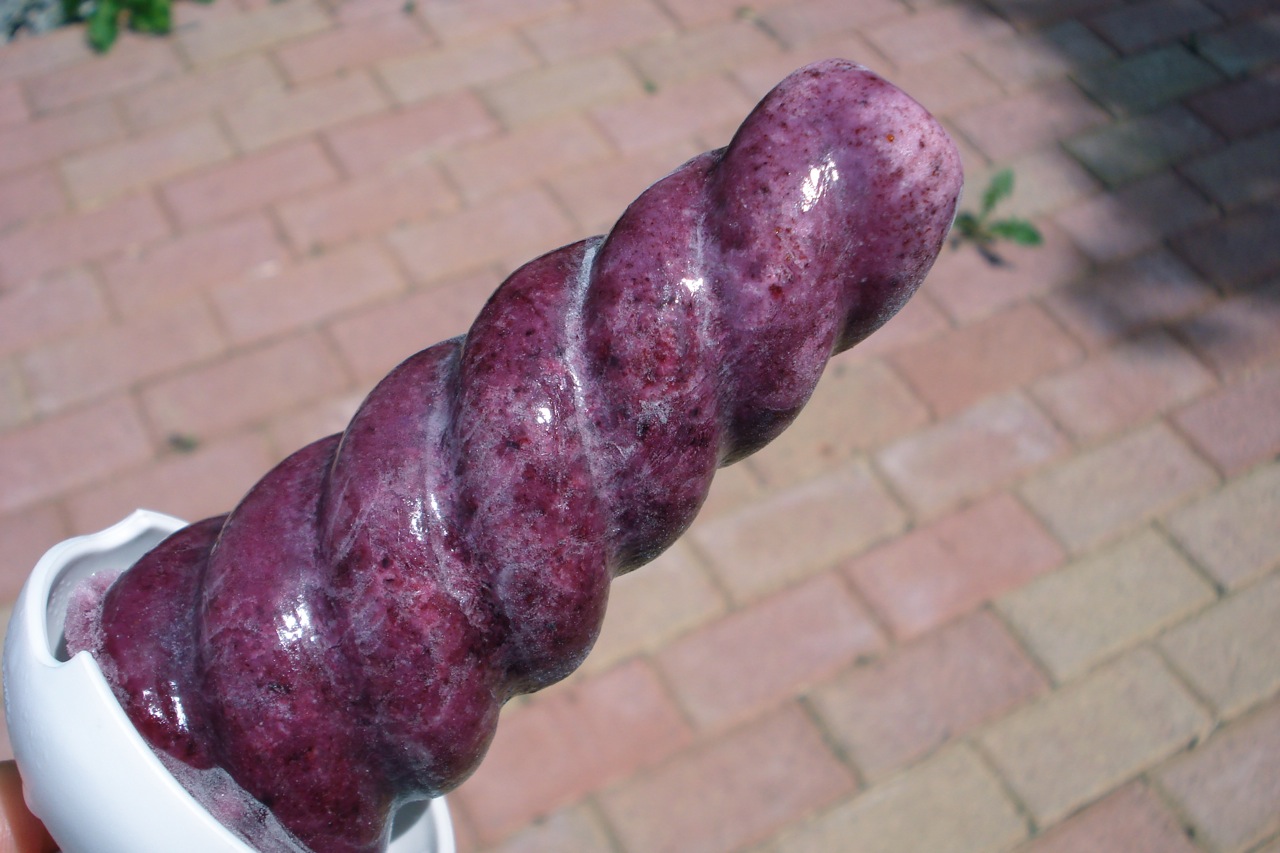
BLUEBERRY
3/4 cup plain yogurt
14 drops of liquid stevia
1 heaping cup blueberries (thawed if frozen)
Combine yogurt & stevia in a bowl. Puree blueberries in blender and swirl into yogurt.
_________________________________________________________________________________
STRAWBERRY
3/4 cup plain yogurt
14 drops of liquid stevia
1 heaping cup strawberries (thawed if frozen)
Mix together yogurt & stevia. Puree strawberries in blender & combine with yogurt. Makes 2 rocket & 2 star pops.
________________________________________________________________________________
VANILLA CHOCOLATE CHIP
1/2 cup plain yogurt
9 drops vanilla creme liquid stevia
chocolate chips
Mix together in a bowl.
If I happen to be opening up a new yogurt container, for this one, I like to use mostly the cream on top of the yogurt.
__________________________________________________________________________________
ORANGE CREAMSICLE
2/3 cup orange juice
1/3 cup plain yogurt
6 drops liquid stevia
Juice oranges and mix ingredients together in a bowl. Makes 2 rectangular (4 oz) pops.
________________________________________________________________________________
APPLE ICE
If you have a juicer, juice a few apples, or use store bought (100%) juice.
____________________________________________________________________________________
All the photos are clickable if you’d like to zoom in & admire these pretty pops =)
~ Minimum of 6 hours to freeze….Depends on how big your molds are, and also how thick the liquid is. You need at least 6 hours, sometimes more.
~ When mixing ingredients by hand, mix your ingredients in a measuring cup (as opposed to a bowl) as the spout will make it really easy to pour the contents into the molds. Of course, if you’re blending it all up in a blender, just pour it straight into the molds.
~ When filling the popsicle molds, leave a little space at the top. As they freeze, the contents will expand.
~ Also, if the tops (handles) “snap” onto the molds, don’t actually snap them on. Just rest them gently on top. This makes it easier to remove the pop from the mold when ready to eat.
~ In our experience, we needed to make them a little sweeter than I initially thought necessary. In other words, once frozen, the sweetness diminishes. A few of the purees we made that tasted just perfect to us when fresh turned out to be a bit bland after freezing into a pop.
~ For most of these flavors, I puree the fruit in a blender, then mix into yogurt with a spoon. Alternately, you can put everything in the blender together if it’s easier. You’ll get a smoother pop that way. We like it a little chunky – small bits of fruit & a swirly color, so this is why I don’t add the yogurt to the blender. Up to you.
~ If trying to layer 2 flavors into 1 pop, it’s easiest with the thicker (yogurt based) flavors. Simply fill up the mold halfway w/ one flavor & the rest of the way w/ the other. If you want to do this with watery flavors (juice pops), you’ll have to add the first flavor, then freeze for just a few hours (until it’s thick &; slushy, but not fully frozen), then add the next flavor.
~ Why not use flavored yogurts? – Flavored yogurts almost always contain undesirable additives. I choose to use plain yogurt and sweeten/flavor myself. Up to you.
________________________________________________________________________
My favorite popsicle molds:
~ ORKA (these are the smaller, twisty ones). As far as removing the frozen popsicle from the mold, these are the easiest I’ve ever used. You simply peel off the silicone sleeve – like taking off a glove. These are also the best size for toddlers, who would likely not be able to finish some of the other larger sizes. Made from non-toxic silicone & dishwasher safe.
~ TOVOLO makes all the other shapes you see here – Rocket, Star & Rectangle. To release popsicles from molds, run under hot water for a few seconds to loosen. BPA free plastic & dishwasher safe.
______________________________________________________________________________________
All of the ice pops on this page are gluten free, egg free, and sugar free (no added sugar). Actually, our “chocolate chips” (Navitas Naturals Sweet Nibs) do contain organic cane juice, so omit them if need be. Navitas also makes unsweetened nibs which Al & I like, but it’s more of an acquired taste – potent, intense, & a little bitter. Not really what my kids are looking for in an ice pop =)
A few of the flavors are also dairy free:
~ Lemon Ice
~ Orange Ice
~ Apple Ice
~ Watermelon
~ Pineapple Coconut
~ Chocolate (variation 2)
If avoiding dairy, you can experiment, using coconut milk or almond milk instead of yogurt. Actually, there are also non-dairy yogurts out there (in my opinion, coconut yogurt would be a first runner up to whole milk yogurt).
Some are even raw if you use your own fresh, juice and/or fruit:
~ Lemon Ice
~ Orange Ice
~ Apple Ice
~ Watermelon
~ Chocolate (variation 2)
____________________________________________________________________________________
I should mention too, that these pops are not just for kids. Husband has been in ice-pop-heaven. I think I’ll be leaving this page up top for the remainder of the summer!
I’ll be adding to this page if I come up with other flavors that work out well. Please feel free to share some of your own ice pop ideas.
Peanut Sauce
Smooth Peanut Sauce – quick, easy & yummy!
1/2 cup natural peanut butter (almond or cashew butter work too)
4 TBSP soy sauce
2 TBSP brown rice vinegar
1/2 tsp ground ginger
1/8 tsp cayenne pepper (or more)
1/2 cup water
- Whisk all ingredients together.
Done! I Love a no-cook sauce 🙂
SIDE NOTES:
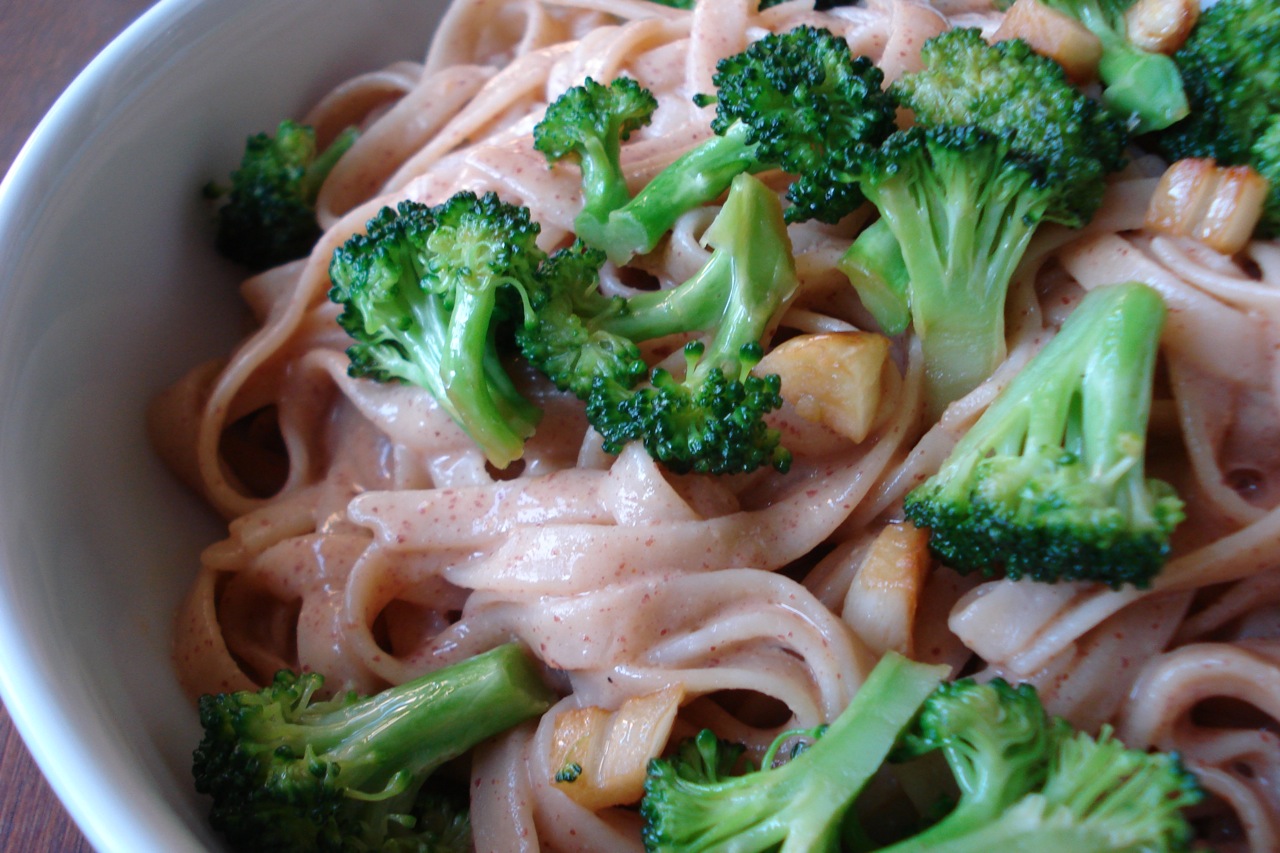
~ Our favorite way to eat this sauce is over noodles with a vegetable. Peas or broccoli work well. If using frozen peas, no need to thaw. Just add them to the pot w/ the noodles for the last minute or 2 of cook time. If using broccoli, chop up a few cloves of garlic & saute in oil for a few mins. Then add chopped broccoli & saute a few minutes longer – until crisp-tender & bright green, and mix in a few shakes of soy sauce. Of course, you can add any vegetable(s) you’d like. Other ways we enjoy peanut sauce is over a rice & veggie stir fry, over tempeh, or for dipping steamed vegetables. I’d imagine it works well w/ some chicken dishes too.
~ If serving kids, you might want to make their plates up before you mix in the cayenne.
Dairy Free, Gluten Free, Egg Free, Nut Free, Sugar Free, Vegan, Grain Free, RawIf eating nut free, omit you can try making this using sunbutter instead of peanut butter. If eating gluten free, be sure to choose a gluten free tamari/soy sauce.
___________________________________________________________________________________
Here are 2 other versions that I go back & forth with, depending on what I’m pairing it with, and what ingredients I happen to have on hand.
___________________________________________________________________________________
Crunchy Peanut Sauce
3 TBSP coconut oil (or sesame oil)
1 medium onion, minced
2 garlic cloves, minced
3 tsp curry powder
1 & 1/2 cups coconut milk
1 & 1/2 TBSP soy sauce
1 & 1/2 TBSP natural sugar (or about 8 drops of liquid stevia)
3/4 tsp chili powder
1 & 1/2 TBSP lemongrass minced (optional)
3/4 cup crunchy, natural peanut butter
- Heat oil in a pot over medium-high heat.
- Cook onion & garlic until the onion is wilting, approx 2 mins.
- Add curry powder & cook for 30 secs.
- Add coconut milk, soy sauce, sugar, chili powder, lemongrass (or juice) & peanut butter.
- Cook over very low heat, stirring constantly for 5 mins.
~ A bit more elaborate, more the *real deal*, but still pretty easy.
~ My friend Lynn shared this recipe with me a long time ago (thanks!).
Dairy Free, Gluten Free, Egg Free, Nut Free, Sugar Free, Vegan, Grain Free, RawIf eating nut free, you can try using sunbutter instead of peanut butter (and sunflower seeds instead of peanuts). If eating gluten free be sure to use a gluten free tamari/soy sauce. If eating sugar free, use stevia or lakanto instead of sugar.
______________________________________________________________________________________
Spicy Peanut Sauce
1/4 cup natural peanut butter
1 cup veggie broth
1 TBSP soy sauce
1 TBSP natural sugar (or about 6 drops of liquid stevia)
1/4 tsp red pepper flakes
3 TBSP toasted sesame oil
1/4 cup chopped peanuts
1 TBSP chopped fresh cilantro (or more)
- Whisk together the peanut butter, broth, tamari, sugar, red pepper flakes & sesame oil.
- Drain pasta & toss with sauce.
- Add peanuts and cilantro.
~ Adapted from “Power Foods”
Dairy Free, Gluten Free, Egg Free, Nut Free, Sugar Free, Vegan, Grain Free, RawIf eating nut free, you can try using sunbutter instead of peanut butter (and sunflower seeds instead of peanuts). If eating gluten free be sure to use a gluten free tamari/soy sauce (and double check the ingredients of your broth if not using homemade). If eating sugar free, use stevia or lakanto instead of sugar.
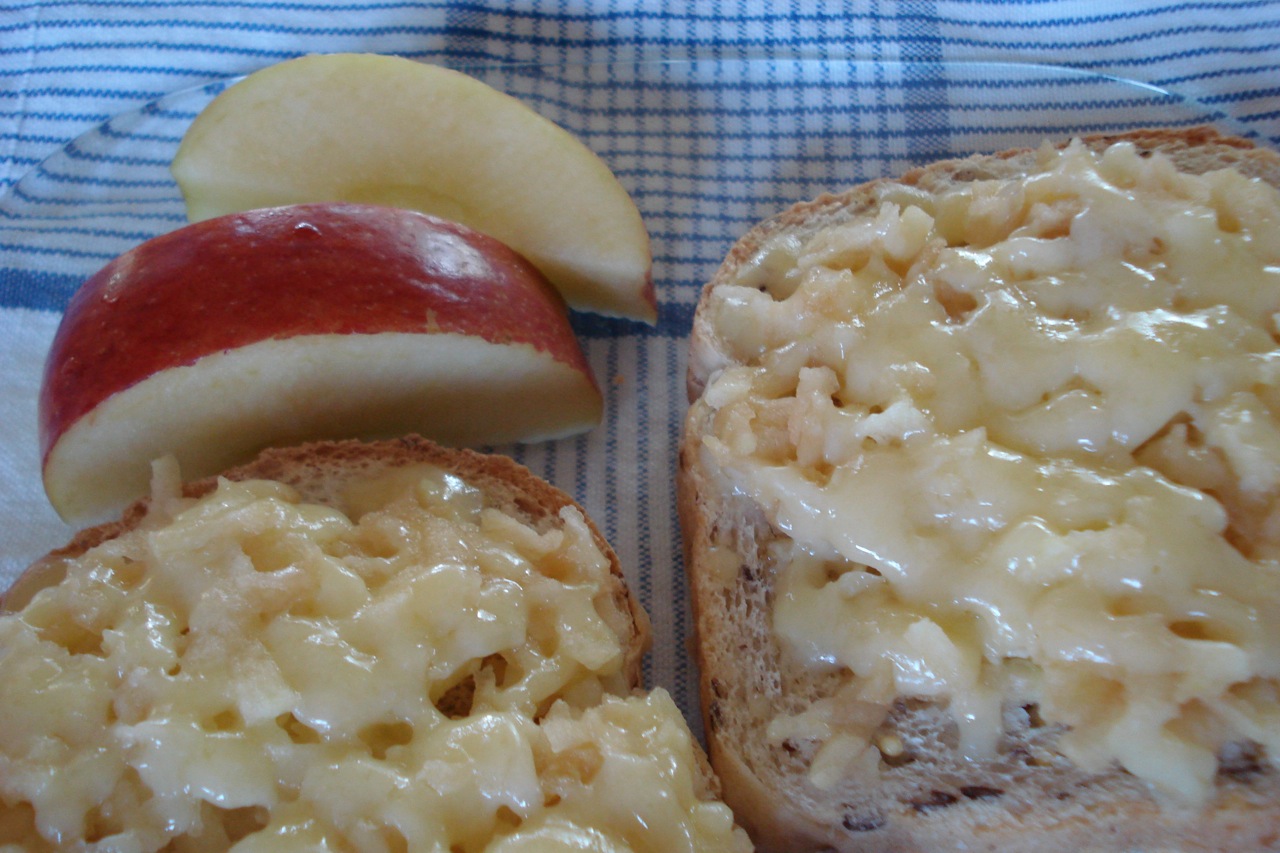
Toasted Cheese & Apple Sandwich
shredded cheddar cheese
peeled, shredded apple
your favorite bread
- Mix together equal parts of shredded cheese & apple.
- Spread on each bread slice & place them in a toaster oven for a few minutes.
- A sprinkle of cinnamon is nice over the top if you’re in the mood.
___________________________________________________
SIDE NOTES:
If eating gluten free, be sure to use a certified gluten free bread.Dairy Free, Gluten Free, Egg Free, Nut Free, Sugar Free, Grain Free, Vegan, Raw
______________________________________________________________________________________
UPDATE:
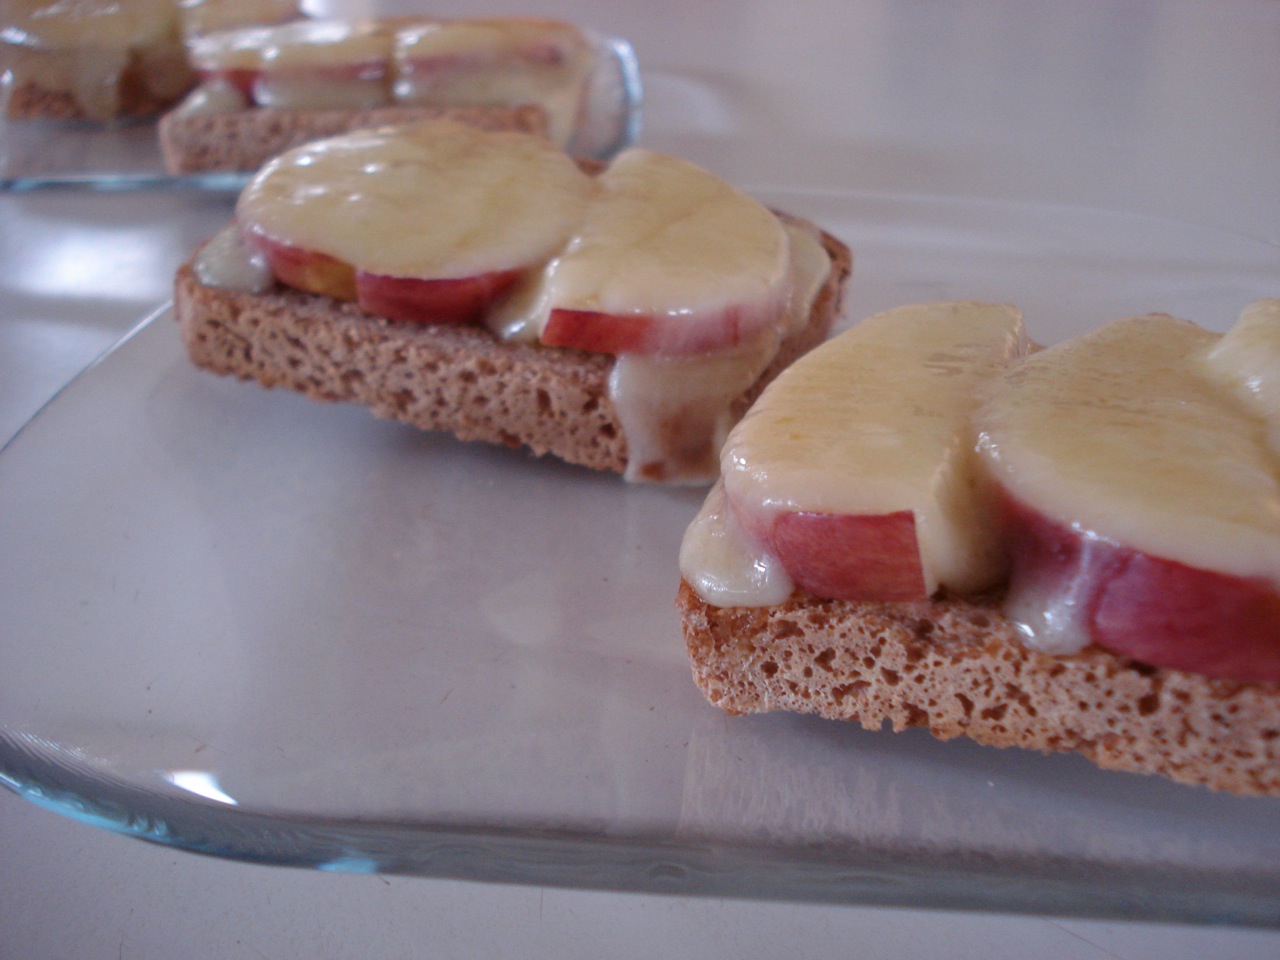
~ These days, to make this simple open-faced sandwich even simpler, I just place thinly sliced apple on the bread with a layer of cheese over the top and toast (as opposed to shredding up both and mixing together). Both ways are yummy. Just a little less prep work this alternate way.
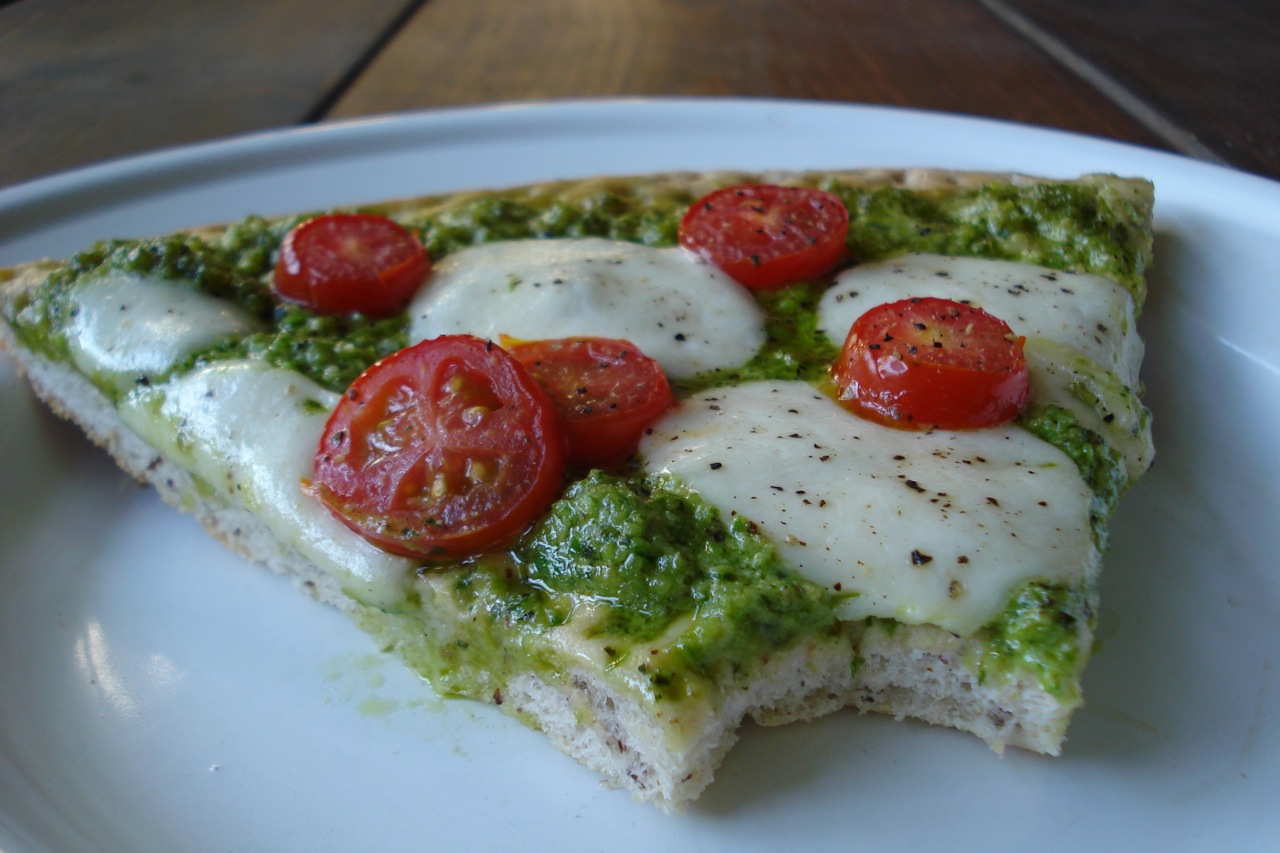
Garlic Scape Pesto Pizza
For the PESTO:
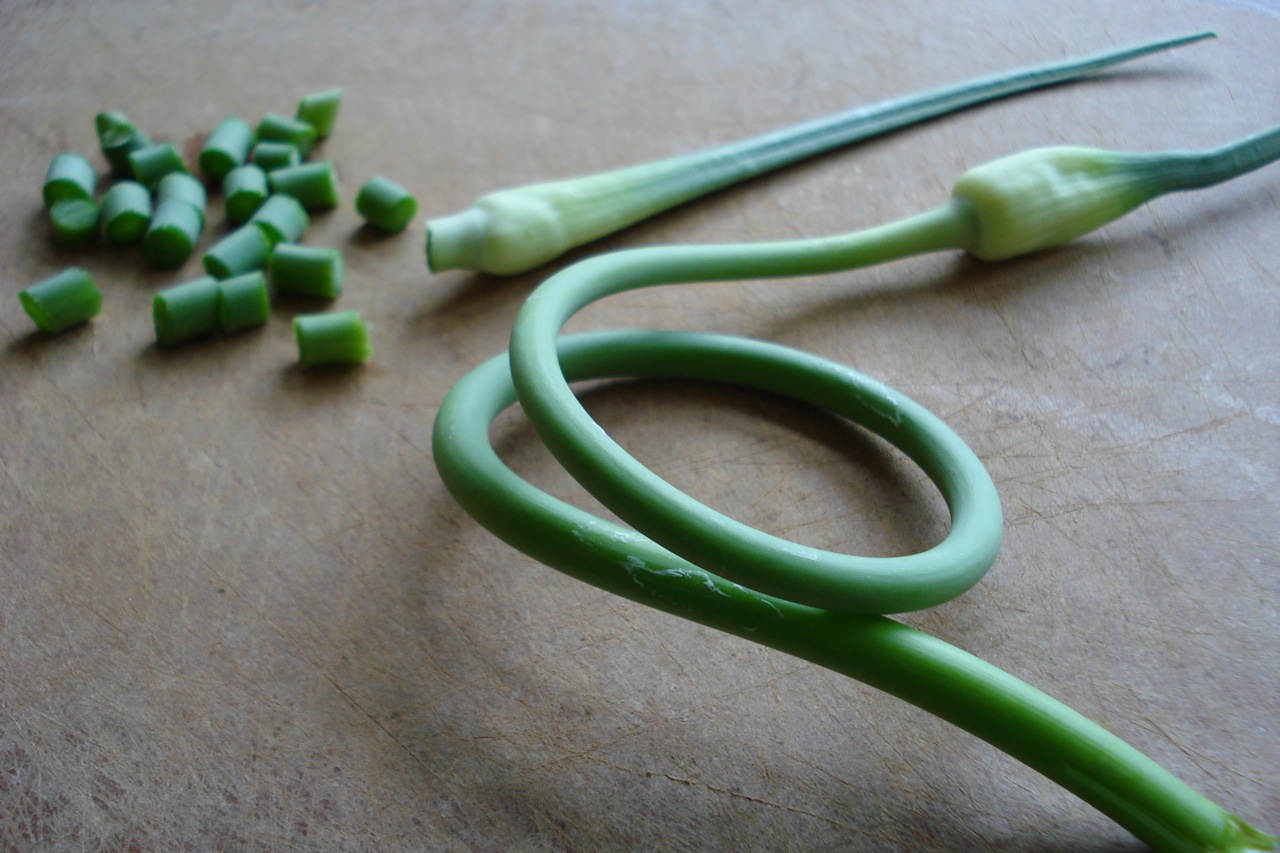
12 garlic scapes, chopped (about 1/2 cup)
1 cup fresh basil (tightly packed)
1/2 cup walnuts
1/3 cup parmesan
1/2 cup extra virgin olive oil
1/4 tsp pure salt
- Add everything to a food processor & blend.
If you have the option, process the first 4 ingredients, then add olive oil and salt while machine is running.
To assemble the PIZZA:
- Spread the pesto on (a pre-cooked) pizza crust.
- Add some sliced, fresh mozzarella, grape tomatoes, and freshly ground black pepper.
- Bake at 375 for about 10 mins.
You can of course use any pesto recipe for this, so if you can’t get scapes – no biggie.
For a DAIRY FREE version of a pesto style PIZZA:
- Substitute a cheese-less pesto such as SPINACH-&-ROASTED-RED-PEPPER-PESTO.
- Top with roasted eggplant rounds instead of the mozz.
To die for!
______________________________________________________________________________________
SIDE NOTES:
~ The pesto can be enjoyed as a sandwich spread, pasta sauce, pizza topping, or dip.
Dairy Free, Gluten Free, Egg Free, Nut Free, Sugar Free, Grain Free, Vegan, RawIf eating gluten and/or sugar free, be sure to use or make an appropriate crust.
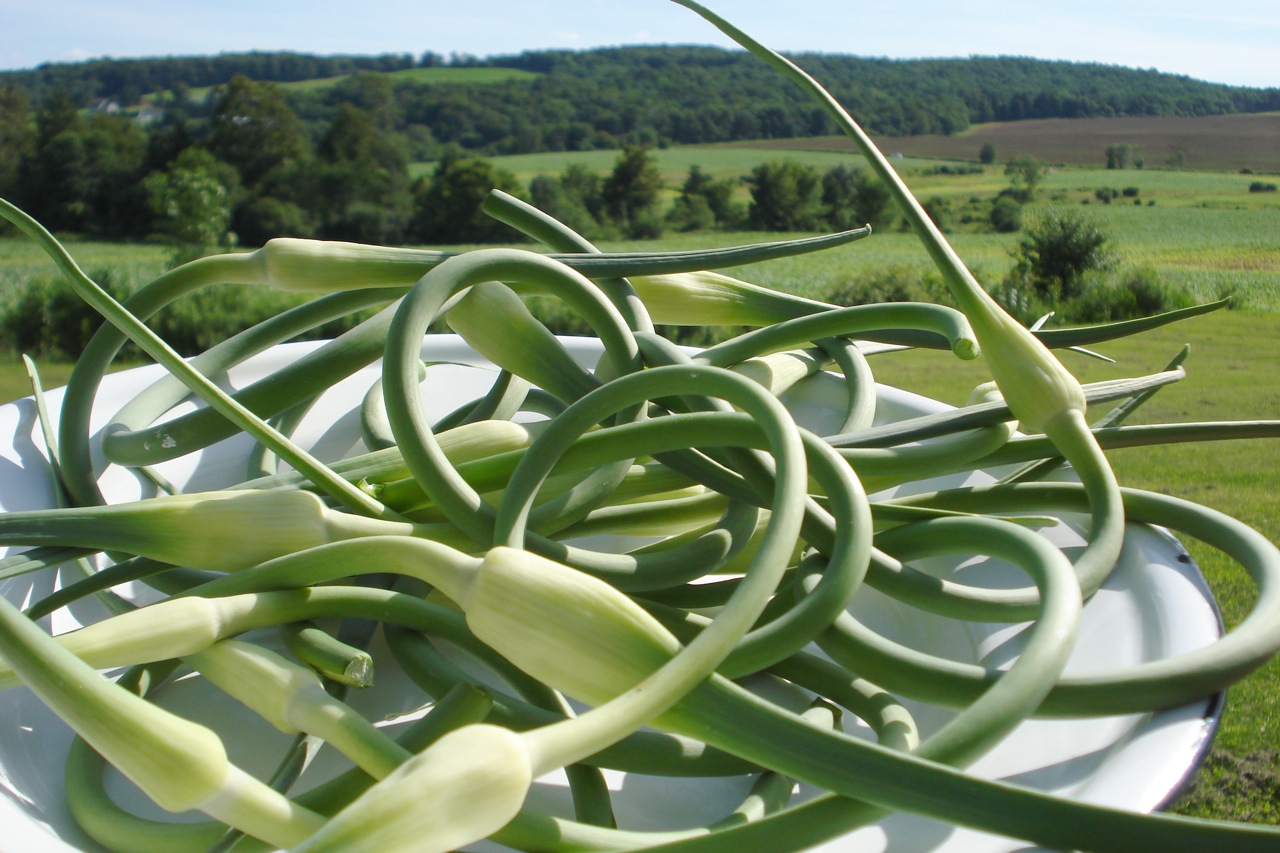
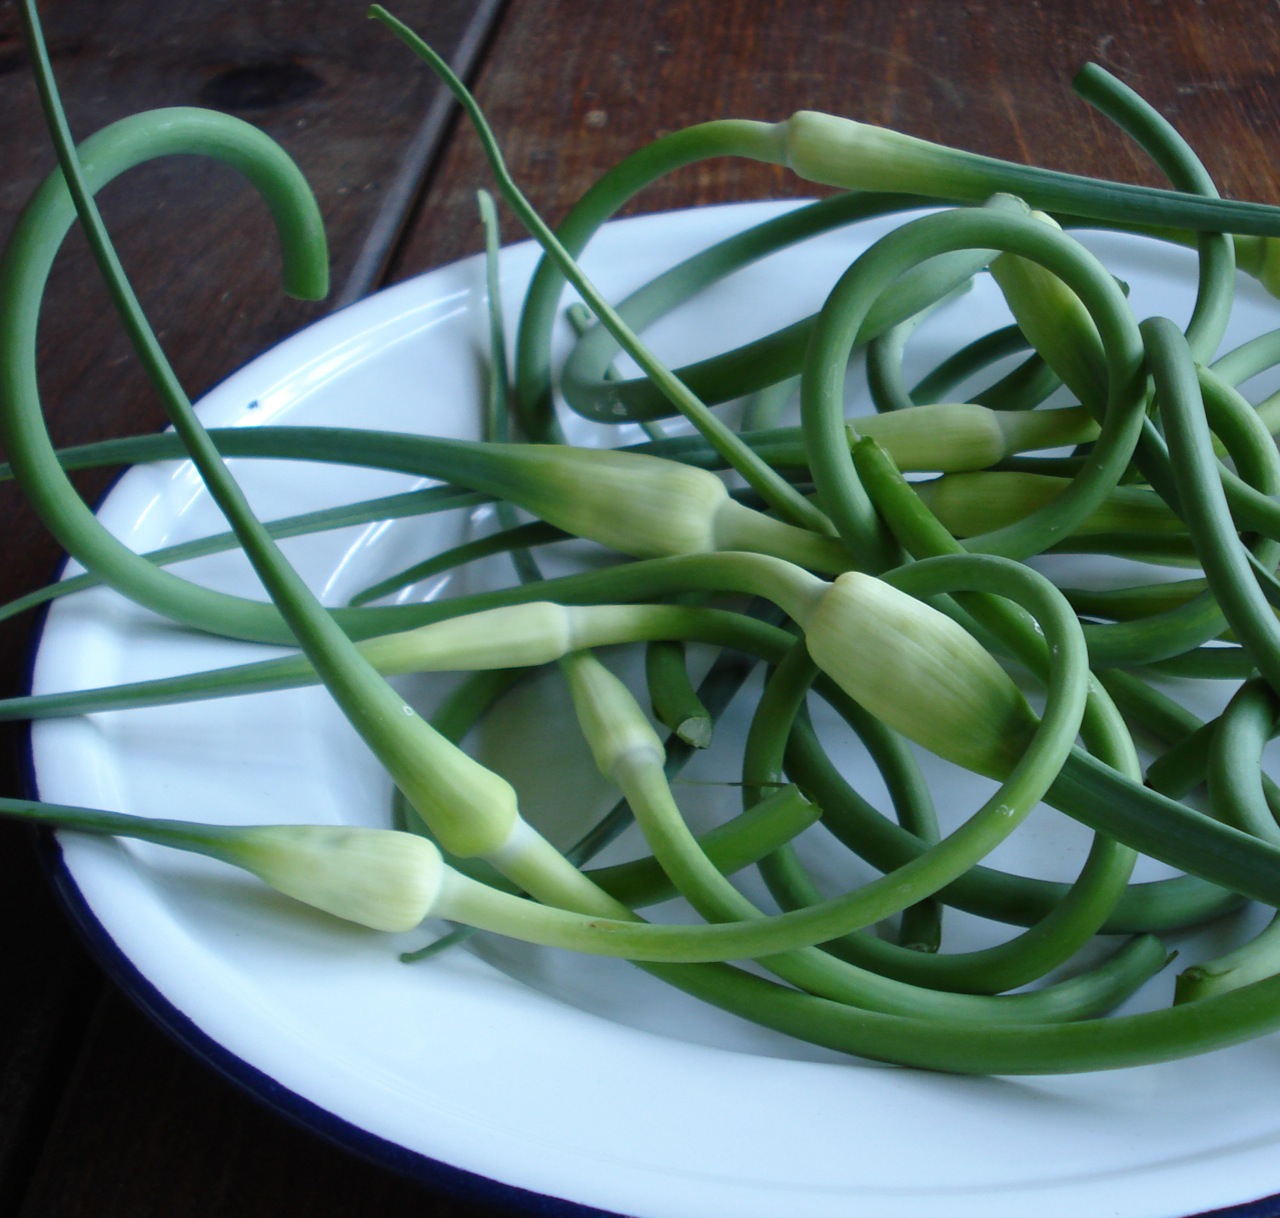
~ I had never heard of garlic scapes before joining our local CSA. We’ve come to really enjoy them & look forward to their brief appearance each year. A garlic scape is the flowery part of the garlic plant that’s trimmed off to enable the garlic bulb to form and thrive. I think it’s fair to say that a garlic scape is to garlic what a scallion is to an onion (only twirlier!). They can be chopped up and added to any dish for a delicate, garlic flavor. If you’d like to get your hands on these pretty, little things, look for them at your local farmers market (they’re in season now – early July – but they come & go pretty quickly).
They almost look like they need names. I think I’m having a childhood flashback. What were those things called – those small fuzzy worms that almost looked like they were moving themselves – twirling around your fingers. Can’t think of what they were called, but if only I had a bag of googly eyes, I’m sure these scapes would come to life =)
Speaking of googly eyes….If you google it, you’ll find several other garlic scape pestos out there. They all look great. I opt to use walnuts instead of almonds, simply because we already eat a fair amount of almonds & I like to change it up. I also like using basil in this pesto (as opposed to having the scapes be the only green thing in there). Spinach and/or parsley work as well, and of course, pine nuts are a good, old-stand-by for pesto if you’d prefer them to walnuts or almonds. Good luck w/ your creation! =)
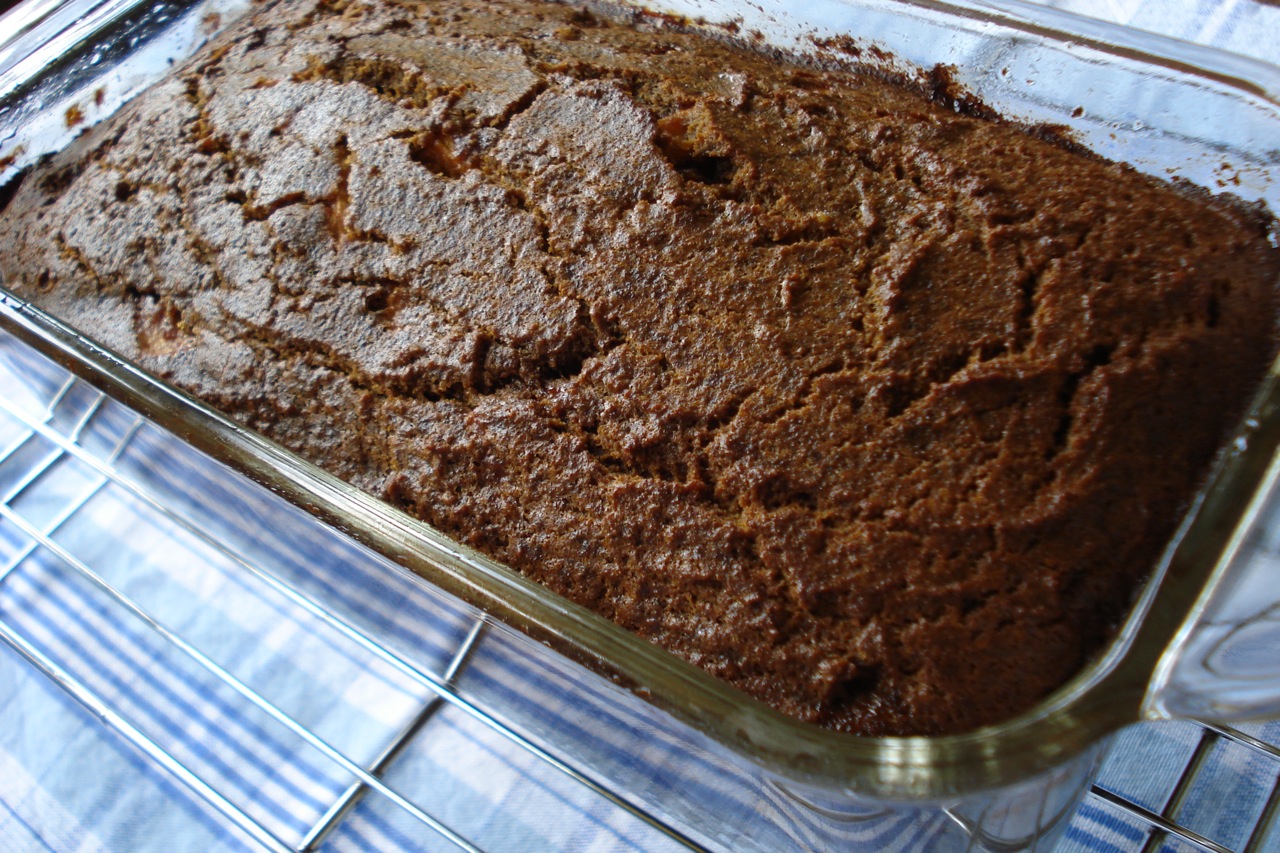
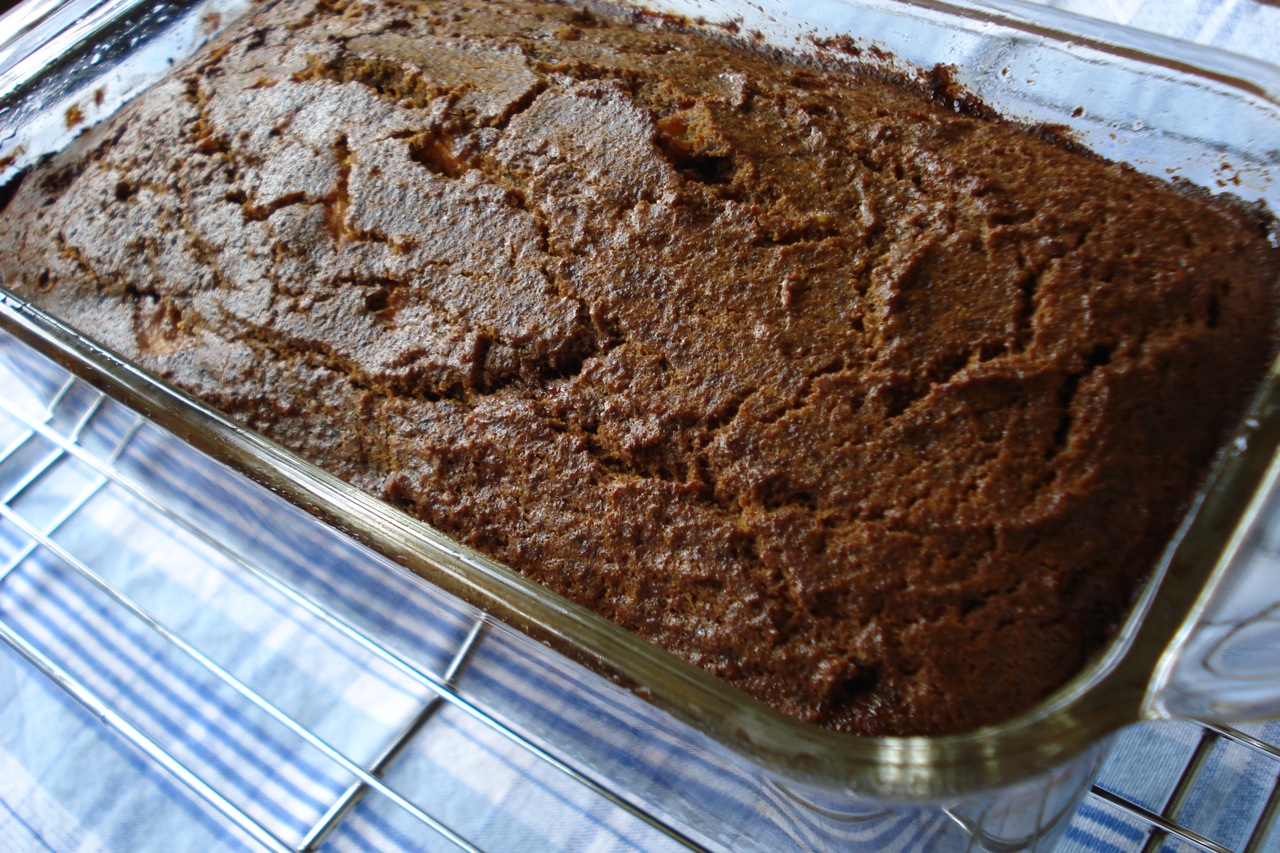
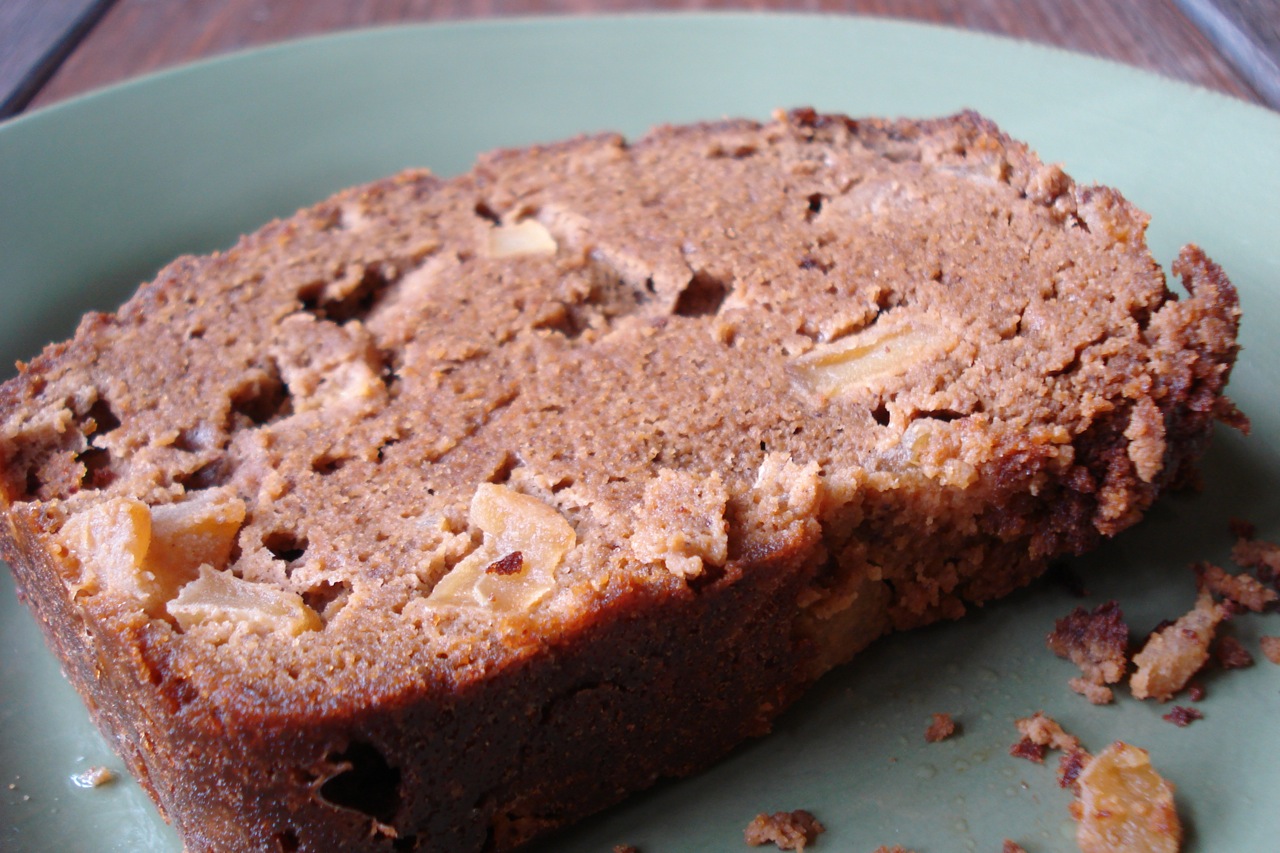
Apple Gingerbread
8 eggs
1/2 cup coconut milk (or milk of choice)
1/4 cup molasses
1/2 cup natural sugar
1 tsp pure vanilla extract
1 tsp ground ginger
1 tsp ground cinnamon
1/4 tsp ground cloves
1/2 tsp pure salt
2/3 cup sifted coconut flour
1 tsp baking powder
1/2 cup coconut oil or butter, melted
1 cup peeled, chopped apples
- Preheat oven to 350 degrees.
- Whisk together eggs, coconut milk, stevia (or sugar), vanilla, ginger, cinnamon, & salt.
- Combine coconut flour with baking powder & whisk thoroughly into batter until there are no lumps.
- Mix in coconut oil (or butter).
- Fold in chopped apples.
- Press batter firmly into a greased 9x5x3-inch loaf pan.
- Bake for 60 mins.
- Cool on wire rack.
______________________________________________________________________________________
SIDE NOTES:
~ Adapted from “Cooking w/ Coconut Four”
~ If you’re using coconut oil, when melting, use very low heat & remove from burner right away (as the idea is to melt it, but you want to heat it as little as possible). The reason I mix in the oil at the end is to avoid putting the warm oil into a bowl with the cold eggs (as this will harden the oil). Once the eggs are blended w/ everything else, this is not an issue. An alternative is to let the eggs sit out at room temp for a little while before you crack them (or just use butter).
~ To combine the coconut flour & baking powder, I always just put both ingredients through the sifter together (since the coconut flour has to be sifted anyway).
~ My loaves don’t always slip out of the pan, so don’t worry about getting it out of the pan to cool. Can leave it right in the pan & just place the whole thing on a wire cooling rack.
Dairy Free, Gluten Free, Egg Free, Nut Free, Sugar Free, Grain Free, Vegan, Raw
If eating gluten free, be careful choosing your vanilla. If eating dairy free, use coconut oil instead of butter.
~ Freezes well (I freeze individual slices which are great to pull out as needed for a school snack).
_____________________________________________________________________________
If you prefer to bake with wheat flour…….
1 cup all-purpose, unbleached flour
1/2 cup whole wheat flour
2 tsp ground ginger
1 tsp baking powder
1 tsp baking soda
1 tsp ground cinnamon
1/4 tsp ground nutmeg
1/8 tsp ground allspice
1/3 cup melted butter or oil of preference
1 egg
2/3 cup natural sugar
3 TBSP molasses
1/2 cup plain yogurt
1 & 1/2 cups chopped, peeled apples (cut pretty small)
- Preheat oven to 350.
- Grease & flour an 8 inch square baking pan.
- In a medium bowl, stir together both flours, ginger, powder, baking soda, cinnamon, nutmeg & allspice.
- In a large bowl, mix the oil & egg until combined.
- Add the sugar & molasses & mix until combined.
- Mix in the flour mixture alternately with the yogurt.
- Stir in the apples.
- Spoon into the baking pan.
- Sprinkle cinnamon-sugar over the batter before baking.
- Bake 40 mins or until a wooden toothpick inserted in the center comes out clean.
- Cool in pan.
~ Adapted from “1000 Vegetarian Recipes”
~ Keep in mind, this wheat version is not dairy free, not gluten free and not reduced sugar.


