Halloween Candy Dilemma ?
_________________________________________________________
Some would say I have Grinch-like tendencies around Halloween, but I try to take it in stride, and have come up with a few ways for someone like me (a hardcore food-quality inspector) to deal with the onslaught of candy without being a total party-pooper. Here are a few options for other parents who feel the same way….
_________________________________________________________
~ Let the kids enjoy their candy for a few days, but don’t let it drag out too long. Believe it or not, it’s easier on the teeth and less habit-forming if they gorge on it (if they must) & get it over with quickly, rather than eating a few pieces a day for weeks or months. And if it causes a belly ache – all the better.
_________________________________________________________
~ If your kids are very young, just make it disappear after a day or 2. Out of sight, out of mind works really well here. They won’t even know it’s gone (I did this for years – for as long as I could get away with it).
_________________________________________________________
~ Offer trades. Some of it inevitably goes down the hatch, but to me, any amount of artificial colorings, additives, hydrogenated oils, and chemicals that can be avoided is better than none. Go out of your way to buy or make special treats you can trade to the kids for some (or all) of their candy. There are a lot of options for less processed, delicious sweets – such as real, dark chocolate candy bars (there are so many varieties and flavors these days), chocolate covered sunflower seeds, chocolate covered cherries, organic/natural lollipops, etc… Always read labels, of course, as even the health food stores carry a certain amount of junk. The good stuff is there, however, if you seek it out. And don’t forget, you can also offer something other than edibles. For instance, if your kid is into Pokemon, buy a few packs of Pokemon cards and offer to trade one card for each piece of candy they give up. You can also go bigger, and offer something they’ve really been dying for (particular video game, Thomas the tank engine train, etc…) for larger portions of their candy.
_________________________________________________________
~ Buy it outright. Another way to do this is to simply put a price tag on each piece of candy, meaning you’ll buy it from them for 5 cents, 10 cents, 25 cents per piece (depends on how desperate you are!)
_________________________________________________________
~ Give them a limit. If you prefer, you can simply pick a number that sounds reasonable to you – 10, 20, 30 pieces of candy and end it there. Sometimes, the kids end up eating stuff they don’t even like, just because it’s in the bucket. Give them the number ahead of time. It might be fun for them to go through and sift out only their favorite kinds of candy. Also, if a particular type of candy makes you uneasy, you can tell them up-front that if they get any “laffy-taffy” (for instance) they have to dump it (what the heck is that stuff anyway!!??). Or maybe it’s the orange-colored “juice” (eww) in that little plastic pineapple that makes you twitch. Whatever it is, just lay down the law.
_________________________________________________________
~ Donate it to soldiers. There was at least one year the kids agreed to put most of their candy together and mail it to soldiers (several of their friends agreed to do this with them – and I mailed it all in one box). Explaining to the kids how special it would be for a group of soldiers, far away from their home, to get a surprise treat in the mail, and just knowing they’re being thought of, is a very powerful sentiment. For more details on this program (called “Soldiers’ Angels“), click the following link: WWW.SOLDIERS-ANGELS.ORG
_________________________________________________________
~ Some Dentists offer a Halloween candy buy-back. I believe they also end up sending what they collect to soldiers. Go to the following website, and enter your zip code to find a participating dentist in your area. WWW.HALLOWEEN-CANDY-BUY-BACK.COM
_________________________________________________________
Of course, lowering your standards a bit this time of year is fine, but don’t feel that just because your kid collected 5 pounds of candy, they have to eat all of it. There are ways around it!
May the force be with you… 🙂
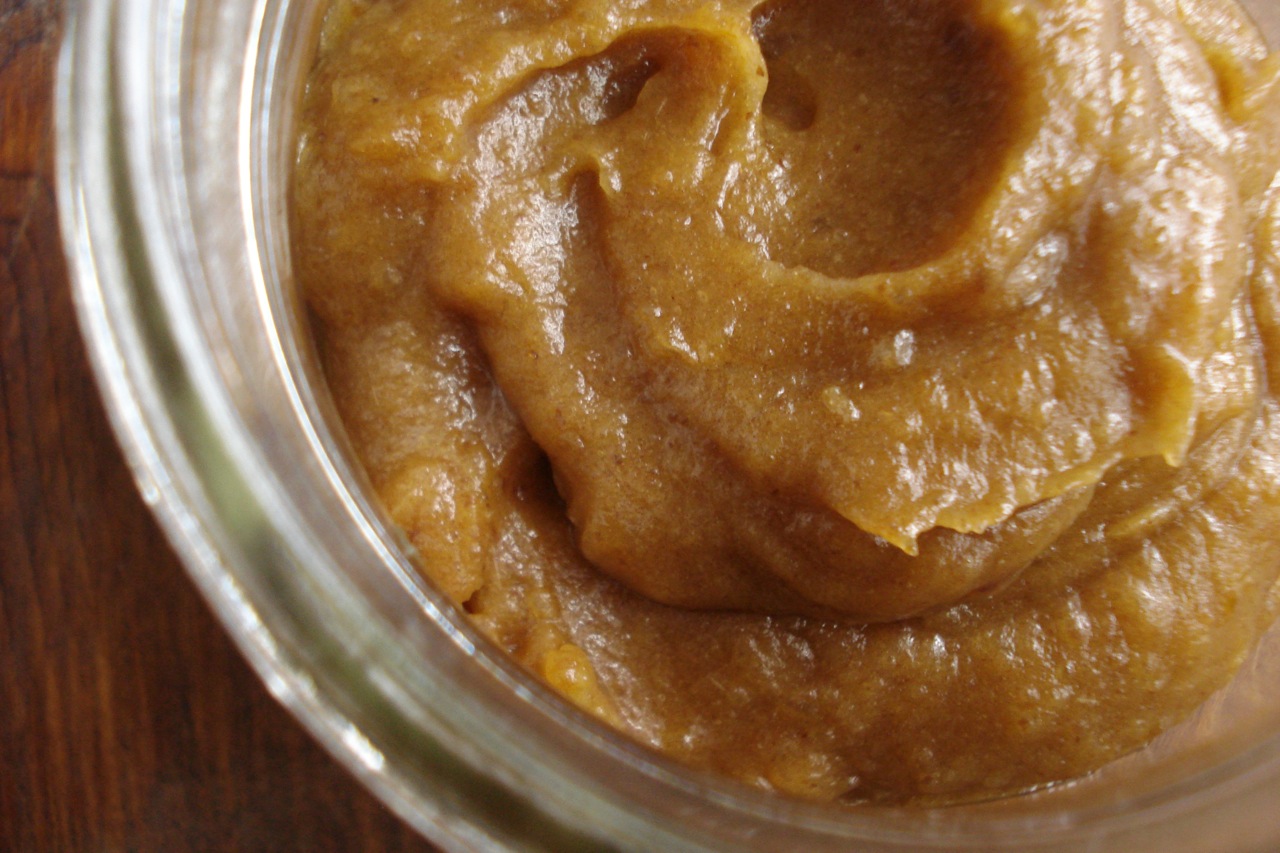
Caramel Sauce
1/2 cup cashew butter
1/2 cup maple syrup
1/2 cup DATE-PASTE
2 tsps vanilla extract
1/8 tsp sea salt
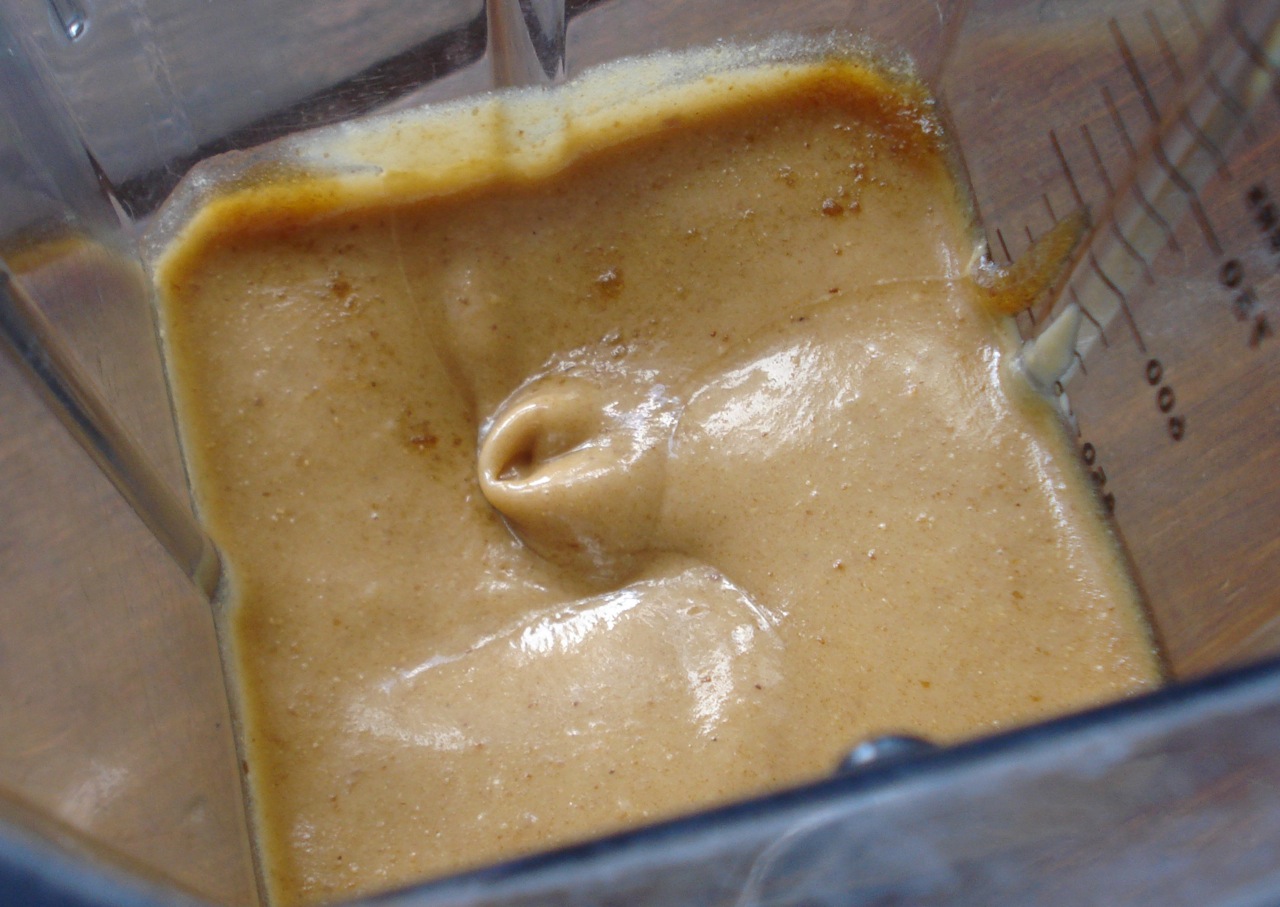
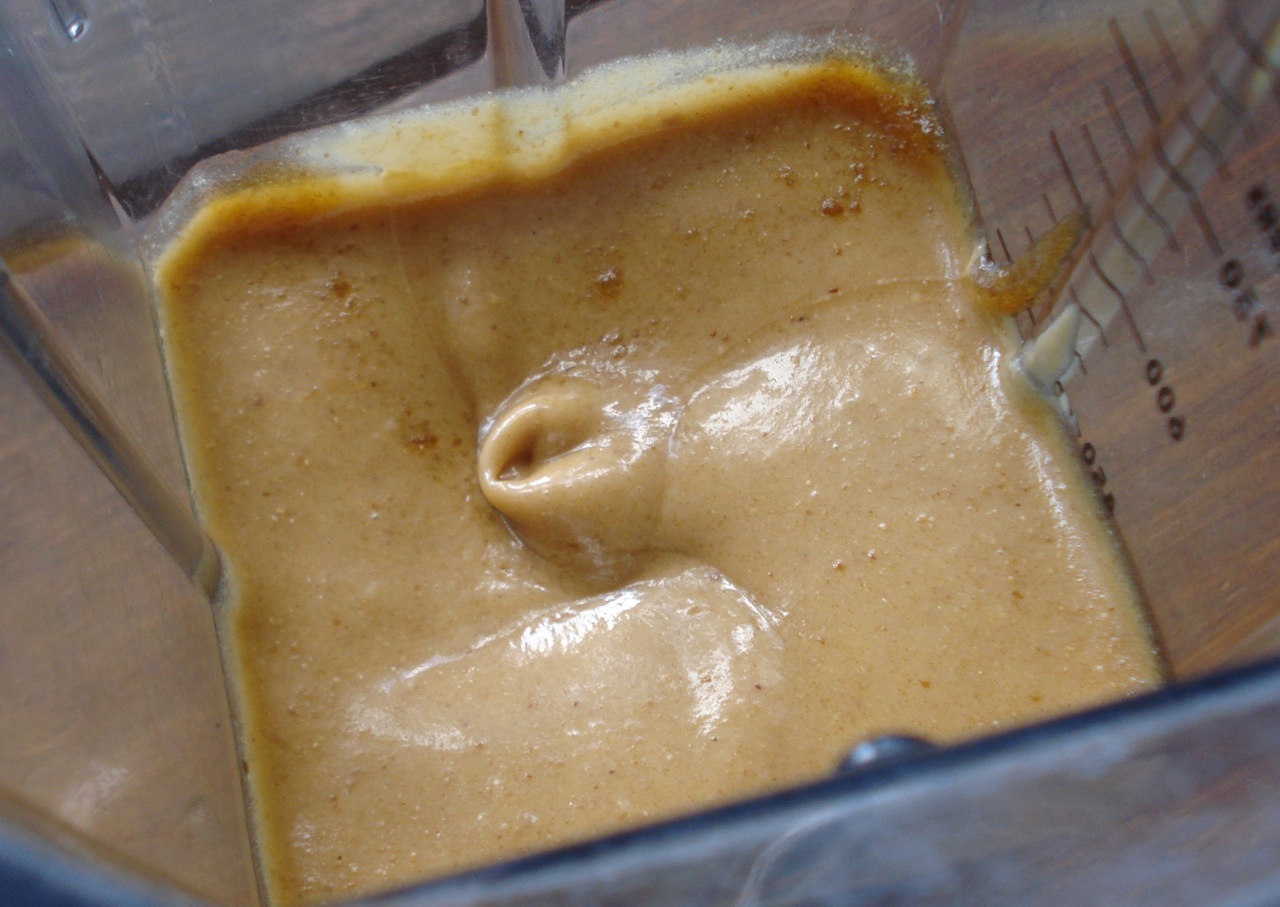
- Place all ingredients in a blender & process until smooth.
Will keep for 2 weeks in the fridge. Once refrigerated, the sauce will need to be warmed (to at least room temp) before serving in order to obtain the proper consistency.
______________________________________________________________________________________
SIDE NOTES:
~ Adapted from “Raw for Dessert”
~ There’s not too much to the date paste. It’s only dates blended with water so it’s no big deal to make.
______________________________________________________________________________________
Use it to make this:
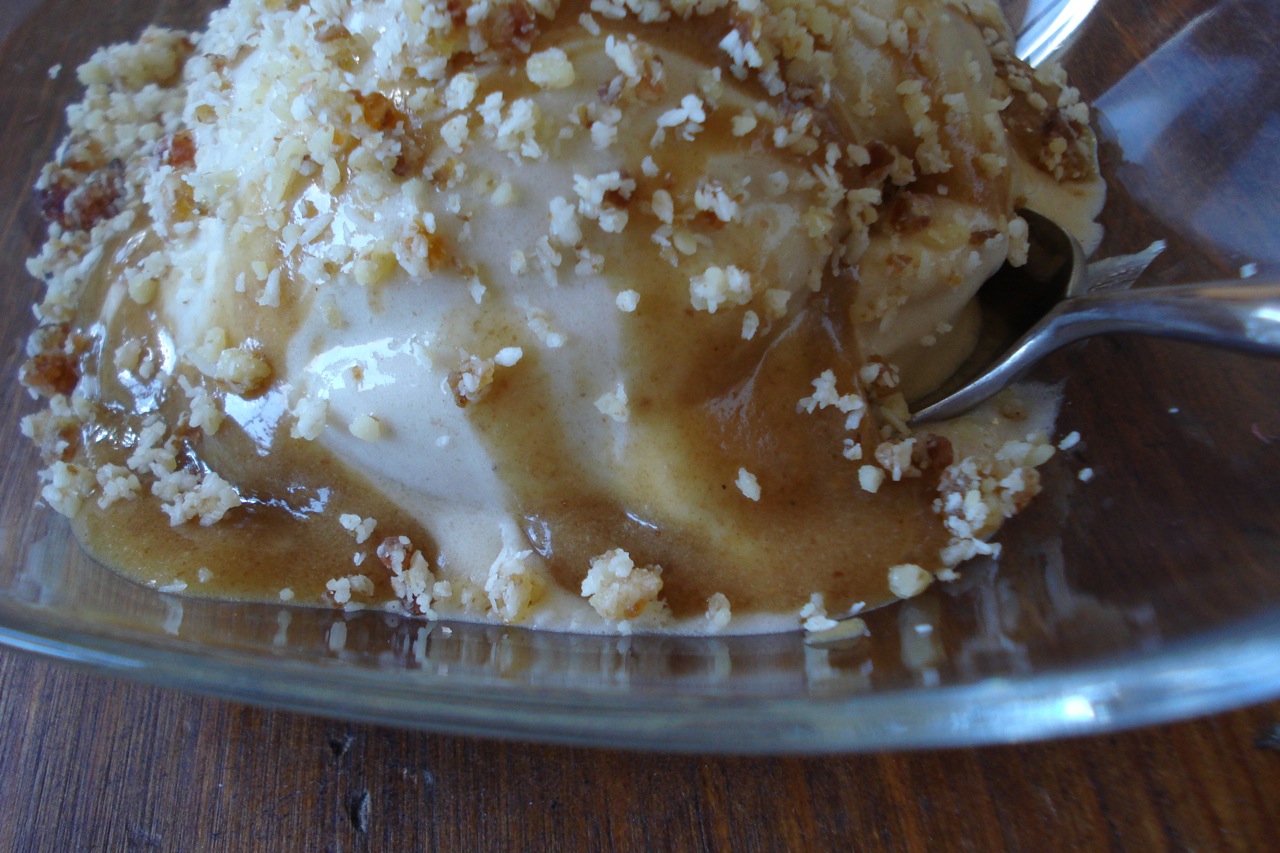
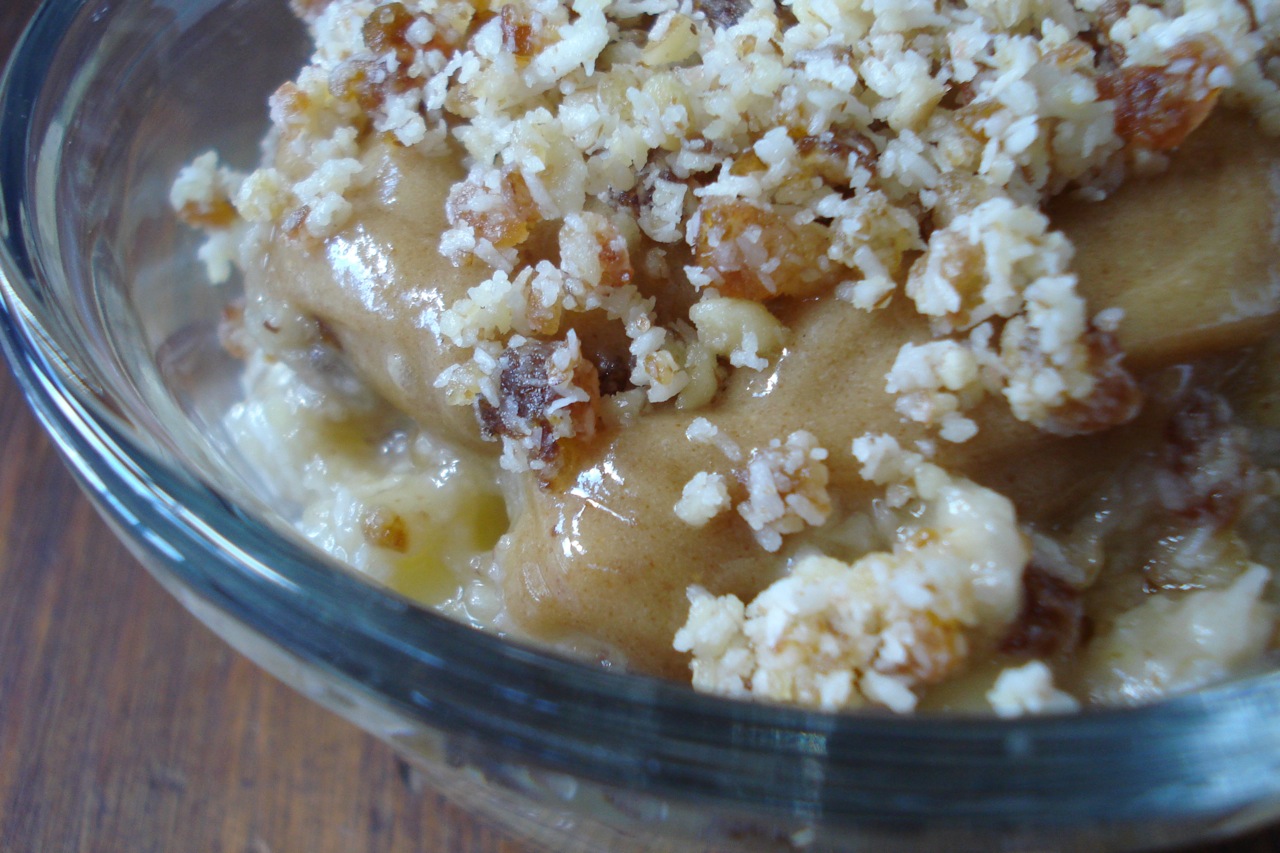
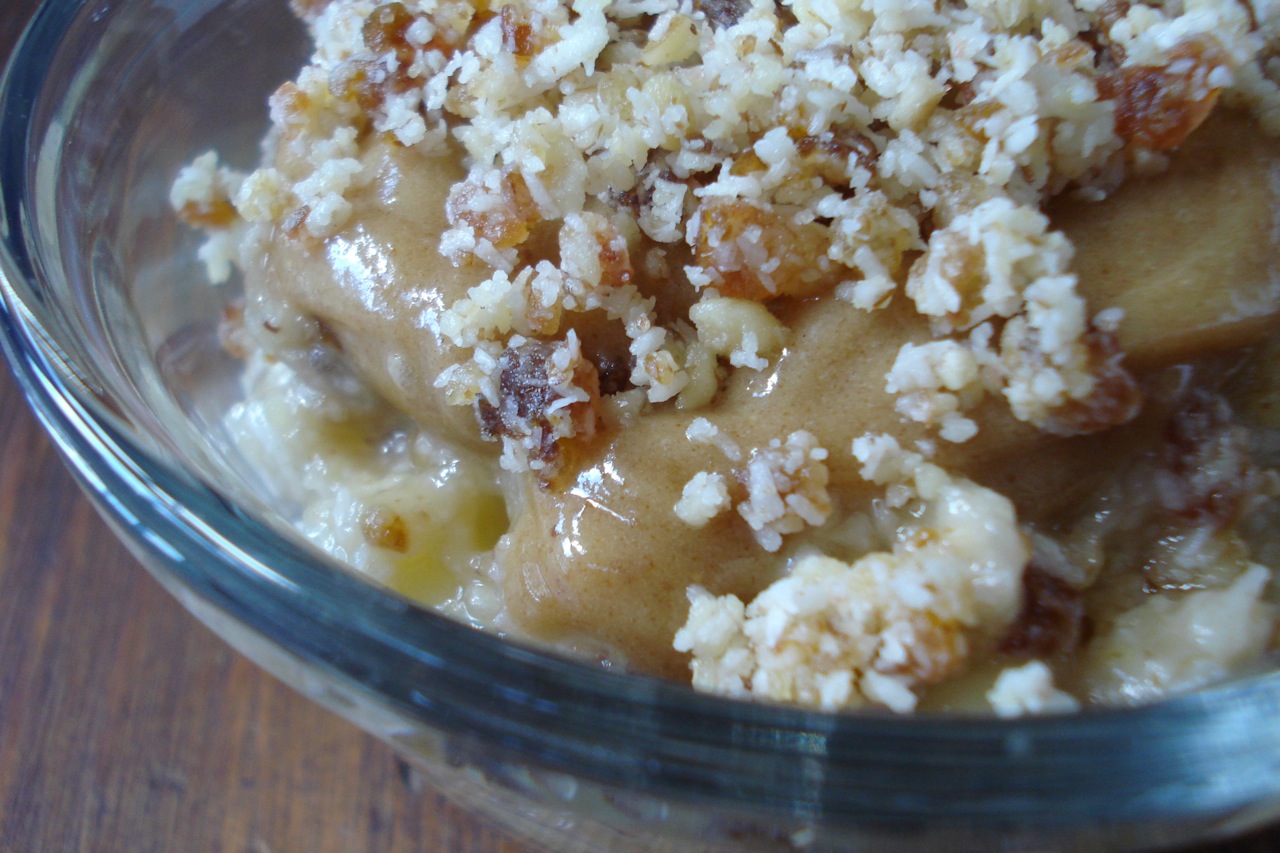
ICE CREAM SUNDAE (shown here – BANANA-ICE-CREAM with caramel sauce and SHORTBREAD-CRUST sprinkled over the top.
or this:
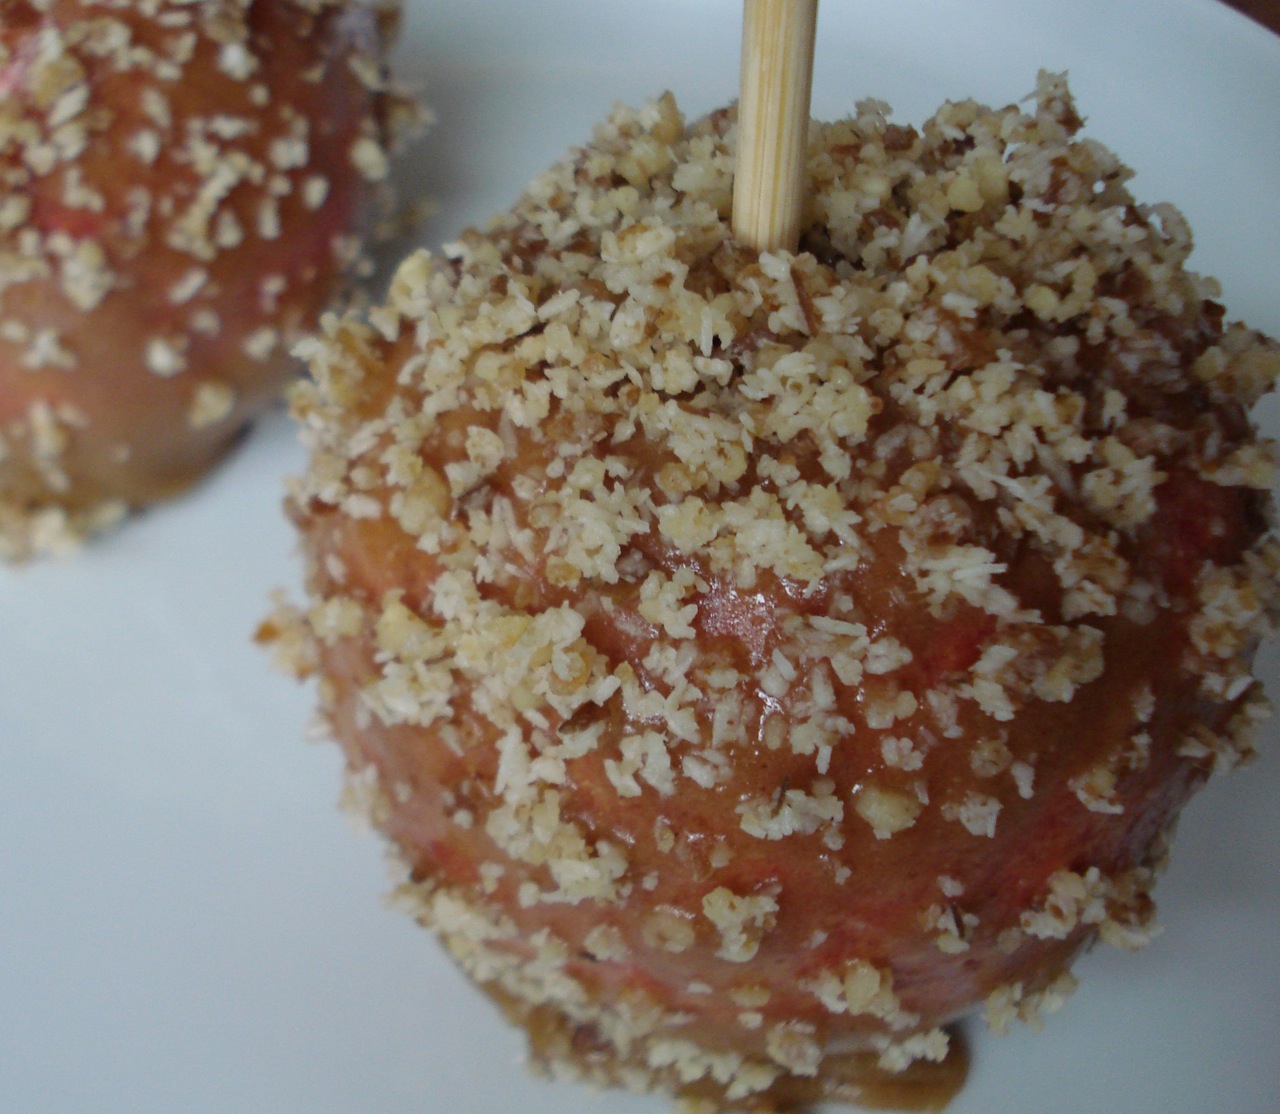
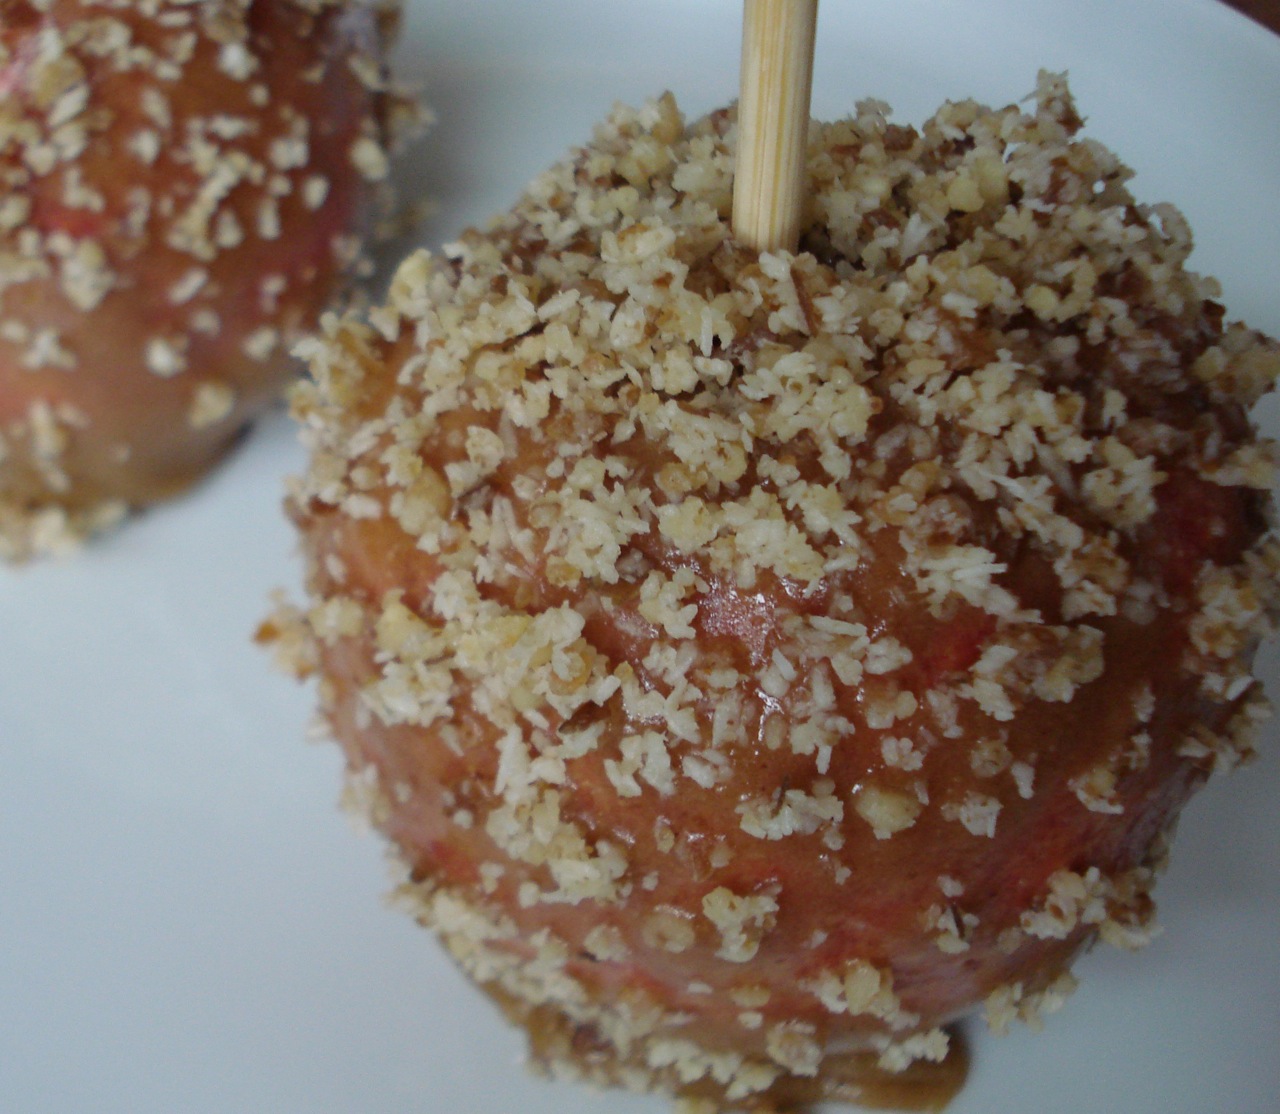
CARAMEL APPLES (with SHORTBREAD-CRUST)
or this:
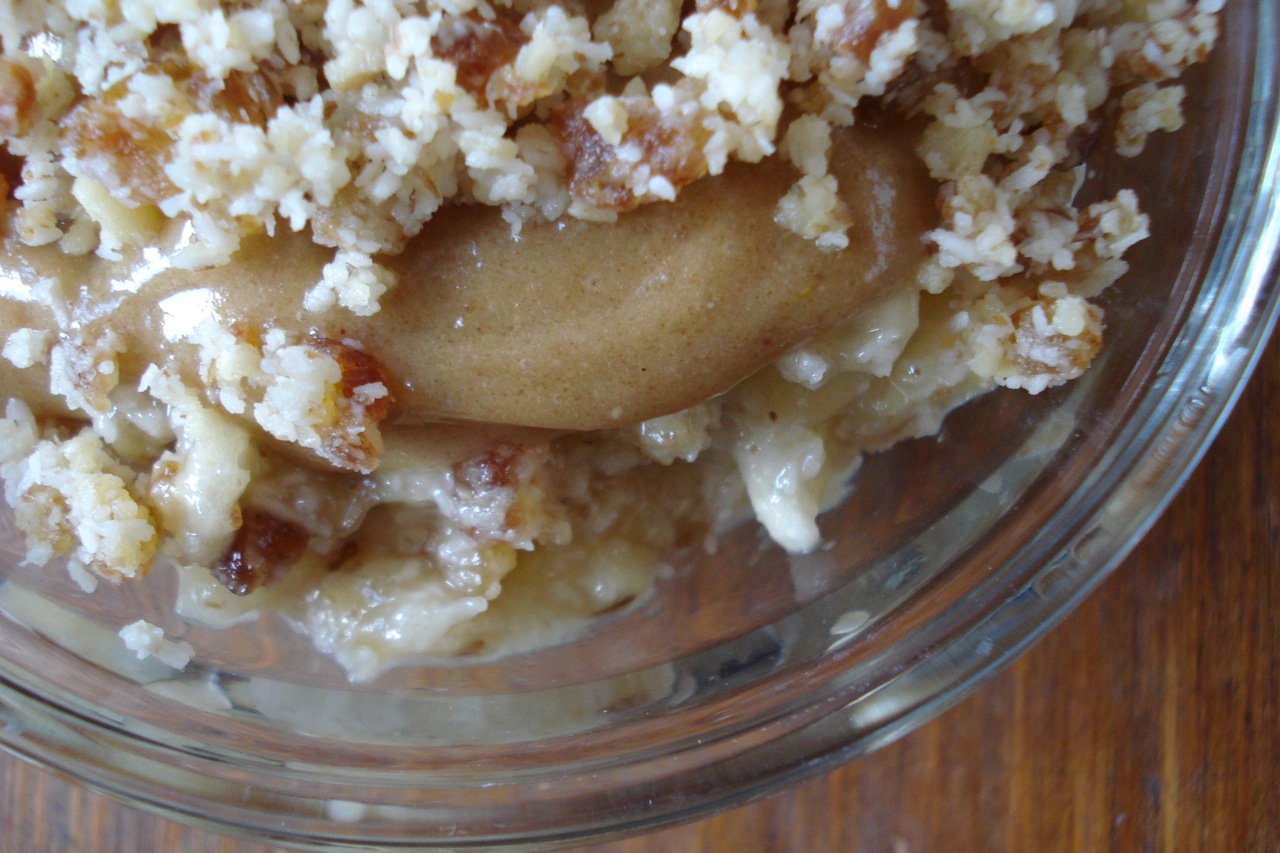
BANANA-CARAMEL-CRUMBLE (which is basically mashed bananas topped with caramel sauce and the shortbread crust mentioned above). TO DIE FOR !
Dairy Free, Gluten Free, Egg Free, Nut Free, Sugar Free, Grain Free, Vegan, Raw
If eating 100% raw, substitute raw honey for the maple syrup and use vanilla bean.
Banana Caramel Crumble
Ridiculously good! Adapted from “Raw for Dessert.”
______________________________________________________________________________________
1. MAKE DATE PASTE:
16 pitted medjool dates
1 & 1/2 cups filtered water
- Soak dates in the water for at least 20 minutes (& up to overnight).
- Drain the dates but reserve the soak water.
- Place the dates along with 1/4 cup of the soak water in either a Vitamix or a food processor fitted w/ S blade, and process into a smooth paste. Stop occasionally to scrape down the sides of the work bowl if necessary.
Yields 1 & 1/4 cups. Date paste will keep for 2 weeks in the fridge or 1 month in the freezer (thaw for a few minutes before using).
I use my Vitamix (small carafe) for this, but if using a food processor, you may need to double the recipe to give the machine enough to process. It will depend on how big your food processor is. For example, mine is a very large 14 cup food processor, so this small amount of food, in a giant work bowl, might not be enough to get it to form into a paste. You can either test it out, or just double the recipe & it will be no problem. If using a Vitamix, no need to scrape down sides – just use the tamper as it’s blending & you’ll have a smooth paste within a minute. [See notes below if you prefer to use a substitution for date paste]
________________________________________________________________________
2. MAKE CARAMEL SAUCE
1/2 cup cashew butter
1/2 cup maple syrup
1/2 cup date paste
2 tsps vanilla extract
1/8 tsp sea salt
- Place all ingredients in a blender & process until smooth.
Will keep for 2 weeks in the fridge. Once refrigerated, the sauce will need to be warmed (to at least room temp) before serving in order to obtain the proper consistency.
________________________________________________________________________________
3. MAKE SHORTBREAD CRUST:
This is the same shortbread crust used for raspberry squares, but I’ve scaled it down to yield just what you need for this recipe.
3/4 cup shredded dried coconut (unsweetened)
3/4 cup walnuts
1/8 (rounded) tsp sea salt
4 & 1/2 pitted medjool dates, roughly chopped
- Place the coconut, walnuts & salt in a food processor fitted w/ the S blade & process until finely ground.
- Add the dates & process until the mixture begins to stick together (but don’t over-process).
Will keep for 1 month in the refrigerator or 3 months in the freezer. The crust doesn’t need to be thawed before using.
_________________________________________________________________________________
4. MAKE BANANA CARAMEL CRUMBLE:
1 & 1/2 cups shortbread crust
4 ripe bananas
1/4 cup caramel sauce
- Place 1 cup of the shortbread curst and all of the bananas in a medium mixing bowl.
- Mash with fork.
- Spoon the mixture equally into 4 small serving bowls.
- Top each serving with approx 1 TBSP of the caramel sauce.
- Sprinkle 2 TBSPs of the remaining crust over each serving.
Enjoy!
Dairy Free, Gluten Free, Egg Free, Nut Free, Sugar Free, Grain Free, Vegan, Raw
If eating 100% raw, substitute raw honey for the maple syrup and use vanilla bean.
Caramel Apples
(dairy free, gluten free, egg free)
To make the caramel sauce:
1/2 cup cashew butter
1/2 cup maple syrup
1/2 cup DATE-PASTE
2 tsps vanilla extract
1/8 tsp sea salt
Place all ingredients in a blender & process until smooth. Will keep for 2 weeks in the fridge. Once refrigerated, the sauce will need to be warmed (to at least room temp) before serving in order to obtain the proper consistency.
Wash & dry apples (make sure you dry them well). Use wooden chopsticks to insert – pointy side down – into the stem end of the apples. Swirl apples in caramel sauce. Add (optional) topping of choice (shown here is “SHORTBREAD-CRUST” which is a combination of walnuts, coconut shreds and dates, pulsed in a food processor). Enjoy immediately, or refrigerate (on a tray lined with parchment paper) overnight.
______________________________________________________________________________________
SIDE NOTES:
This type of caramel sauce doesn’t harden the way a traditional caramel would. It stays more or less gooey. Even more delicious (but more messy too) =)
Dairy Free, Gluten Free, Egg Free, Nut Free, Sugar Free, Grain Free, Vegan, Raw
If eating 100% raw, substitute raw honey for the maple syrup and use vanilla bean.
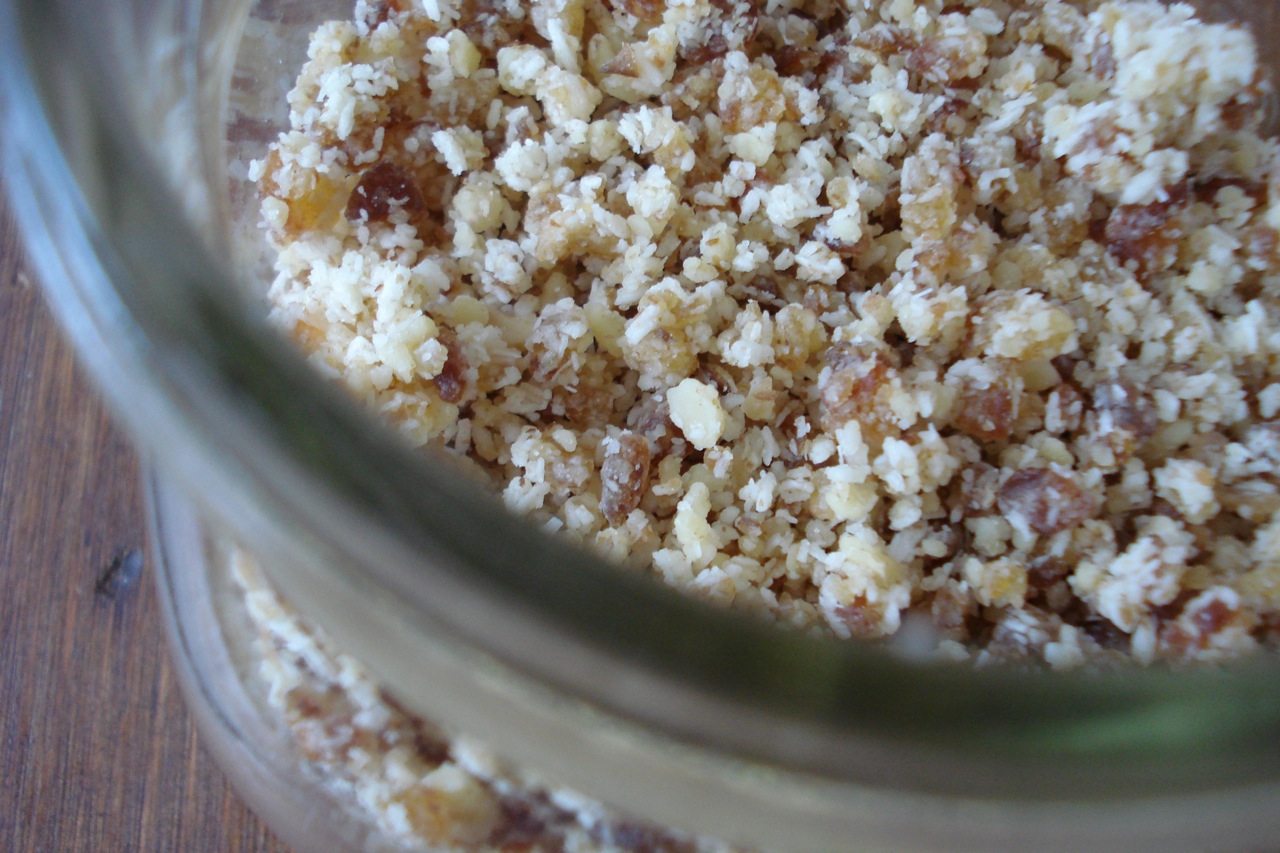
Shortbread Crust
1 cup shredded dried coconut (unsweetened)
1 cup walnuts
1/4 tsp pure salt
6 pitted medjool dates
- Place the coconut, walnuts & salt in a food processor fitted w/ the S blade & process until finely ground.
- Add the dates & process until the mixture begins to stick together. Don’t over-process.
Yields 2 & 1/2 cups. Will keep for 1 month in the refrigerator or 3 months in the freezer. The crust doesn’t need to be thawed before using.
______________________________________________________________________________________
SIDE NOTES:
Dairy Free, Gluten Free, Egg Free, Nut Free, Sugar Free, Grain Free, Vegan, Raw
Here are some of the ways I put this wholesome, delicious crumble to use:
Of course, it can be used as a crust for any type of pie imaginable!
Tomato & Leek Marinara
2 to 4 leeks, washed and sliced (see notes below)
1/4 cup extra virgin olive oil
1 28-ounce package diced (or crushed) tomatoes
a good handful of fresh sage leaves, roughly torn or chopped
pure salt and pepper to taste
pinch of crushed red pepper (optional)
pasta of choice
- Boil water for pasta.
- Heat oil in a large skillet.
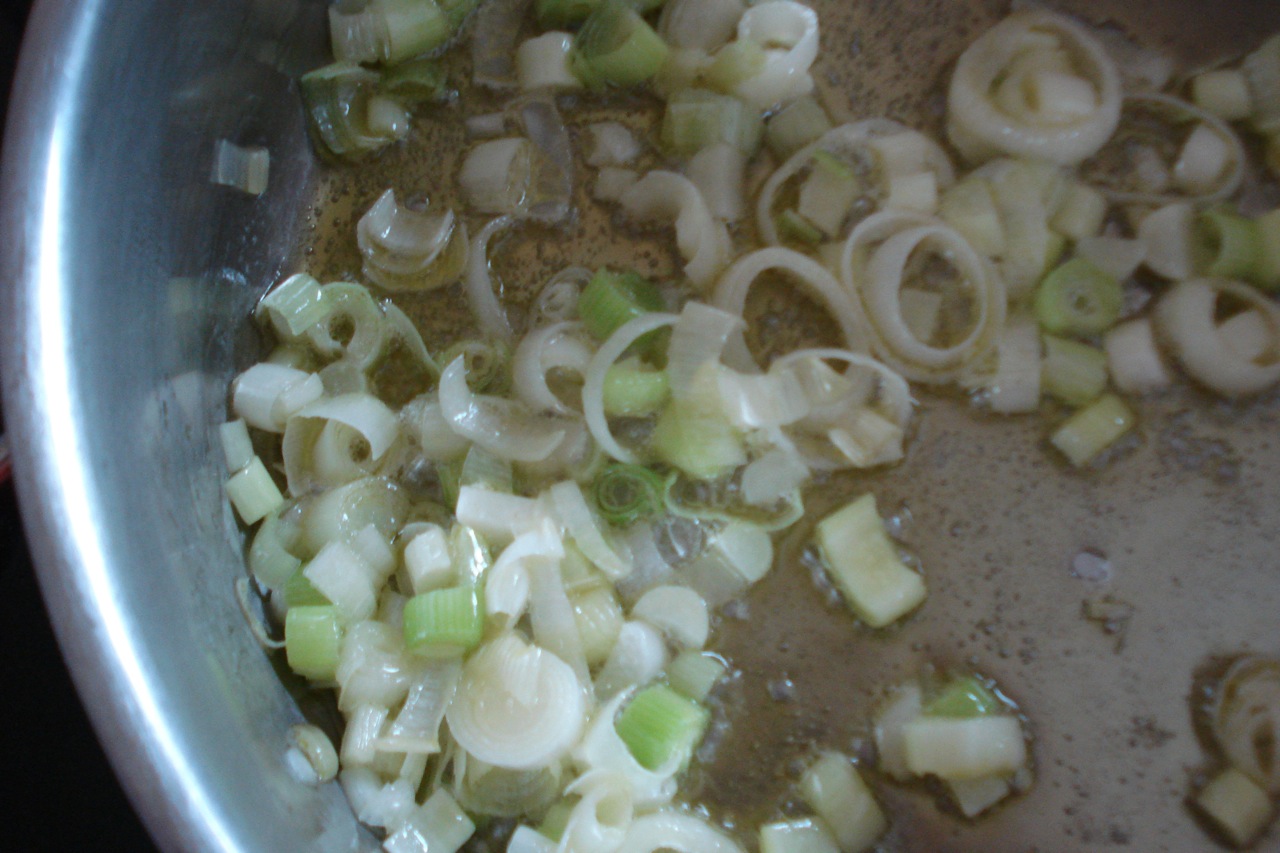
- Add the leeks and saute over medium heat just until they start to brown, 10 – 12 minutes. Do not let the leeks burn, or they will become bitter.
- Add the tomatoes, sage, salt (1/2 tsp, give or take), pepper, and crushed red pepper if using.
- Simmer until the sauce thickens, about 10 mins.
- Taste and adjust seasonings if necessary.
- Cook pasta until al dente in salted water, drain and toss with sauce.
Serves 4.
______________________________________________________________________________________
SIDE NOTES:
~ TO PREP THE LEEKS: Trim and discard the dark green tops and tough outer leaves from the leeks. Halve the leeks lengthwise and wash them under cold running water. Gently spread apart but do not separate the inner layers to remove all traces of soil. If the leeks are particularly dirty, you can soak them in several changes of clean water if that’s easier for you. Slice the cleaned leeks crosswise into thin pieces.
~ I was always very stand-of-ish with leeks, as I didn’t quite understand them. What I failed to realize all those years, is that they’re pretty much just big fat scallions, and thinking of them this way made them a lot less intimidating. They have a mild, sweet, onion flavor when sautéed, and pair really well with eggs (try adding sautéed leeks to an omelette or frittata) or as a topping for home-made pizza. You can really use them any way you’d use regular onions. Interestingly enough, my daughter will not go near an onion (unless it’s pureed and visually undetectable), but likes leeks. Go figure.
~ To this day, I have some sort of aversion to the one thing that always comes to mind when leeks are around…. potato-leek soup. I actually don’t even know if I’ve ever tasted it. The idea of it simply doesn’t appeal to me. Husband told me recently that it’s very good, and I should give it a chance. Maybe I will!
~ You can use anywhere from 1 to 2 pounds of leeks for this. I just used however much I happened to get from my CSA pick up that week (which was 2 short fat ones – about a pound).
~ I often make my EASY-VEGETARIAN-MEATBALLS with dishes like this. You might be able to see one or two peeking out from under the rich, savory sauce =)
Dairy Free, Gluten Free, Egg Free, Nut Free, Sugar Free, Grain Free, Vegan, RawIf eating gluten and/or sugar free, use an appropriate pasta (brown rice pasta is our personal preference), and double check the label or your tomatoes (the only ingredient listed should be “tomatoes”!). Of course, if you’re avoiding grains, feel free to use this sauce over a protein such as chicken or tempeh.
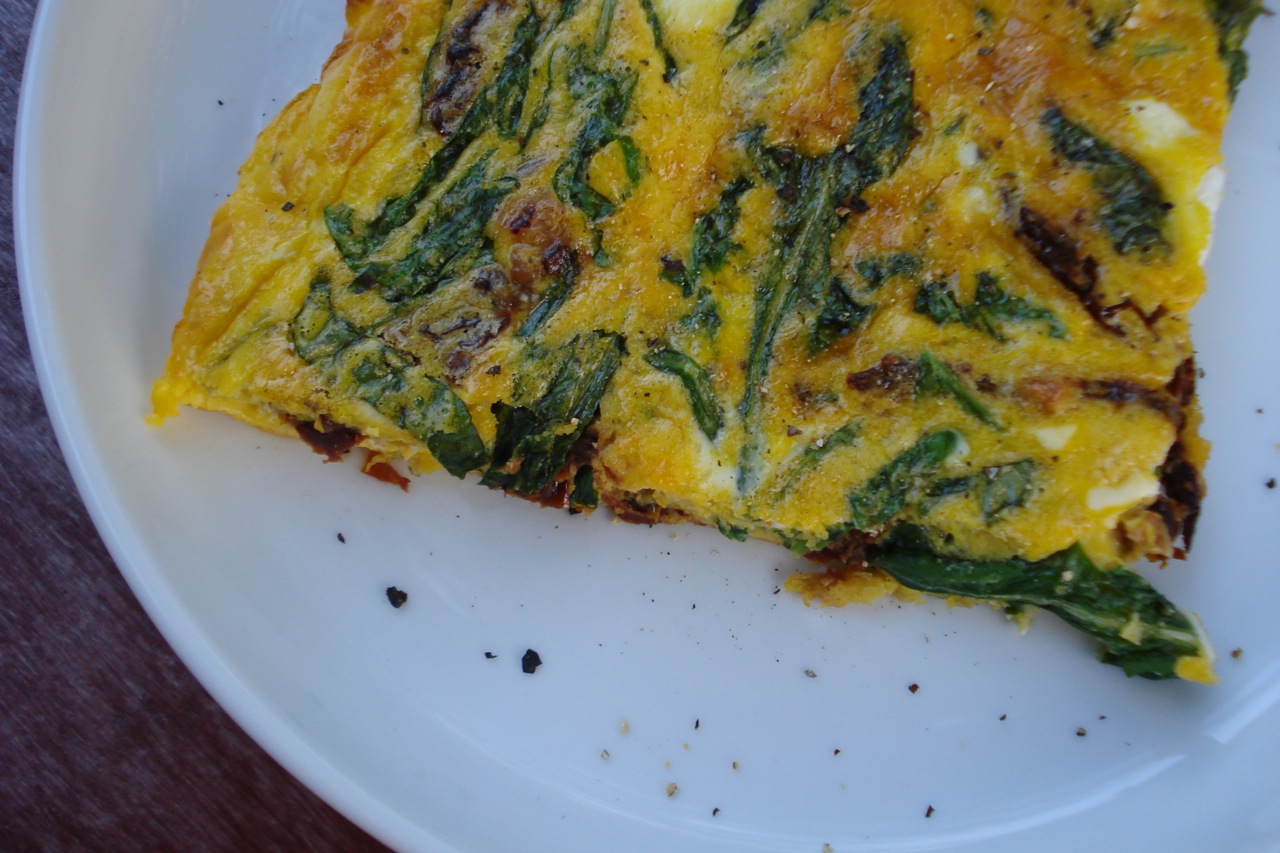
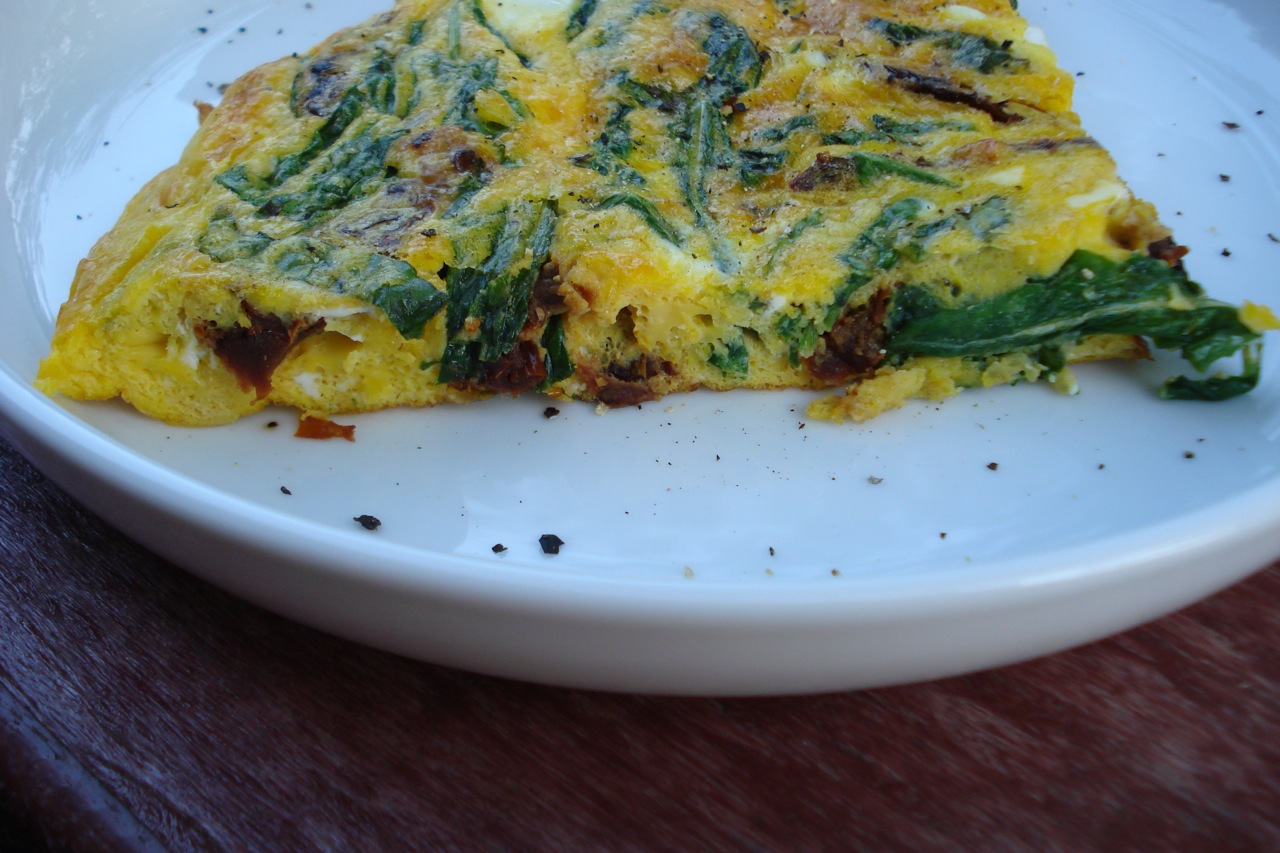
Arugula & Sun-dried Tomato Frittata
1 & 1/2 TBSP extra virgin olive oil
2 large garlic cloves, minced or crushed
8 sun-dried tomatoes packed in oil, drained & thinly sliced
6 oz arugula, washed and drained well
8 large eggs
1/4 cup fresh basil leaves, roughly torn apart
1/4 cup grated parmesan cheese (optional)
1/2 tsp sea salt
freshly ground pepper to taste
- Preheat broiler to high.
- Heat oil over medium heat in a 10-inch skillet (preferably non-stick) with an oven proof handle and swirl the oil to coat the bottom of the pan evenly.
- While oil is warming up, use a fork to lightly beat the eggs, basil, cheese, salt and pepper together (set aside).
- Add garlic to the warm oil, and saute until golden, about 2 mins.
- Add sun-dried tomatoes and cook, stirring to coat well with the garlic and oil for 1 to 2 mins more.
- Add arugula and saute just until wilted (another minute or 2).
- Add egg mixture to the pan, toss gently, and make sure the vegetables are spread out evenly in the pan.
- Cook over medium-low heat, occasionally sliding a spatula around the edges of the pan to loosen the frittata as it sets.
- Continue cooking for about 8 minutes until the frittata is set (except for the top).
- Place the pan directly under the broiler and cook just until the top is golden brown and set, about 2 minutes. Be careful not to let the frittata burn.
- Slide (or invert) the frittata onto a large platter, cut into wedges and serve.
Serves 3 or 4.
________________________________________________________________________
SIDE NOTES:
~ A frittata sounds really fancy, but is actually no big deal to make. If you can make an omelette, you can make a frittata. The only difference is that instead of putting the vegetables on top & folding the omelette in half, you mix them in with the egg, and put the pan under the broiler for 2 minutes so the top portion of egg cooks. I regret having to even put the word “frittata” in the recipe title, as some will skip right over it, thinking it’s something only made by people named Fifi or John-Claude. (I assure you this is not the case!)
~ If you’d like, you can chop up the arugula into smaller pieces, but I usually leave arugula whole when I cook with it. Up to you. It doesn’t have to be exactly 6 oz. That just happens to be how much I got in my last CSA box.
~ Most non-stick pans are bad news. I highly recommend Cuisinart’s Green Gourmet, non-stick skillets for when the need arises.
~ Can either be dinner, or Sunday breakfast.
~ Serve with whole-grain toast and/or a big salad.
~ After you take the pan out of the oven, keep a towel or oven mitt draped over the handle so you don’t forget how hot it is & inadvertently grab it bare-handed.
~ I made this one up, just using what I had on hand. You can add anything you’d like to a frittata, so feel free to just scan the contents of your fridge & use your imagination 🙂
~ Another tasty frittata idea….FRITTATA-WITH-SPAGHETTI-&-HERBS
Dairy Free, Gluten Free, Nut Free, Sugar Free, Grain Free, Vegan, Raw, Egg Free
If eating dairy free, omit the cheese.
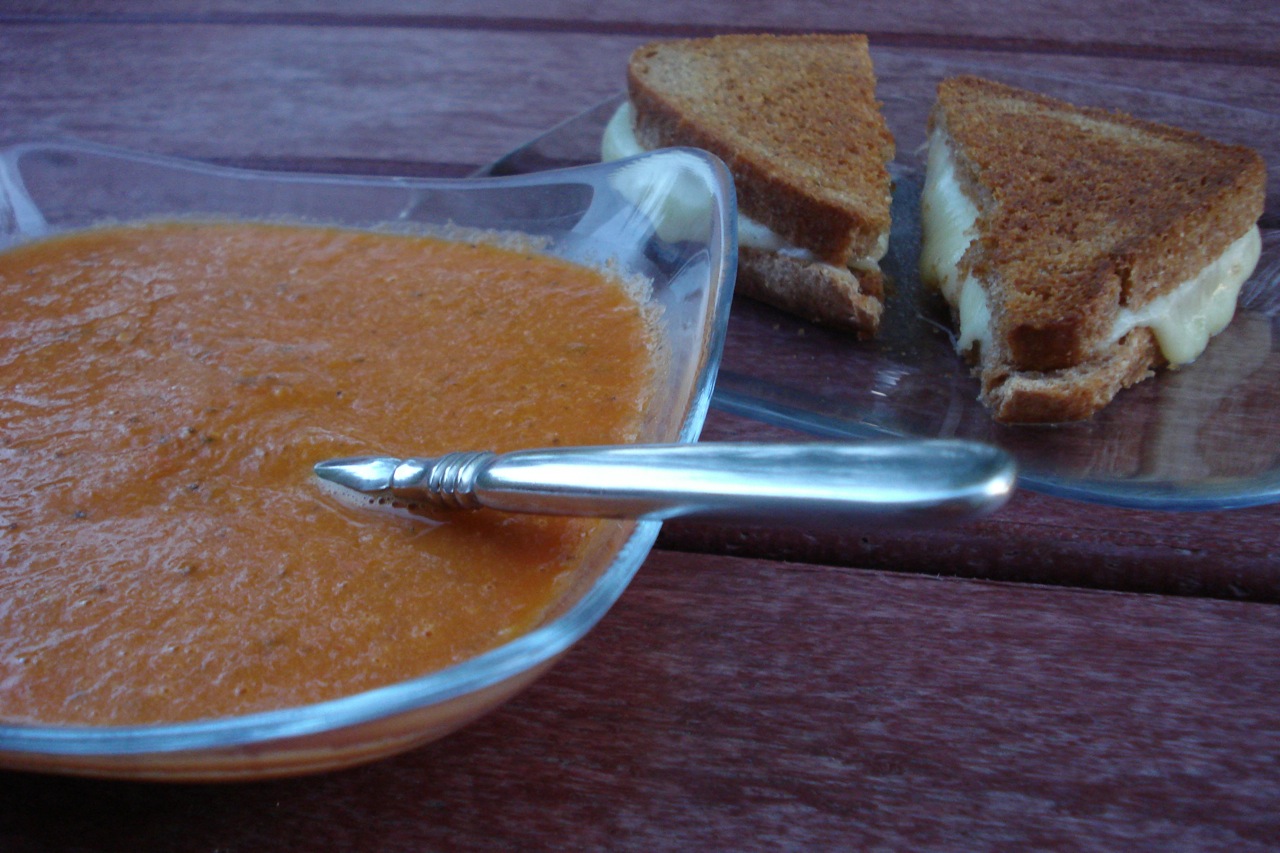
Roasted Tomato Soup
2 pounds of tomatoes
6 garlic cloves (peeled & whole)
1/4 of a medium red onion, sliced
1 TBSP extra virgin olive oil
1 TBSP balsamic or apple cider vinegar
2 sprigs fresh oregano (use leaves & discard stems)
4 large basil leaves, roughly torn into pieces
sea salt & freshly ground black pepper to taste
1 to 2 cups water or broth (depending on how thick or thin you like it)
cheese for sprinkling over the top (optional) (parm or cheddar)
- Pre-heat oven to 375.
- Wash and cut tomatoes in half.
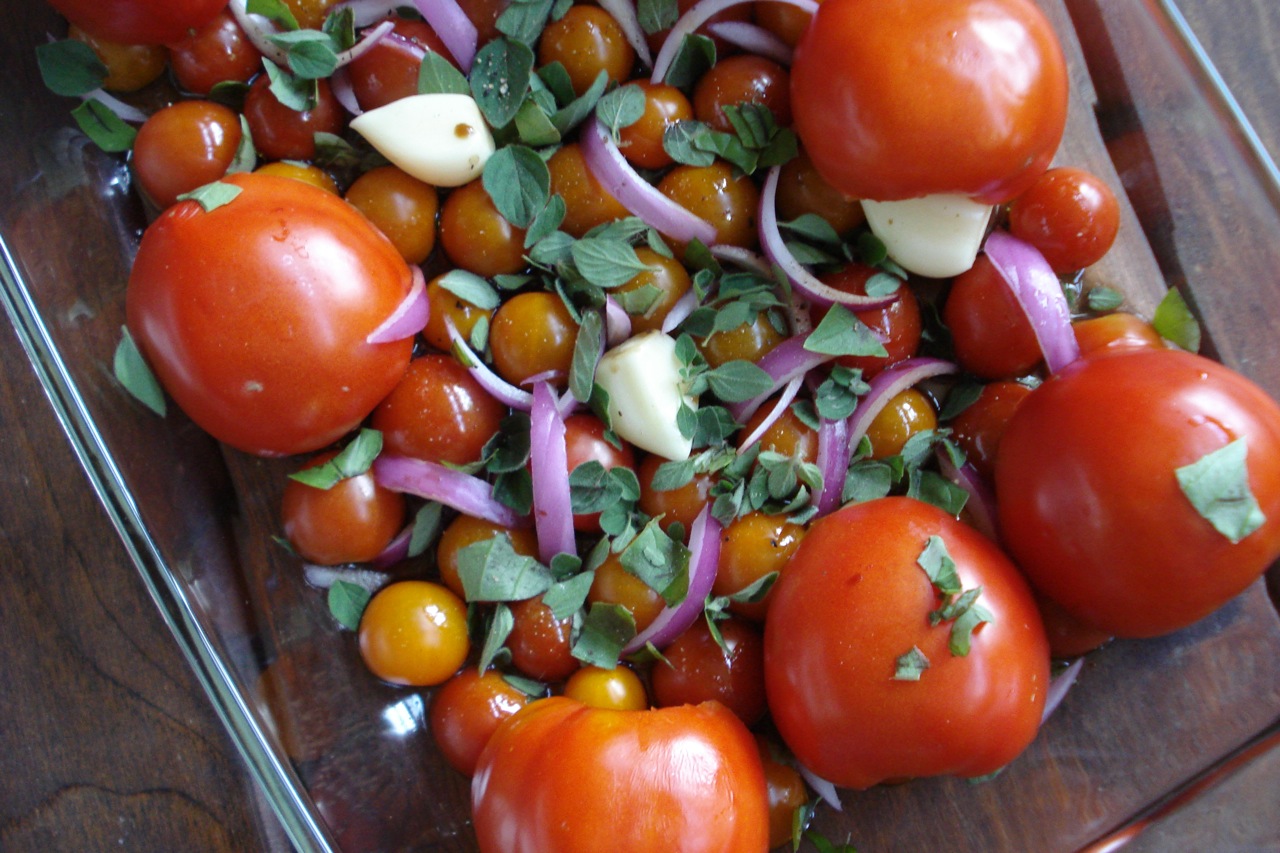
- Place them in a shallow baking dish, cut side down (9 x 13 pyrex works well).
- Add onion, whole garlic cloves, oregano and basil.
- Drizzle vegetables with olive oil and vinegar.
- Sprinkle with salt and pepper, then bake for 45 minutes.
- Puree vegetables by either transferring to a pot (if using a stick blender), or by transferring to a regular blender in batches.
- Slowly add broth or water until desired consistency is reached.
- Taste and adjust salt if needed.
- Serve garnished with cheese if desired.
Yields 4 side servings.
______________________________________________________________________________________
SIDE NOTES:
~ My sister found this recipe on food.com and highly recommended it. We really enjoyed it too. Once again, came in handy as another way to use up all the fresh tomatoes of the season. The house smells so good while it’s cooking!
~ Any type of tomatoes you have on hand will do (though the original recipe calls for either cherry or plum tomatoes). I used some cherry, and some regular.
~ 1 cup of broth worked well (to me, adding 2 cups would have made it too thin), and of course, water would be fine if you don’t have any broth.
Dairy Free, Gluten Free, Egg Free, Nut Free, Sugar Free, Grain Free, Vegan, RawIf you’re eating dairy free, omit the cheese. Always check the labels of any packaged goods you’re using (such as broth…) if eating gluten and/or sugar free.
~ There are a lot of ways to change this up, adding new dimensions of flavor. Try chopping & roasting 2 carrots and 1 stalk of celery along with the tomatoes. Add a swirl of fresh olive oil, and/or a 1/4 tsp cayenne pepper, and/or 1/3 cup cream to the soup after you’ve blended it. If you don’t have fresh herbs on hand, dried will work (though fresh will yield the best flavor). Substituting cilantro, rosemary, thyme, sage, parsley or any other herb you’re in the mood for would be fine. Next time I make this, I’ll increase the onion a bit (probably more like half an onion), add carrots, celery & cayenne (keep in mind, you may need to add more broth/water if using additional vegetables). I’ll also probably double the basil, but save half of it to add in fresh (uncooked), just before blending. As always, I’ll update the recipe, adding specific refinements as I play with it more (though it’s very tasty & easy as is).
~ The old grilled cheese stand-by is of course great with this, but there are lots of things you could pair it with…. Get some brown rice going on the stove just before you start making this, and stir a large scoop into each individual serving. Or add some cooked or canned white beans (can either puree them with the soup, or stir in whole, after blending). Crumble in some whole-grain crackers or croutons (alternately, can dry out a few pieces of whole-grain bread in the oven for 10 – 20 mins at 250 & break it up over soup). Eat it next to corn on the cob, a quesadilla, a big green salad, meat, tempeh, fish or whatever else sounds good to you.
Enjoy!
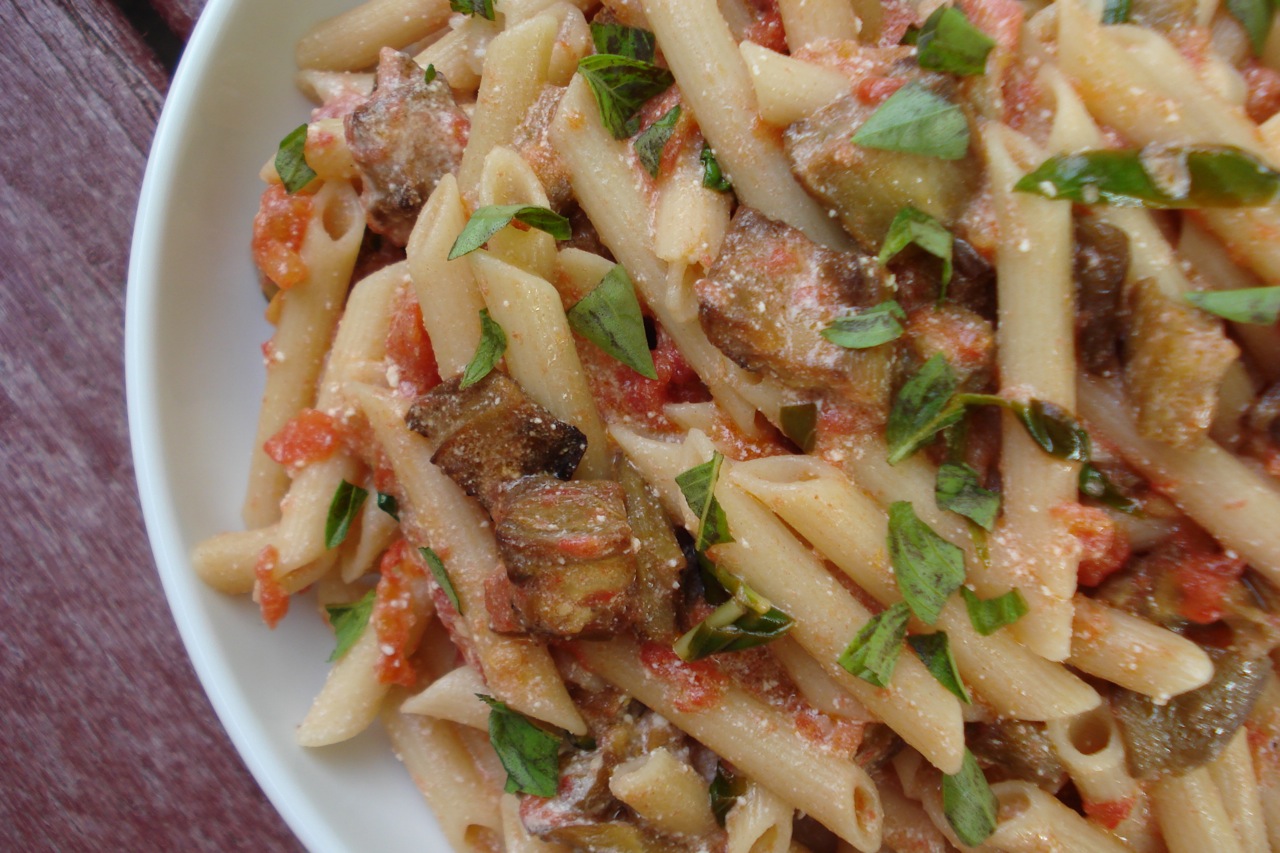
Tomato Eggplant & Basil Sauce
2 small (or 1 medium) eggplant (about 3/4 pound)
1/4 cup extra virgin olive oil (divided)
2 garlic cloves, lightly smashed
3 medium, ripe tomatoes (about 1 & 1/4 lbs) cored and diced small
1/2 tsp pure salt
freshly ground black pepper to taste
10 large, fresh basil leaves cut into thin strips
1/2 cup ricotta cheese (optional)
12 oz ziti or penne
______________________________________________________________________________________
- Preheat oven to 400 degrees.
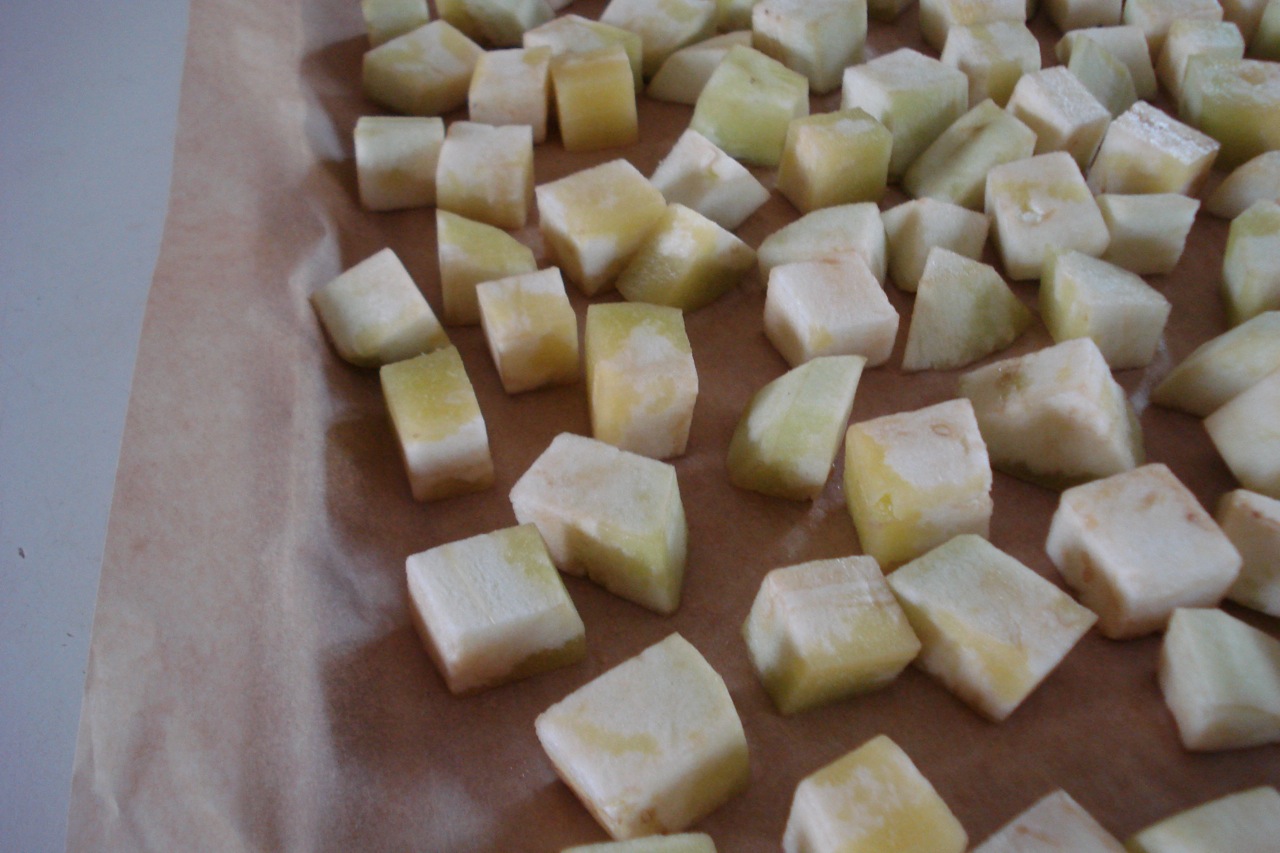
- Peel the eggplant and cut into 1/2 inch cubes.
- Place on a baking sheet (I like to line w/ parchment paper).
- Drizzle 2 TBSP of the oil over the top and toss gently.
- Spread the cubes out so they’re in a single layer.
______________________________________________________________________________________
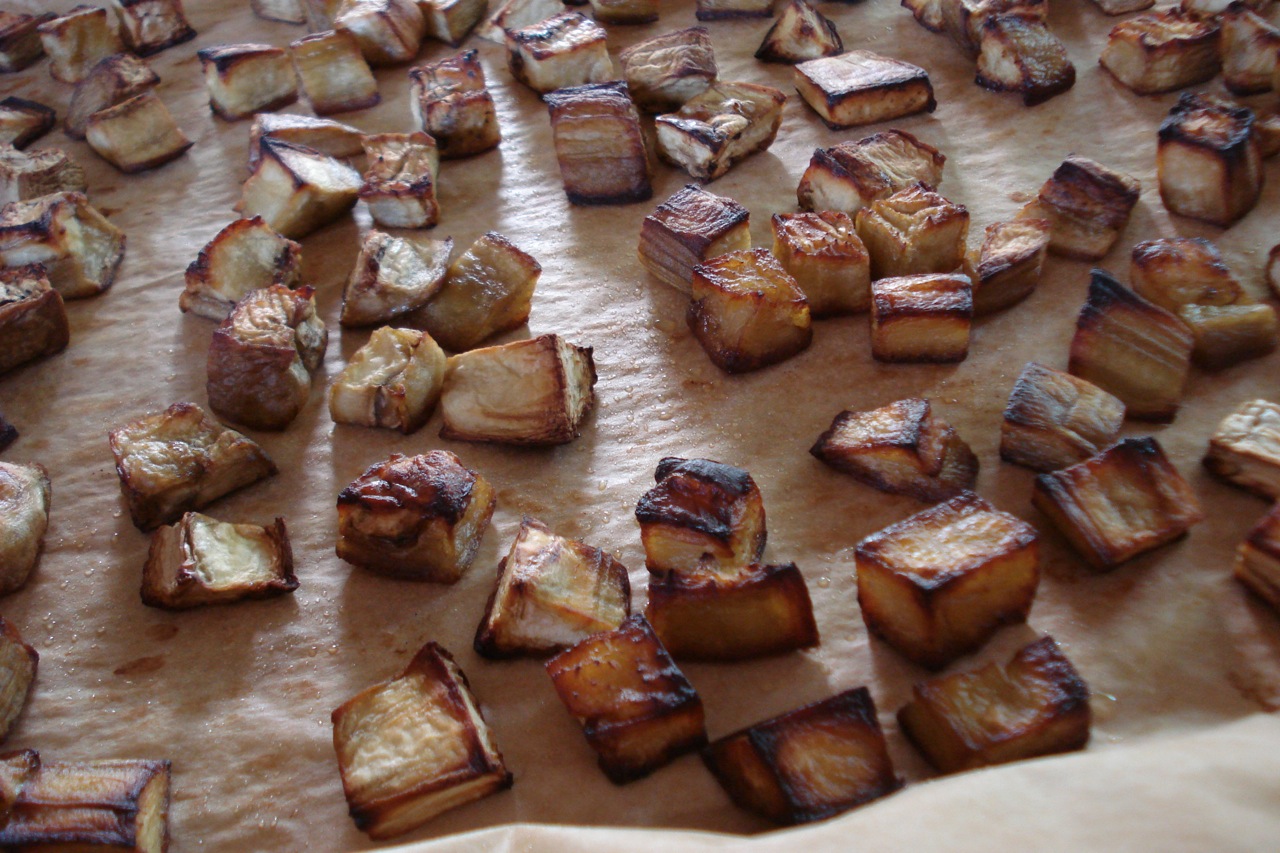
- Bake until the eggplant is golden brown – about 30-40 mins (tossing once, halfway through if you’d like).
______________________________________________________________________________________
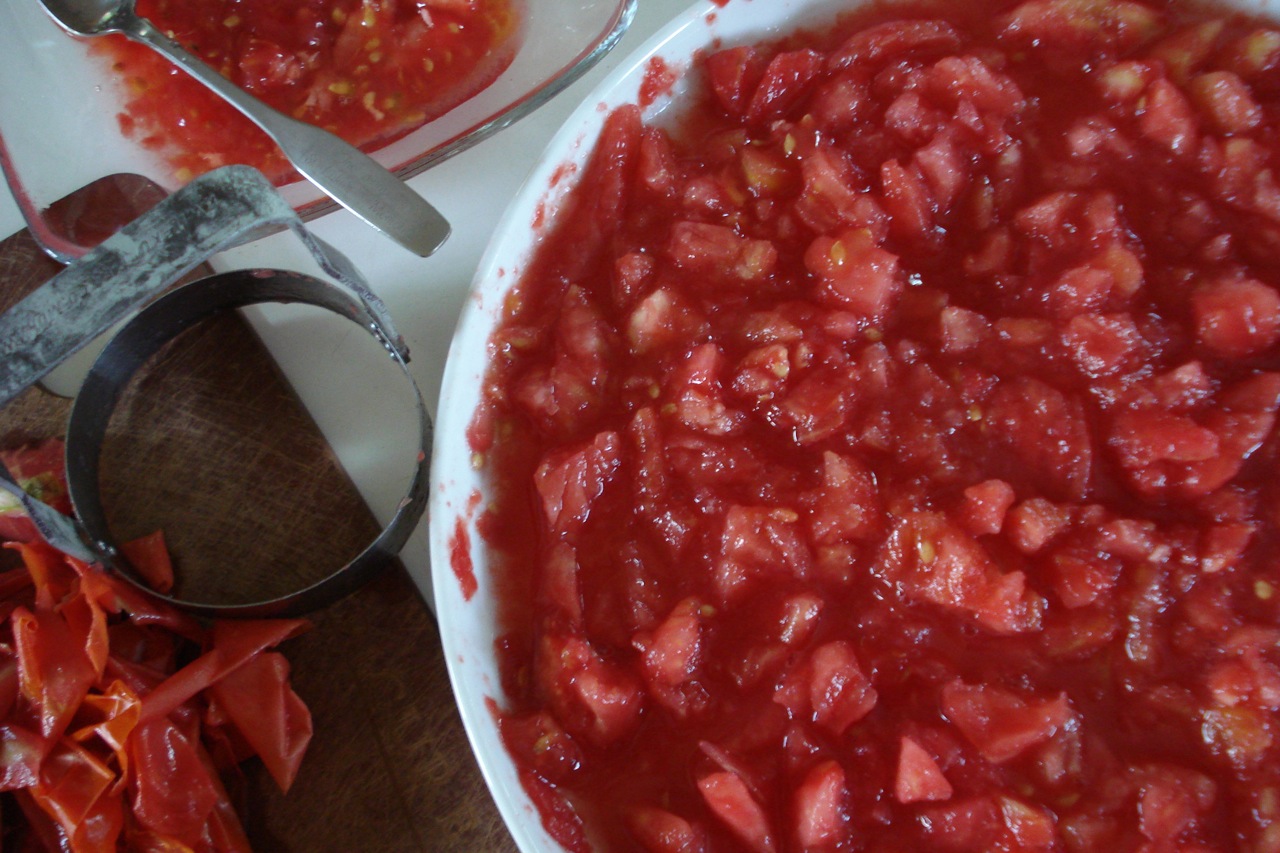
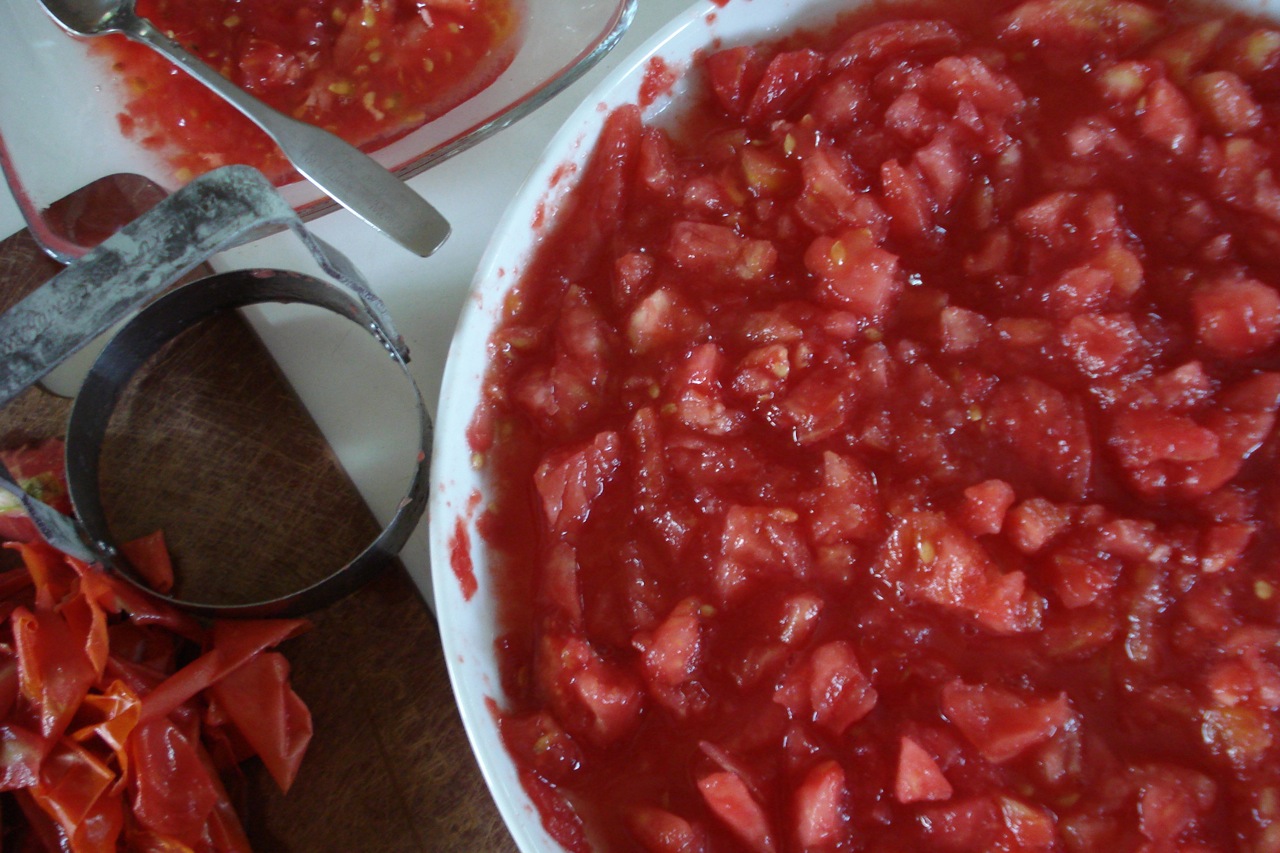
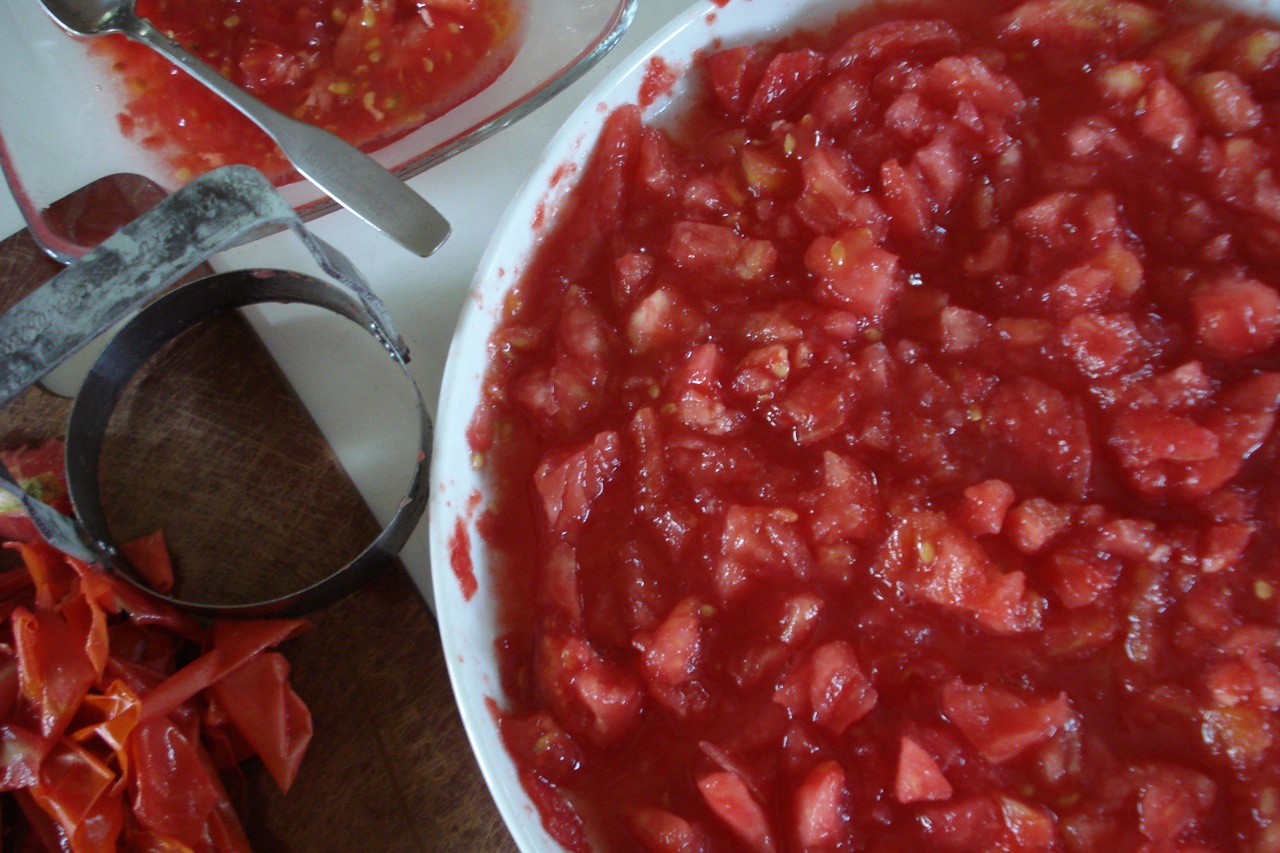
- Core and dice tomatoes. I use my “kwik kut” gadget which chops them up really fast. (Click HERE for more info on the kwik kut tool.) You don’t have to cut/mash them as much as I did here. If you’re using a knife, just dice them up.
______________________________________________________________________________________
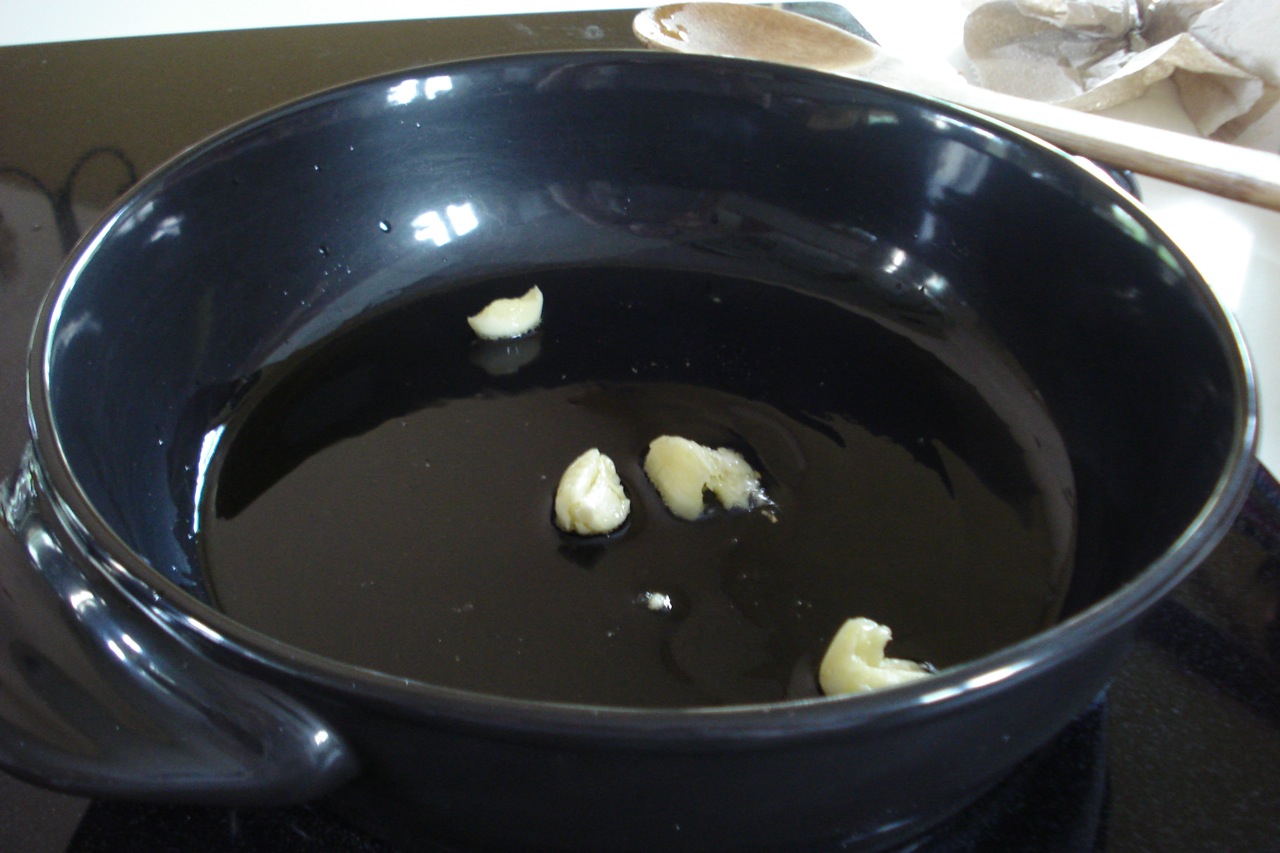
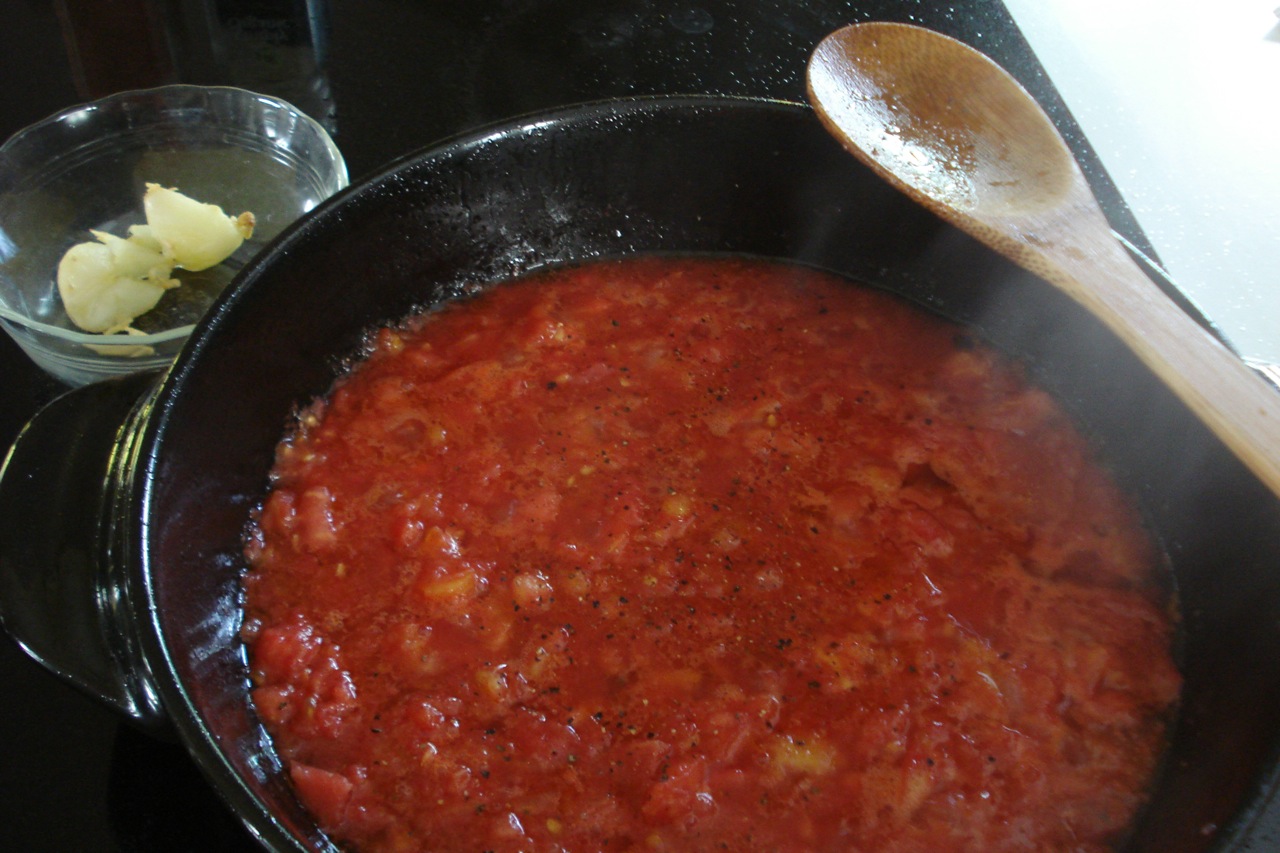
- Heat the remaining 2 TBSP oil in a medium saucepan.
- Add the (lightly smashed) garlic and saute over medium heat until golden – about 3 mins.
______________________________________________________________________________________
- Remove and discard the garlic.
- Add the tomatoes and salt/pepper to taste.
- Simmer, stirring occasionally, until the tomatoes soften and form a sauce – 5 to 10 mins, depending on their initial firmness.
______________________________________________________________________________________
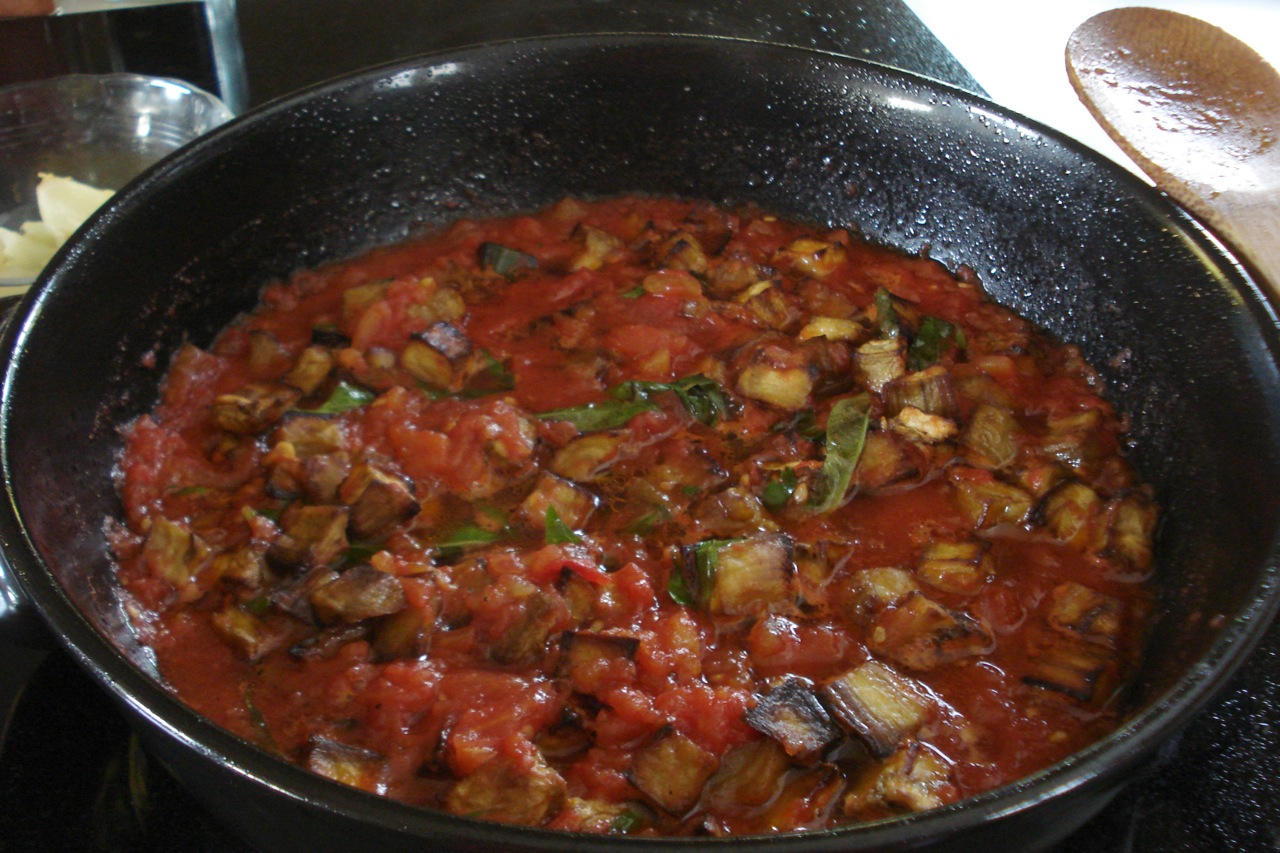
- Stir in the roasted eggplant and basil.
- Cook 1 to 2 mins more to heat through.
______________________________________________________________________________________
- Place the ricotta in a small bowl.
- Cook pasta until al dente in salted water and drain, reserving 1/4 cup of the cooking liquid.
- Stir the reserved cooking liquid into the ricotta to thin it.
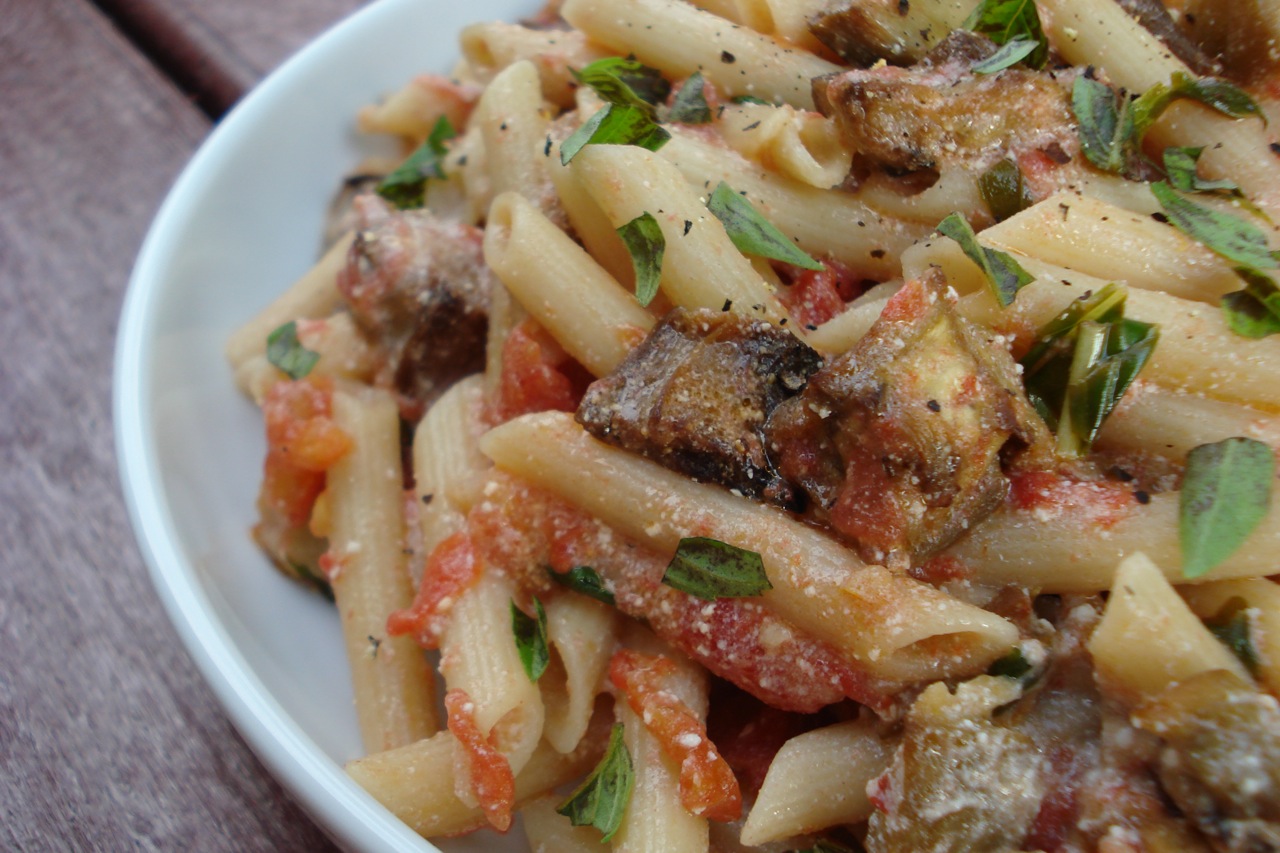
- Stir the ricotta into the sauce, then add the drained pasta and mix well.
Serves 3.
______________________________________________________________________________________
SIDE NOTES:
~ Another good one, helping to put those fresh, summer tomatoes to use (not to mention freshly harvested eggplant and basil!) – adapted from “The Complete Vegetarian Italian Cookbook.”
~ This recipe is pretty straight forward. The only thing you may want to do is peel the tomatoes before you dice them. I’ve made it both ways, with skin/seeds intact, and another time peeled & seeded. Both ways are fine, as long as you don’t mind bits of tomato skin floating in the sauce. If you think the skin would bother you, believe it or not, peeling tomatoes is no big deal. Click HERE for easy instructions.
~ We’ve had this both with & without the ricotta. It’s good either way.
~ When fresh tomatoes are not in season (or if you don’t feel like doing the extra prep work), feel free to make this dish using a 28 oz package of crushed, diced, whole, or pureed tomatoes (whatever appeals to you most).
Dairy Free, Gluten Free, Egg Free, Nut Free, Sugar Free, Grain Free, Vegan, RawIf eating gluten and/or sugar free, use an appropriate pasta (brown rice pasta is our personal preference), and double check labels of any packaged products such as tomatoes, olives & capers. Of course, if you’re eating grain free, you can simply use this tasty sauce to top your protein of choice such as chicken or tempeh.
How to Peel a Tomato
For some reason, it sounds difficult to peel tomatoes, but it’s really not. Here’s how you do it…
___________________________________________________________________
Cut a shallow X across the bottom of each tomato. Don’t make a deep cut, just lightly score the skin.
___________________________________________________________________
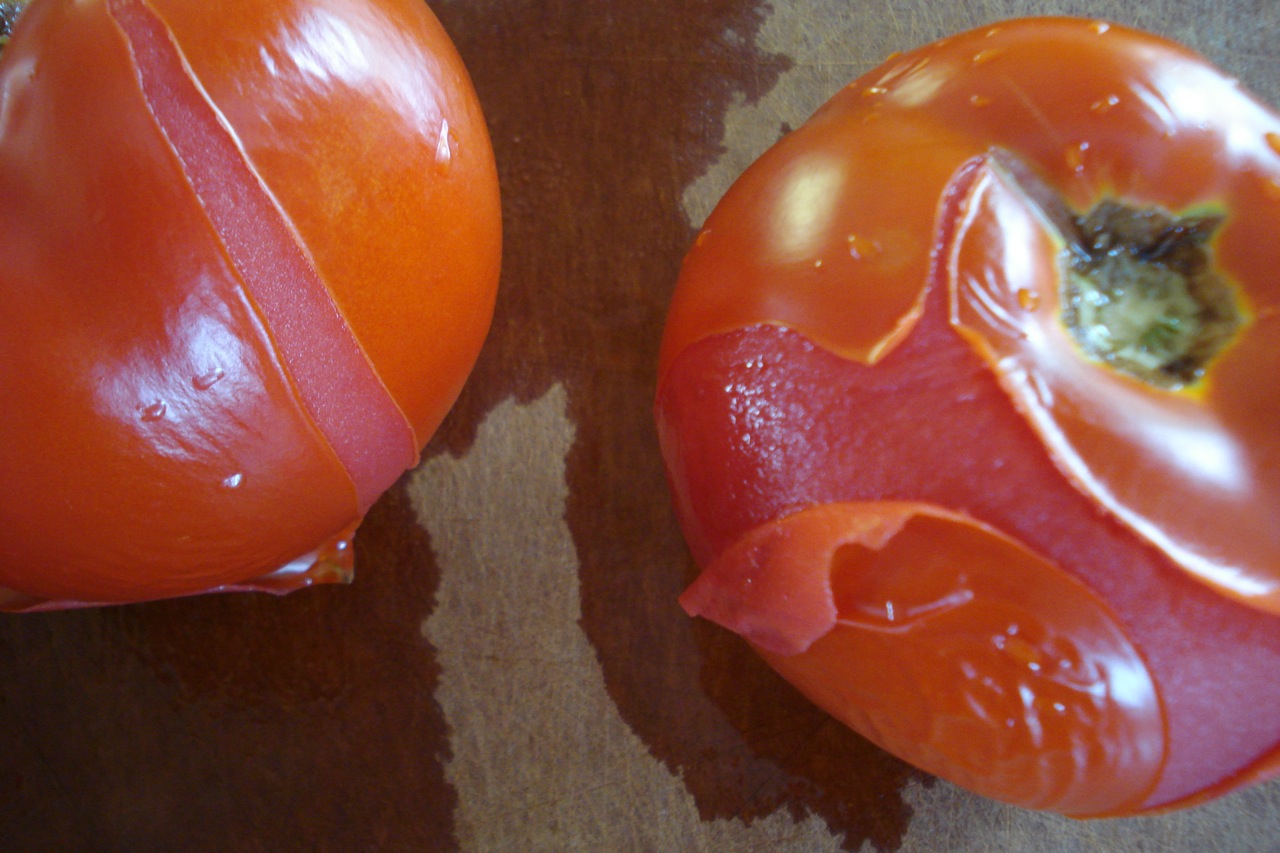
Bring a pot of water to boil, and use a large spoon to drop each tomato into the water. After approximately 30 seconds, use the same spoon to remove the tomatoes from the pot. The skin will have loosened & split, and within a minute or two, the tomatoes will be cool enough for you to handle (alternately, you can immerse them in a bowl of ice water to cool them off quickly if necessary). It will only take a few seconds to peel off the loose skin.
___________________________________________________________________
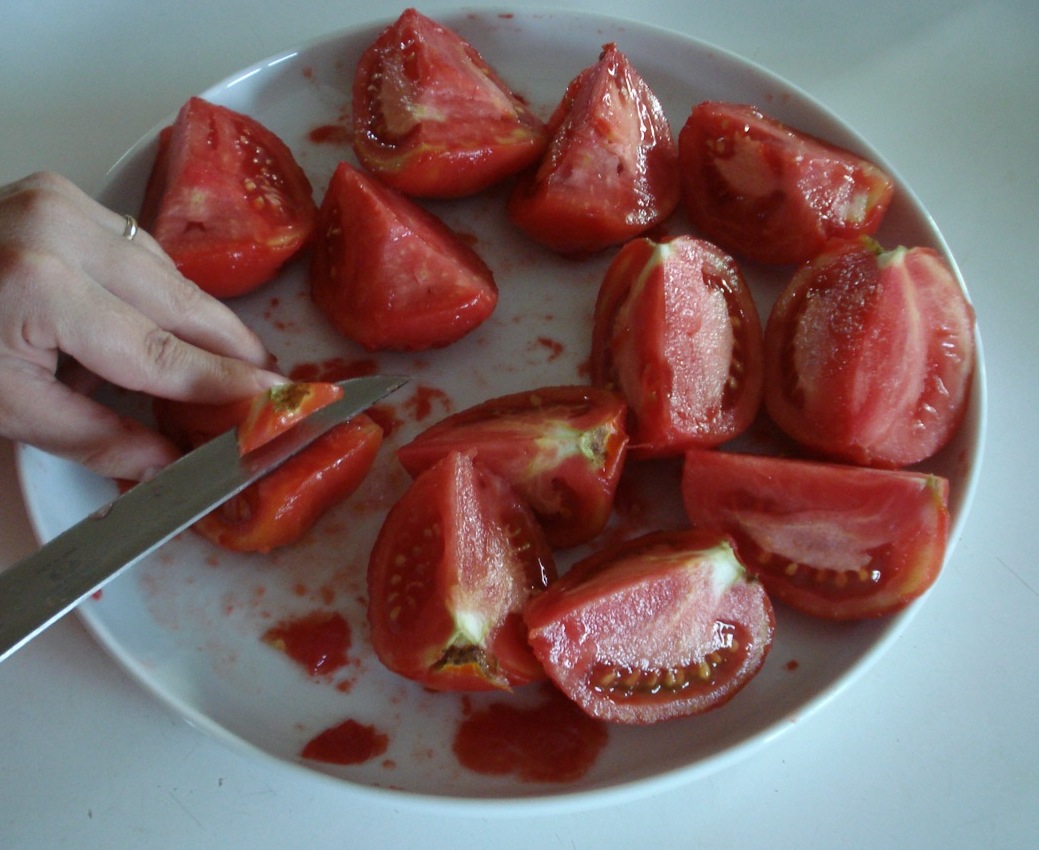
Place the tomatoes in a rimmed plate or bowl, quarter them, and simply cut out the core.
___________________________________________________________________
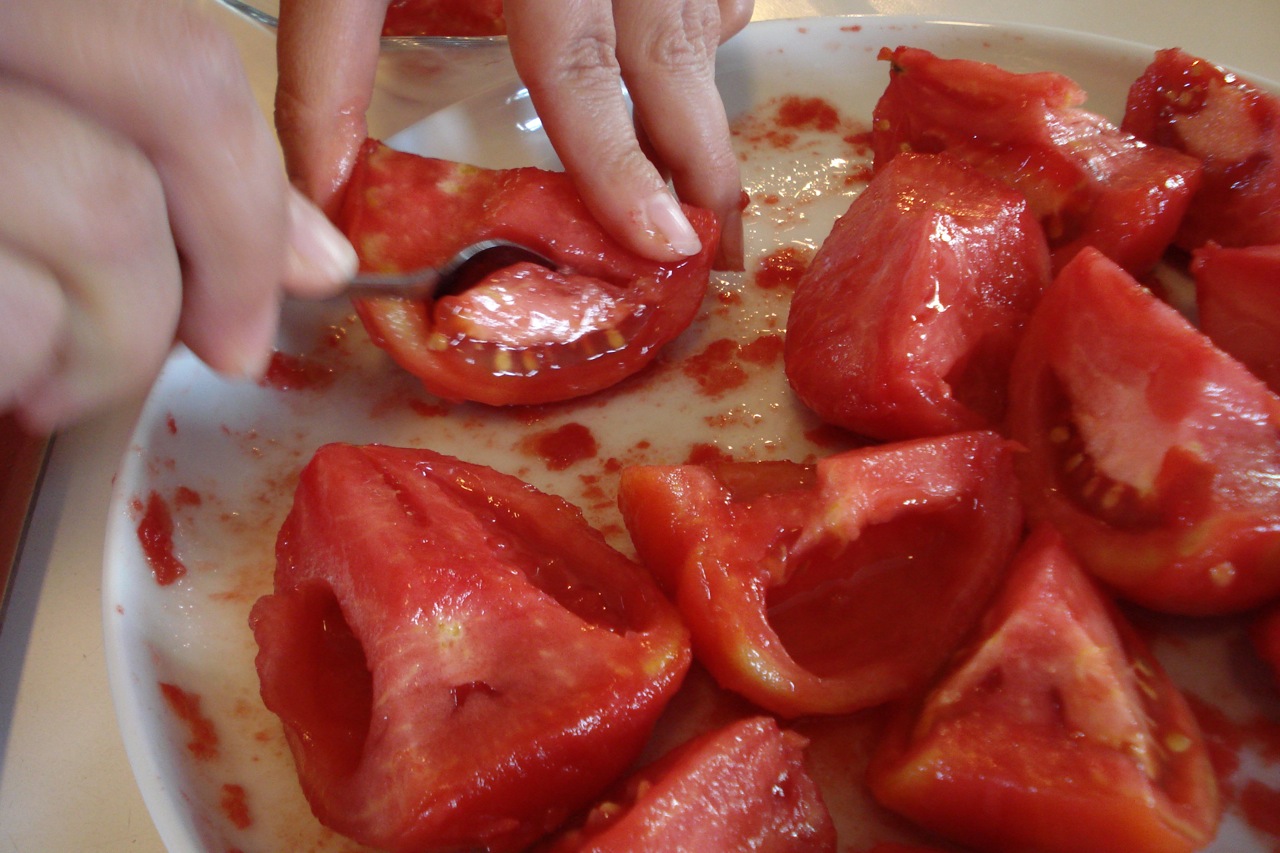
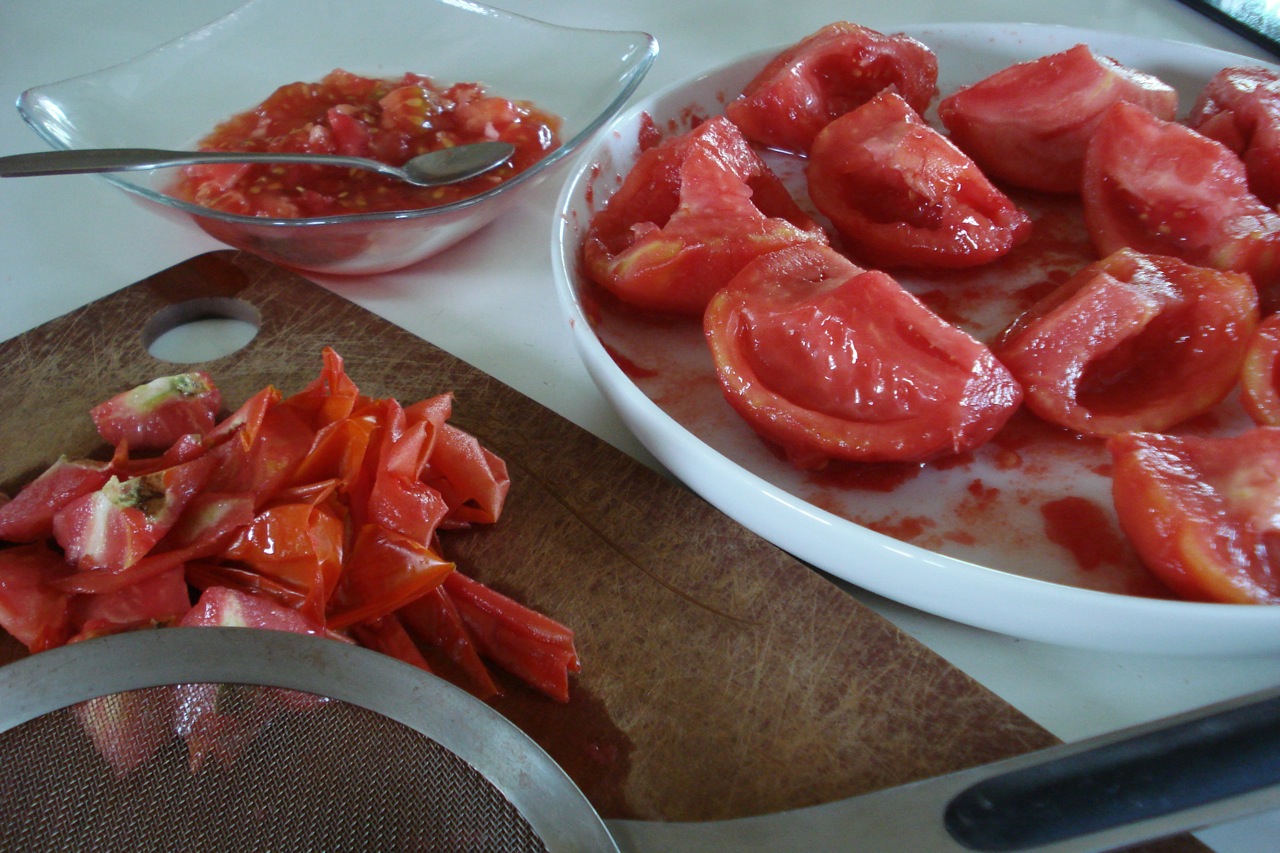
If you’d like to remove the seeds, it’s easy to do with a small spoon.
___________________________________________________________________
If you’re using the tomatoes to make a pasta sauce, it’s extremely convenient to use the same pot and same water you’ll be cooking the pasta in. In other words, once you blanch the tomatoes & remove them, your water will be ready for the pasta.
___________________________________________________________________
To quickly chop tomatoes, I use my “kwik kut” gadget which takes less than a minute. KWIK-KUT.COM For more kitchen tool ideas, see my 32-FAVORITE-TOOLS-&-GADGETS page.


