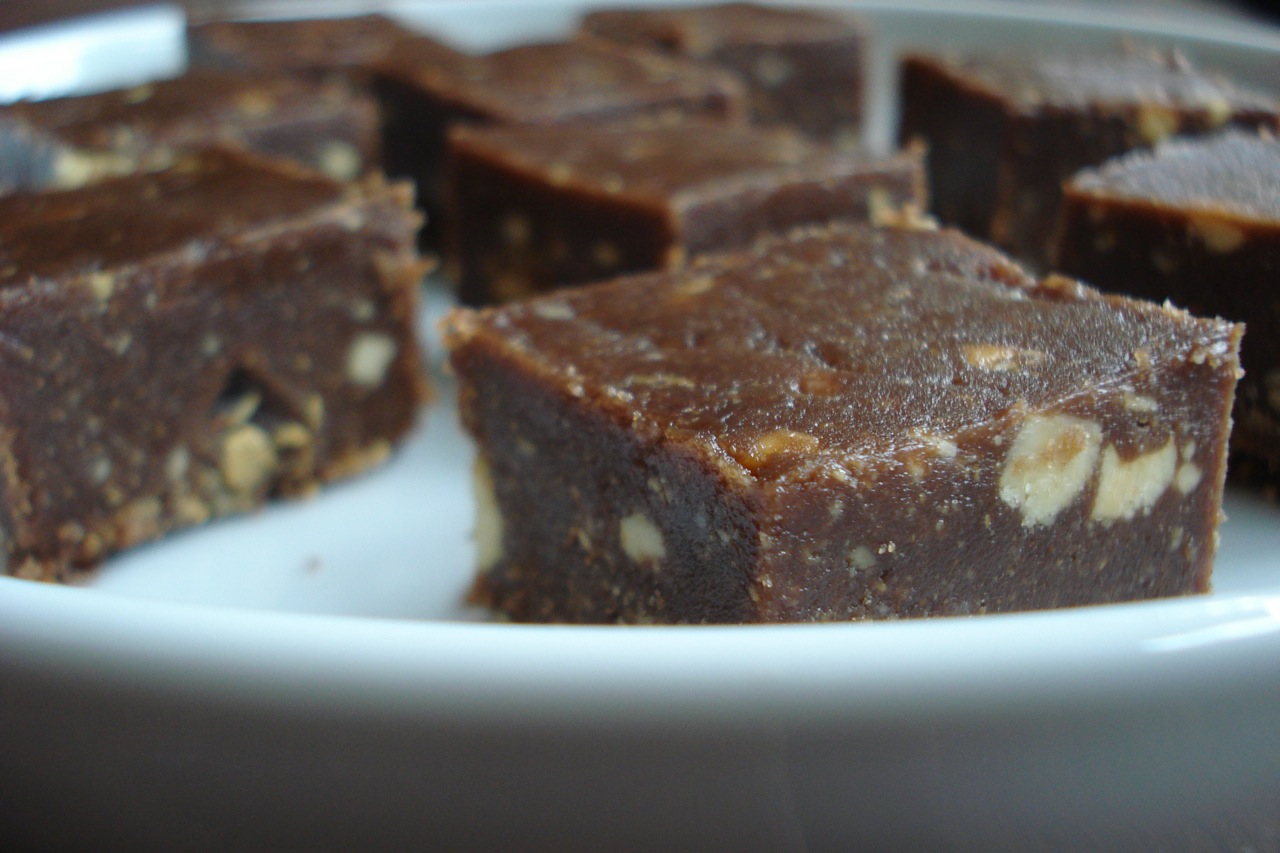
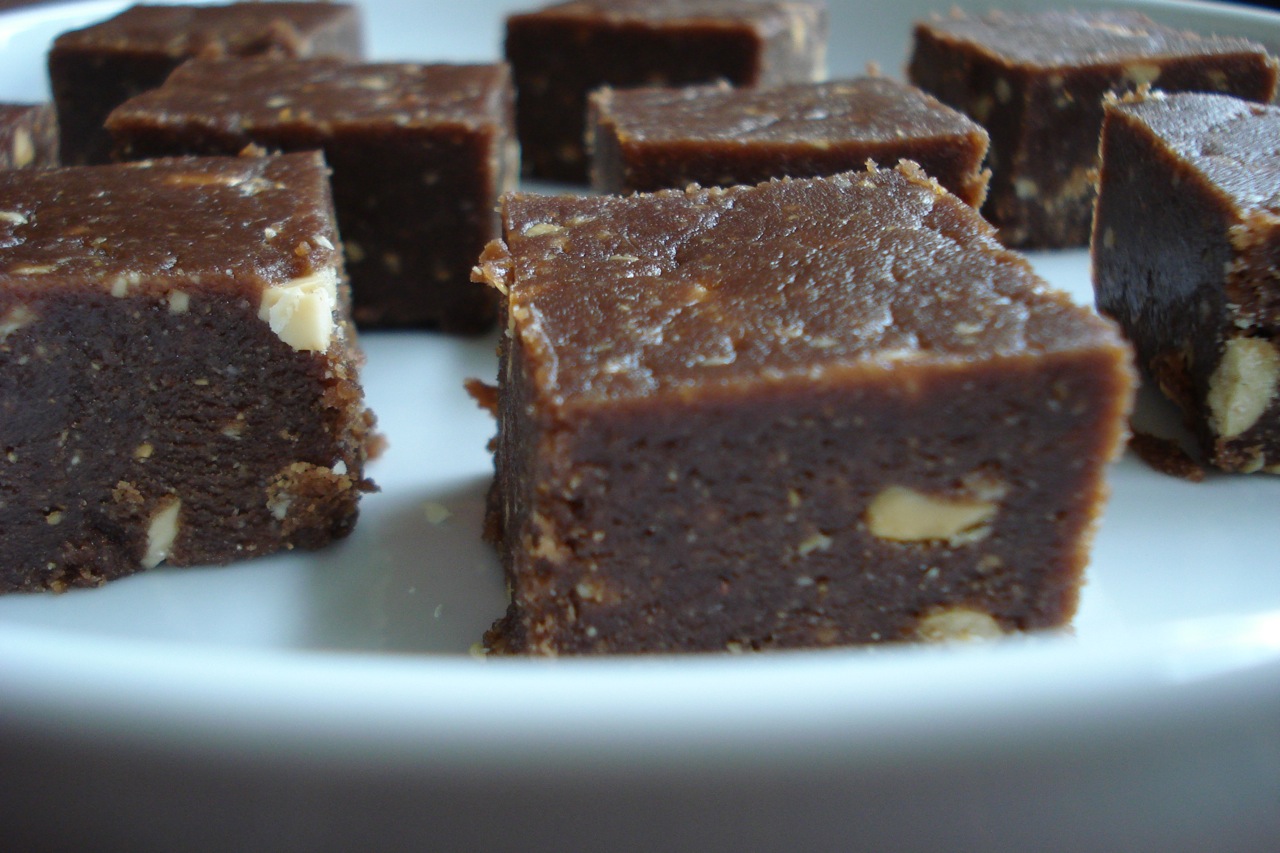
Freezer Fudge
2 cups cashew butter (or other nut-butter)
2/3 cup pure maple syrup
1/4 cup cacao (or cocoa) powder
1 TBSP coconut oil, melted
2 tsps vanilla
1/2 tsp sea salt
1/2 cup cashews (or other nut), coarsely chopped
- Place everything into a food processor except for the chopped cashews. Process until smooth.
- Add the cashews and pulse a few times, until just mixed. Press the mixture into an 8-inch glass baking dish (the back of a spoon works well).
- Freeze for 2 hours before serving.
Makes 36 small squares. Will keep for 3 months in the freezer.
_____________________________________________________________________________
SIDE NOTES:
~ This is extremely easy to make, and for us, a nice alternative to bunny shaped chocolate =)
~ This is also good blondie style. Just omit the cocoa powder.
~ Cashews are a soft nut, so easy to make into butter if you’re into that sort of thing. Just put 4 cups worth into a food processor or Vitamix (or other blender that allows for a tamper) and process until smooth. (This will yield about 2 cups of cashew butter.)
~ Cut them all into squares, even if you don’t intend to eat them all right then. This way, you can pull out just 1 or 2 from the freezer to thaw when a candy-like treat is in order. If you prepare this in advance & freeze longer than 2 hours (so that it ends up frozen solid), let sit out to thaw for an hour or so before cutting into squares.
~ Adapted from “Raw for Dessert”
Dairy Free, Gluten Free, Egg Free, Nut Free, Sugar Free, Grain Free, Vegan, Raw
If eating 100% raw, substitute raw honey for the maple syrup, use vanilla bean, and be sure your coconut oil & cashews are raw. If eating gluten free, be careful with your choice of vanilla.
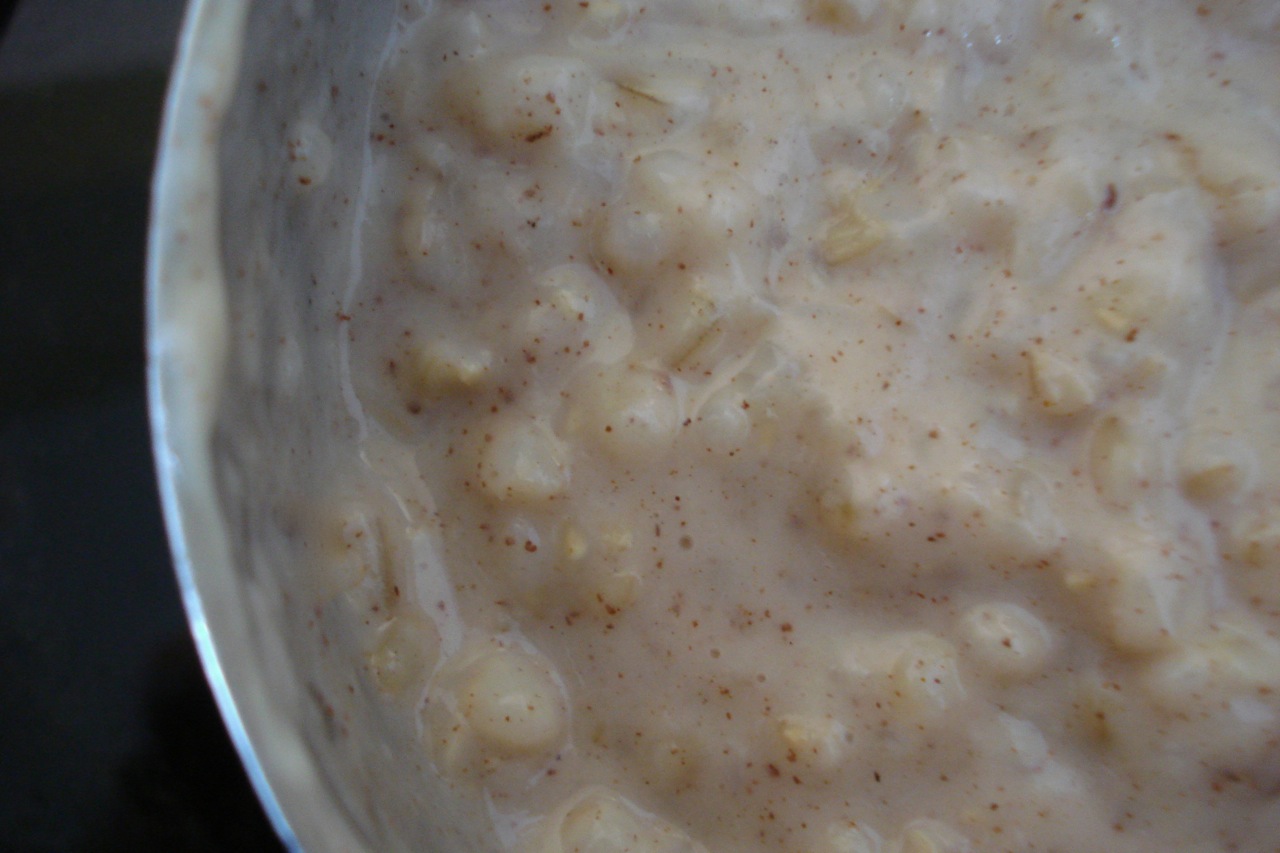
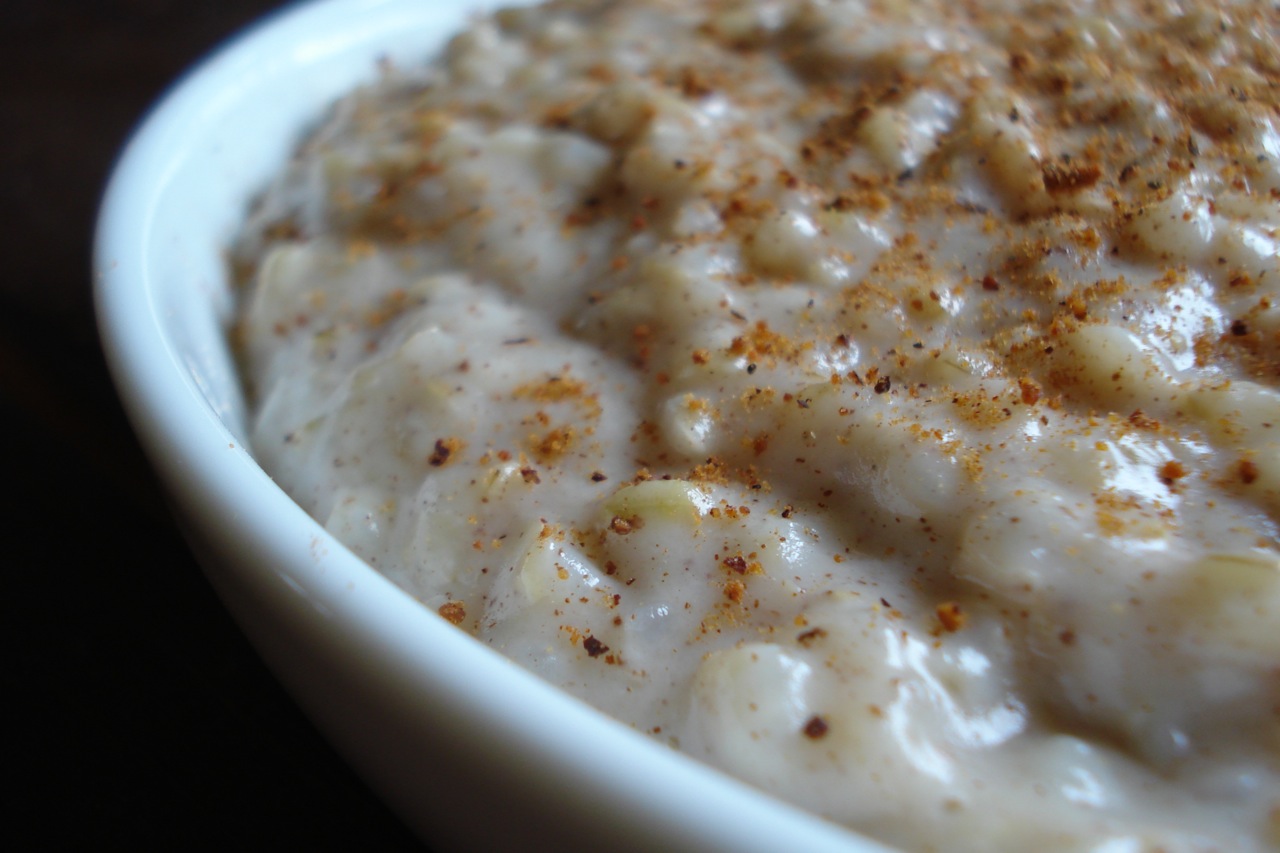
Rice Pudding
1 cup white basmati rice
1/4 tsp pure salt
3 & 3/4 cups whole milk
1 & 1/4 cups cream
2/3 cup natural sugar
1 & 1/4 tsp pure vanilla extract
1/2 tsp cinnamon, or nutmeg, or cardamom (or a combination)
- Bring 2 cups water to boil in a 3 quart pot.
- Stir in rice and salt.
- Cover and simmer over low heat, stirring once or twice until water is almost fully absorbed — 12 – 15 minutes.
- Add milk, cream, and sugar.
- Increase heat to medium-high to bring to simmer, then reduce heat to maintain simmer.
- Cook uncovered stirring frequently until mixture starts to thicken — about 30 minutes.
- Reduce heat to low and continue to cook, stirring every couple of minutes to prevent sticking — about 15 minutes longer.
- Remove from heat and stir in vanilla and cinnamon (and/or other spices). Cool and serve at room temperature or chilled.
Makes 60 oz of pudding which is 6 – 10 servings, depending on portion size.
_____________________________________________________________________________
SIDE NOTES:
~ I absolutely love rice pudding! Always have. This recipe is very easy to make, but keep in mind that you do have to stick around the kitchen for a fair amount of time stirring every now and then (and more frequently toward the end of the cook time). You need about an hour total.
~ I typically use 1/2 tsp of cinnamon to mix in, then sprinkle nutmeg over the top of each serving. If you’d like to make this dish reminiscent of the rice pudding you’d get at your favorite Indian restaurant, use ground cardamom (or a combination of cinnamon & cardamom).
~ As it’s cooking you may want to progressively lower the heat as the mixture becomes thicker & thicker. Make sure to stir it quite a bit so the bottom doesn’t burn.
~ Make sure the pot you use is at least 3 quart or you will overflow.
~ If you’re avoiding dairy, simply substitute coconut milk (regular, not “lite”) for the milk & cream.
Dairy Free, Gluten Free, Egg Free, Nut Free, Sugar Free, Grain Free, Vegan, Raw
If eating dairy free, use full fat coconut milk instead of the milk and cream. If eating gluten free, be careful of your choice of vanilla.
________________________________________________________________________________
Breakfast Rice Pudding
2 cups cooked, short grain, brown rice
1 & 1/2 cups milk of choice
1/4 tsp sea salt
1/4 tsp vanilla (optional)
3 TBSP (give or take) raisins (optional)
1 – 2 TBSPs pure maple syrup (to taste) or stevia
1/2 tsp cinnamon, or nutmeg, or cardamom (or a combination)
- In a small saucepan, combine rice, milk, salt, vanilla (& raisins, if using), & bring to boil.
- Reduce heat & simmer uncovered for 20 mins (or perhaps less – just until it looks like rice pudding), stirring frequently.
- Remove from heat & stir in maple syrup and cinnamon (or whichever spice(s) you prefer).
Serves 3.
________________________________________________________________________
SIDE NOTES:
~ I absolutely love rice pudding. Always have. Using this particular version I’ve concocted, it’s nourishing enough for breakfast, yet sweet enough for dessert. Can be eaten warm, room temp, or chilled.
~ Keep in mind, it’s easiest to make this when the previous night’s dinner included rice, and you made extra, otherwise, it will take an hour just to cook the rice, before even starting the pudding recipe, which would probably limit this to Sunday morning breakfast for most. Even using left over rice, I’d still consider this breakfast for a leisurely morning, as you can’t do other things while it’s cooking (have to stay close by & stir it quite a bit).
~ I’ve made this 2 ways – using whole milk and coconut milk. Both versions are delicious. If using coconut milk, can either use 1 full can (regular not “lite”), OR 1 cup coconut milk and 1/2 cup water – whatever works better for you convenience and taste wise.
~ If on a gluten free diet, careful with your choice of vanilla (if using).
~ Although we don’t, I know some like raisins in their rice pudding, so pointed out the option.
~ For the sweetener, just add 1 TBSP of maple syrup and taste. If you need more, add an additional 1/2 TBSP (and one more 1/2 TBSP if it’s still not sweet enough for you). I always like to be careful sweetening, as it’s easy to add more, but not the sort of thing you can undo if it turns out to be too much.
~ I like using 1/2 tsp of cinnamon to mix in, then sprinkling nutmeg over the top of each serving. If you’d like to make this dish reminiscent of the rice pudding you’d get at your favorite Indian restaurant, use cardamom (or a combination of cinnamon & cardamom).
~ As it’s cooking, I keep progressively lowering the heat as the mixture becomes thicker & thicker. Be sure to stir it quite a bit to make sure the bottom doesn’t burn.
~ When you mix in the syrup & spices, you can also mix in 1 TBSP of butter if you’d like. I don’t, because I cook my brown rice with ghee (clarified butter) (I add 1 TBSP to to the pot along with the rice & water), so it’s rich enough w/o adding extra butter. Remember, butter is nothing to be afraid of, and in fact, will make your grains even more nutritious (provided you’re using real butter or ghee).
~ Optional add-ins: You can add chopped almonds, pistachios, shredded coconut, or other dried fruit over the top if that sounds good to you.
~ If you make more than you can eat, of course, you can keep it in the fridge and eat it for dessert later on =) It also freezes well.
~ I’ve posted this same recipe under “sweets” dropping the word “breakfast” from the title. FYI – It’s the same exact recipe.
Dairy Free, Gluten Free, Egg Free, Nut Free, Sugar Free, Vegan, If eating dairy free, use coconut milk. If eating gluten free, be careful with your choice of vanilla. If eating sugar free, use stevia instead of maple syrup.Grain Free, Raw
________________________________________________________________________
~ FYI – 1 cup of dry short grain brown rice will yield 3 & 1/3 cups cooked, so if making rice specifically for this recipe, 1/2 cup dry will not be quite enough. If you’d like, you can cook 1 cup dry and use all of the rice (3 & 1/3 cups cooked), by upscaling the recipe to yield about 5 servings as follows:
3 & 1/3 cups cooked short grain rice (1 cup dry)
2 & 1/2 cups milk**
1/2 tsp sea salt (or just slightly less if you want to be exact)
1/2 tsp vanilla (or just slightly less)
1 & 1/2 – 3 TBSP pure maple syrup (to taste)
1 tsp cinnamon, or nutmeg, or cardamom (or a combination)
I always make this larger portion. It fits nicely in my 1 & 3/4 quart pot (make the rice first, fluff with a fork, then add the milk/salt/vanilla right to the same pot & continue with the recipe as described above).
**If I don’t have fresh cow milk on hand, I use 1 can coconut milk and 1 cup water (remember, use regular coconut milk – not lite).
________________________________________________________________________
If you prefer to use uncooked brown rice, and just cook it all in one pot (as opposed to having to have cooked rice on hand), you can try this recipe, adapted from the coconut lover’s cookbook:
1 cup short grain brown rice
1 cup water
1 can coconut milk
1/4 tsp sea salt
1/4 tsp cinnamon
1/4 tsp cardamom
Soak rice in 1 cup of water overnight. In the morning, add remaining 4 ingredients, bring to boil, lower heat, and simmer for approx 45 mins. Add extra coconut milk for serving. Serves 5.
We’ve eaten this version a few times over the past few years, but the kids didn’t really love it (though I thought it was very tasty). In any case, this is what inspired me to come up with a different version that we all loved (which is what the recipe at the top of this page turned into!).
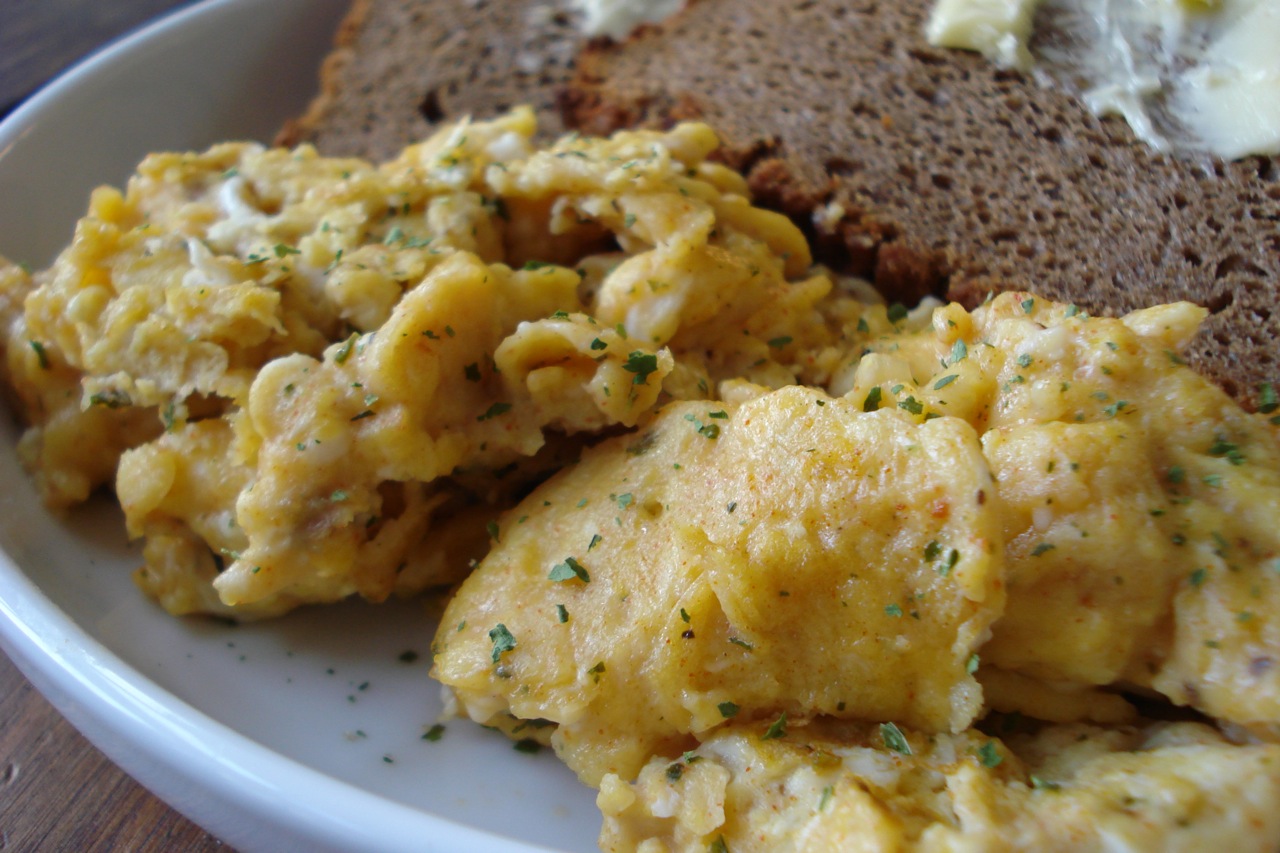
Spiced Scrambled Eggs
2 eggs
rounded/heaping 1/2 tsp spice mix (see below)
butter, ghee, or coconut oil (to cook the eggs in)
- Heat butter or oil in a pan over medium heat.
- Beat eggs and spices together with fork or whisk and scramble.
Serves 1.
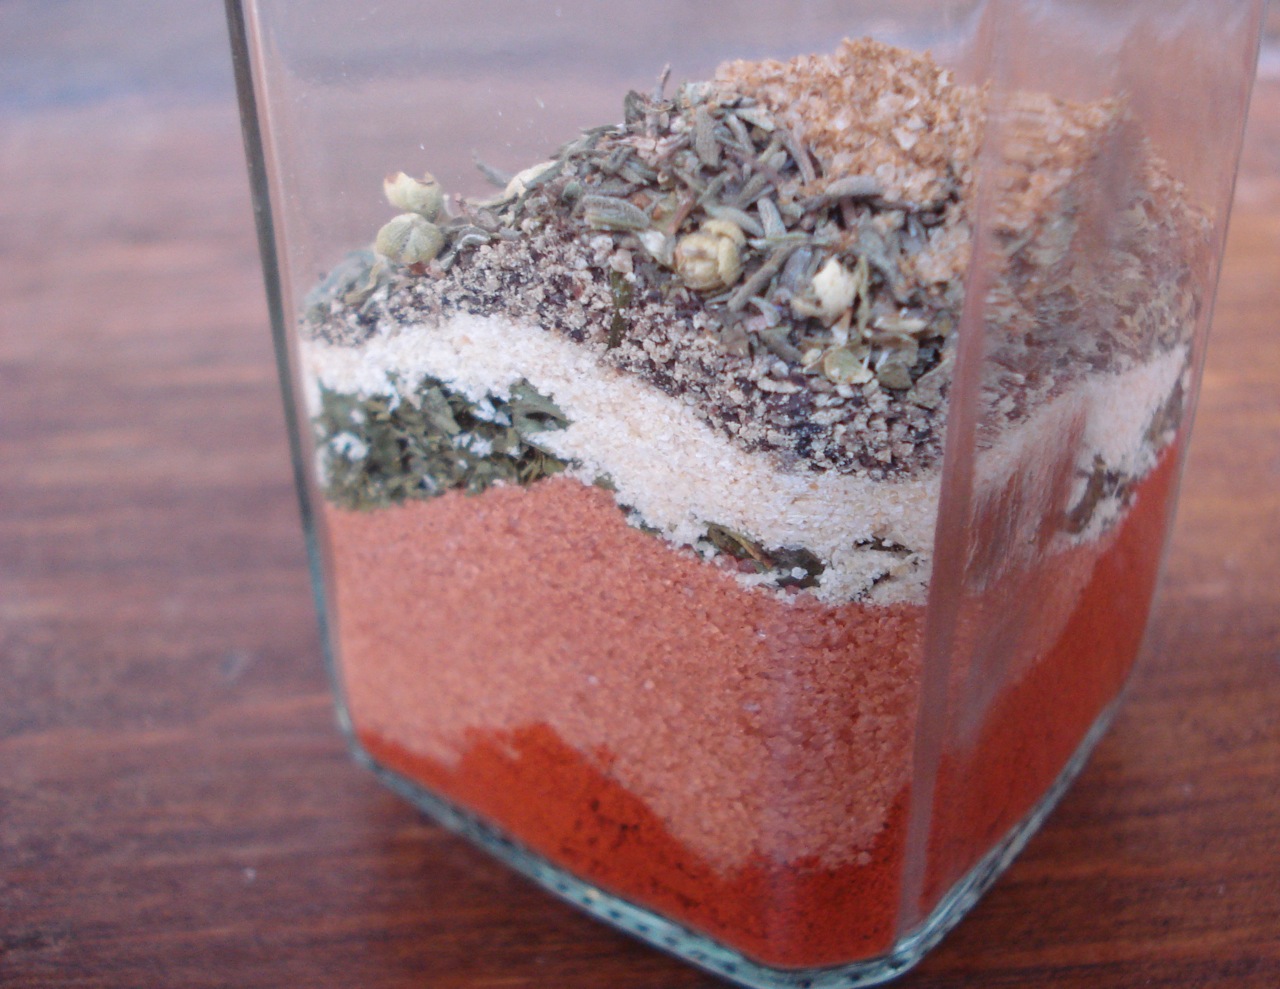
SPICE MIX:
1 & 1/2 TBSP paprika
1 TBSP sea salt
1 TBSP dried parsley
1 tsp onion powder
1 tsp garlic powder
1/2 tsp ground black pepper
1/2 tsp dried oregano
1/2 tsp dried basil
1/2 tsp dried thyme
1/4 tsp celery salt
- Combine all ingredients and store in sealed container.
________________________________________________________________________
SIDE NOTES:
~ When sleeping over a friend’s house, my son had eggs like these & loved them. After inquiring about the specific spices used, my friend told me it was Emeril’s “baby bam” spice mix (Thx Trish!). We tried it here at home & all really enjoyed it. Of course, you can tailor it to your own taste. Don’t have celery salt and hate oregano? Leave them out. Want to add a little kick? Add some cayenne or red pepper flakes. Personally, a few of us here have always enjoyed cilantro over our scrambled eggs, so we added a little over the top at the table.
~ Of course, you can also use this spice mix to season soups, meats, vegetables, grains…etc.
~ FYI – Most people beat in a little milk with scrambled eggs, which is fine, but it’s not at all necessary. Personally, I don’t add milk, but either way works – up to you.
Dairy Free, Gluten Free, Nut Free, Sugar Free, Grain Free, Vegan, Egg Free, Raw
If eating dairy free, use coconut oil to cook the eggs.
___________________________________________________________________
Who else was going to elementary school birthday parties in the late 70s? As I was combining my spices, I had a flash back to those “sand creations” that were such a popular b-day party activity back then.
Pretty 🙂
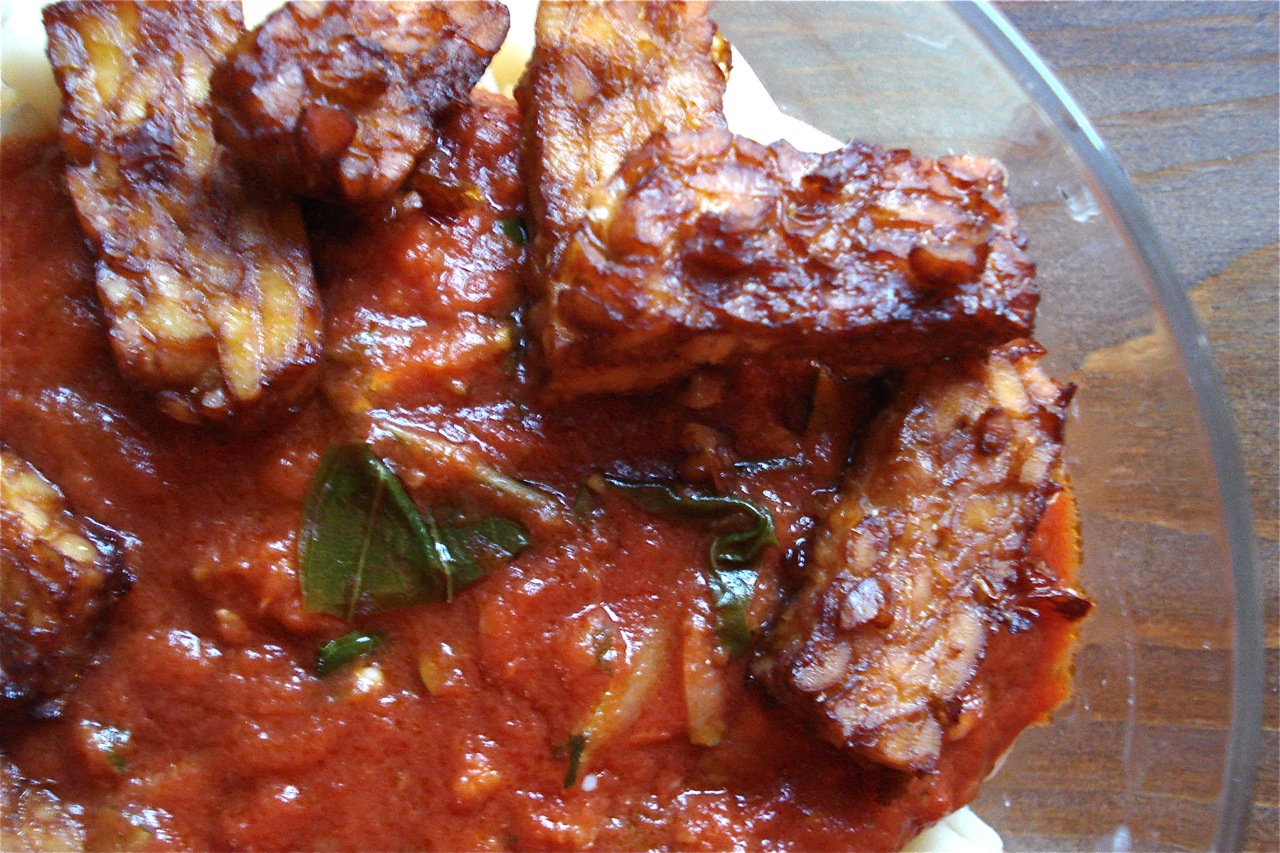
Easy Marinated/Baked Tempeh
8 oz soy tempeh (one package)
2 TBSP extra virgin olive oil
2 TBSP tamari/soy sauce
- Whisk together oil & soy sauce in a medium bowl.
- Slice tempeh into small rectangles & toss with marinade.
- Let sit for 1 hour (or less if you’re in a rush).
- Pre-heat oven to 350.
- Place tempeh on a cookie sheet (I like to line w/ parchment paper) and bake 10 – 15 mins.
______________________________________________________________________________________
SIDE NOTES:
~ In my early vegetarian days, I used packaged, frozen soy “meatballs” with pasta dishes. When I started getting more into cooking, I began making my own vegetarian meatballs using tofu. If you freeze tofu, it becomes the perfect texture to crumble & form into meatballs (mixed with seasonings/cheese/eggs…). At some point, however, I decided making my own vegetarian meatballs was annoying. That’s when I came up with this simple recipe! Add additional seasonings as you see fit.
~ This was actually posted a long time ago on the QUICK-TOMATO-SAUCE page. I just realized it was hidden there & thought I’d give it its own space so people who are looking for an easy way to use tempeh can find it. As mentioned, it’s great tossed with pasta & marinara sauce (ZUCCHINI-MARINARA pictured above), or simply on its own with rice, vegetable, and/or salad. Of course, you can cut the tempeh into larger patties (like THIS) if you’re not mixing it into a pasta dish or casserole.
Dairy Free, Gluten Free, Egg Free, Nut Free, Sugar Free, Grain Free, Vegan, Raw
If eating gluten free, be sure to use a gluten free soy sauce and “soy” tempeh (not “3 grain” “flax” or “veggie”).
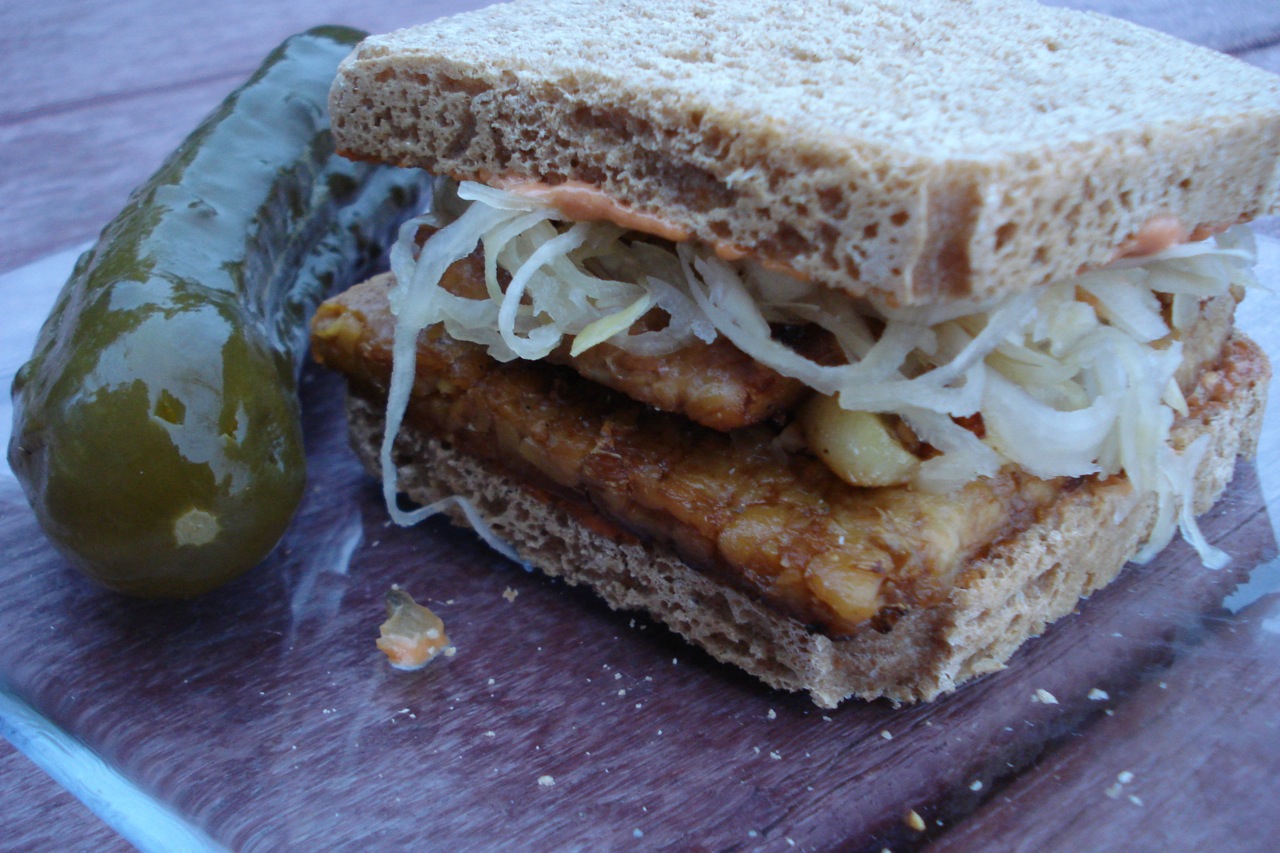
Tempeh Reuben
______________________________________________________________________________
1. MAKE BASIC-FRIED-TEMPEH <—-click:
oil of choice
a few cloves of garlic, chopped
2 packages of soy tempeh
1 – 2 TBSP soy sauce
______________________________________________________________________________
2. MAKE DRESSING by mixing together the following (or use store-bought Russian/Thousand Island):
1/3 cup MAYO
1 TBSP relish
2 TBSP ketchup
(This makes enough for 3 or 4 sandwiches)
_____________________________________________________________________________
3. TOAST BREAD and add tempeh (with garlic), sauerkraut, and dressing.
_____________________________________________________________________________
SIDE NOTES:
Dairy Free, Gluten Free, If eating gluten free, be sure to use a certified gluten free bread and choose “soy” tempeh (“three grain”, “flax”, and “veggie” tempeh all contain gluten.Egg Free, Nut Free, Sugar Free, Grain Free, Vegan, Raw
~ We don’t add cheese to this, but feel free to melt swiss cheese over the tempeh in its final minute of cooking if you’d like.
~ This sandwich is to die for (to us anyway). I could have sworn I already posted it, as we’ve been making them for years, but apparently not!
(the juicy side….) 🙂
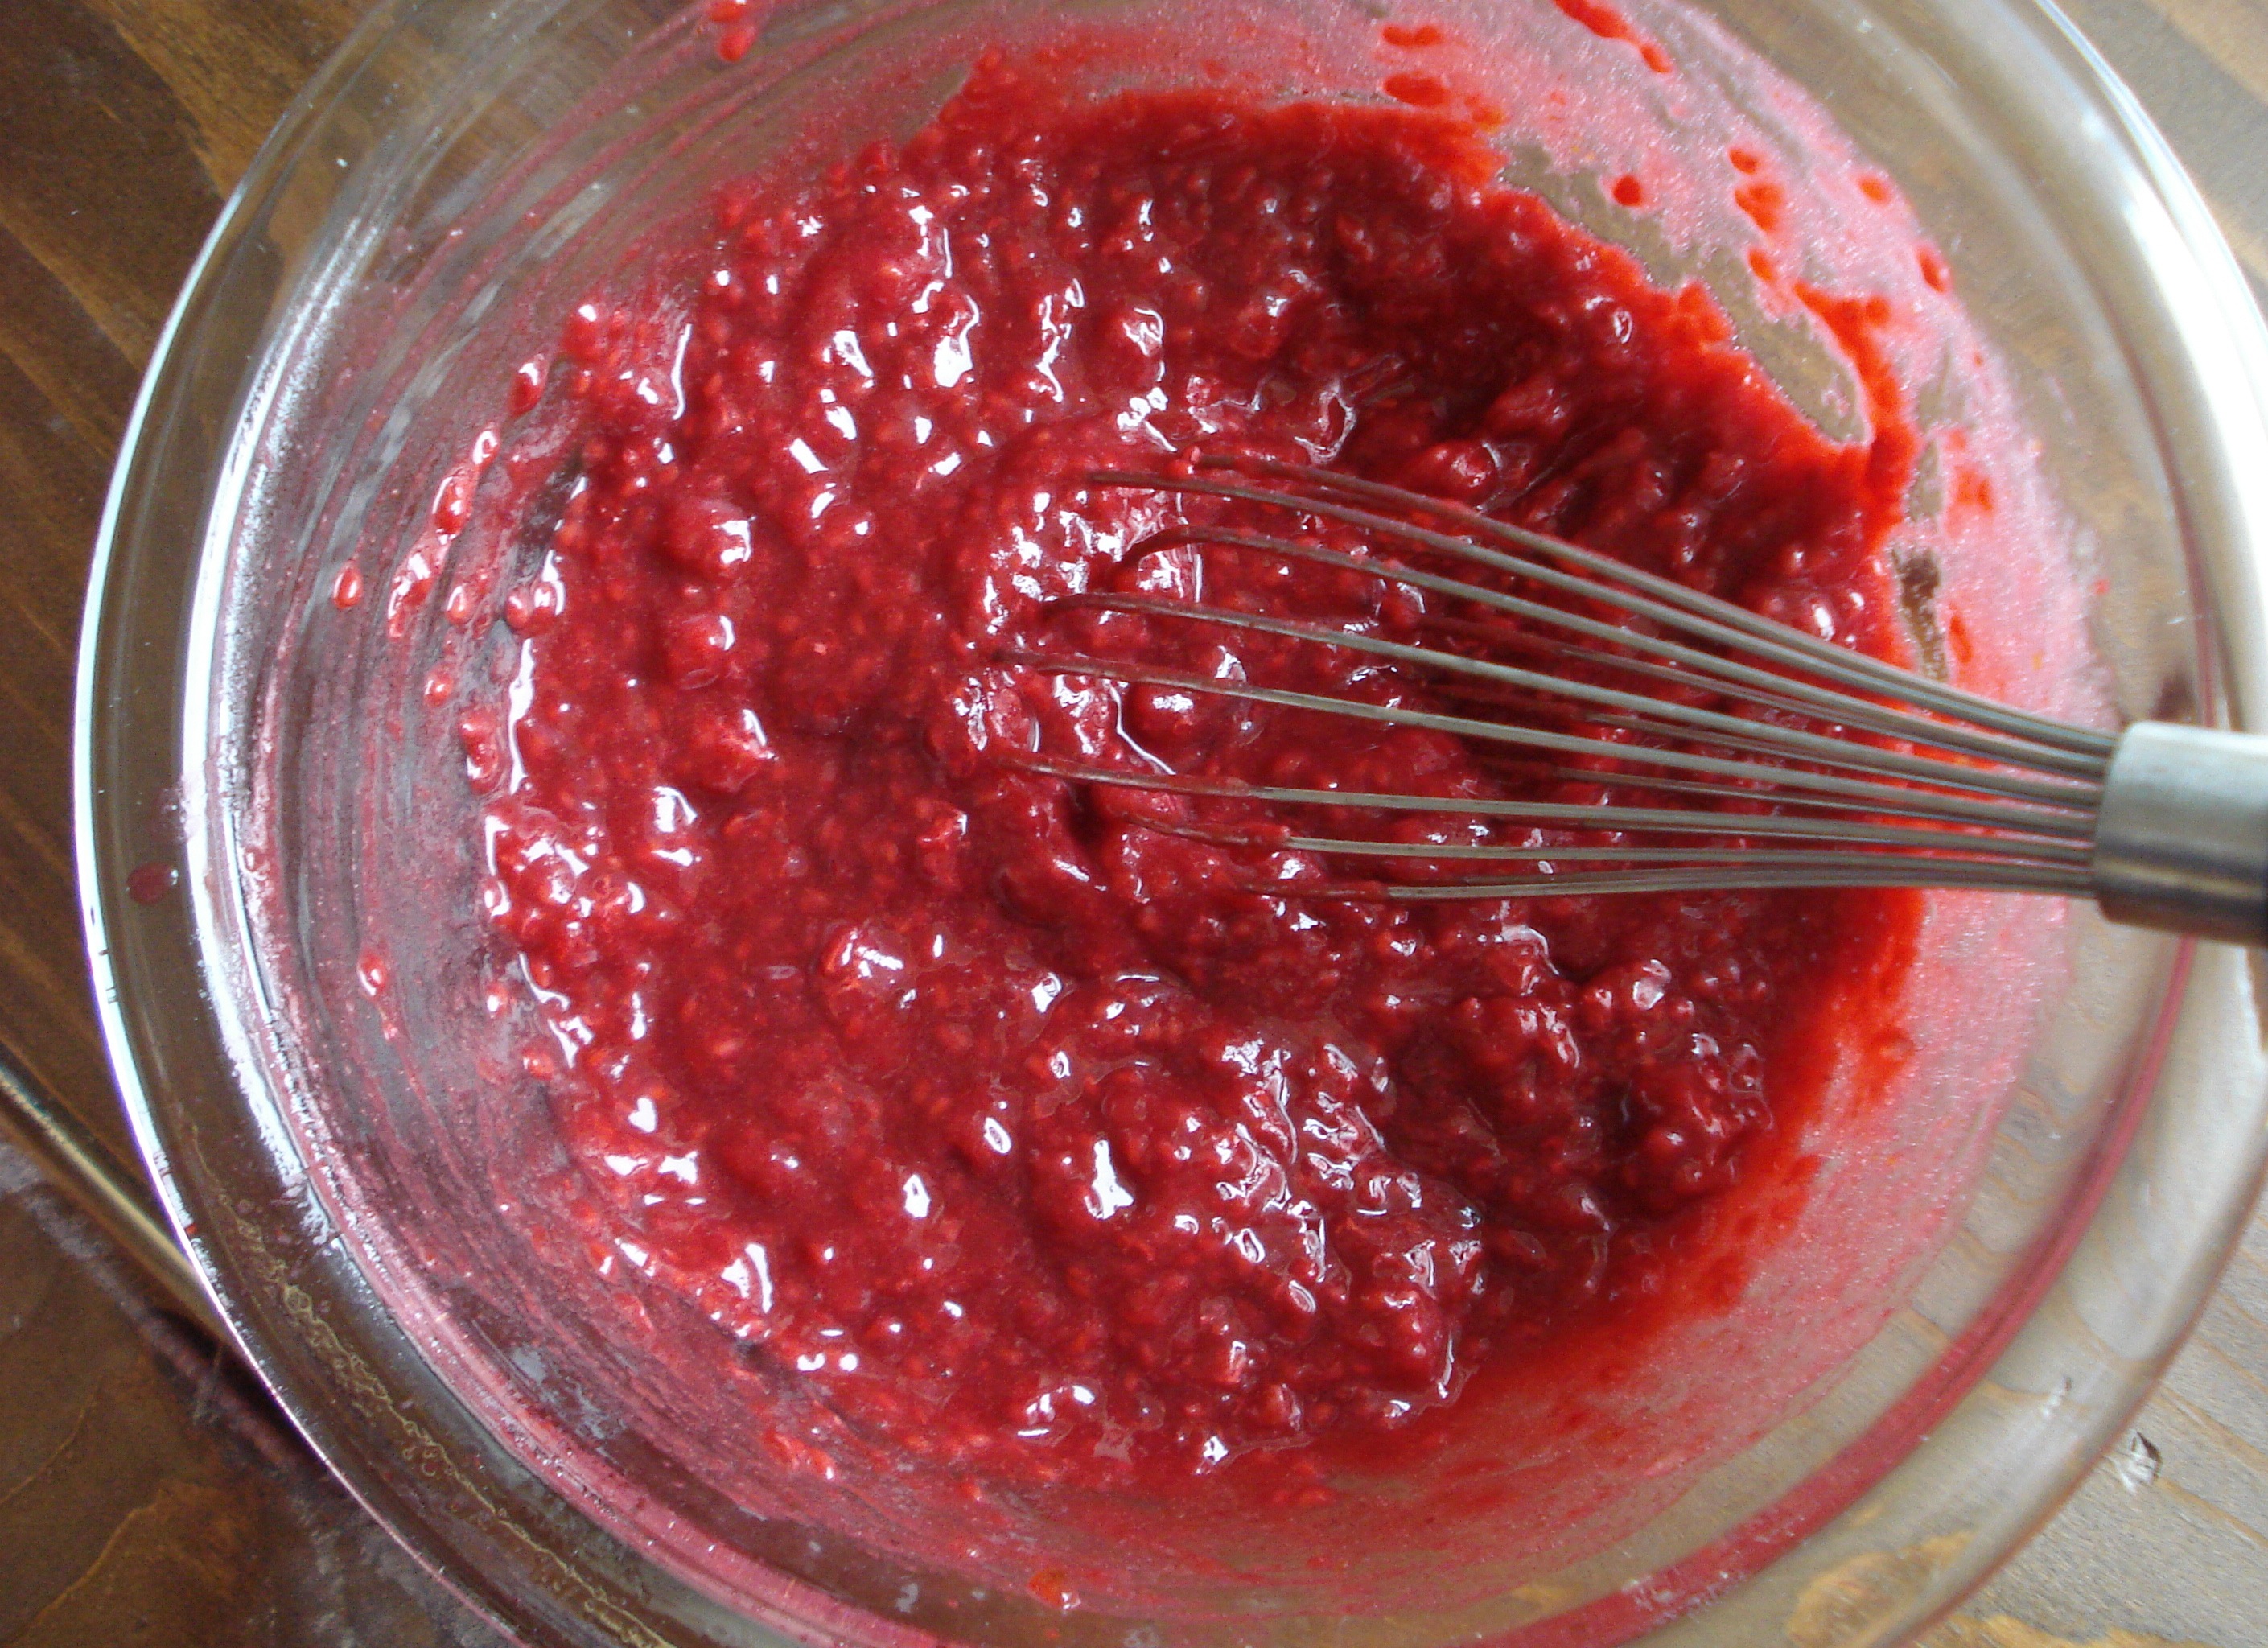
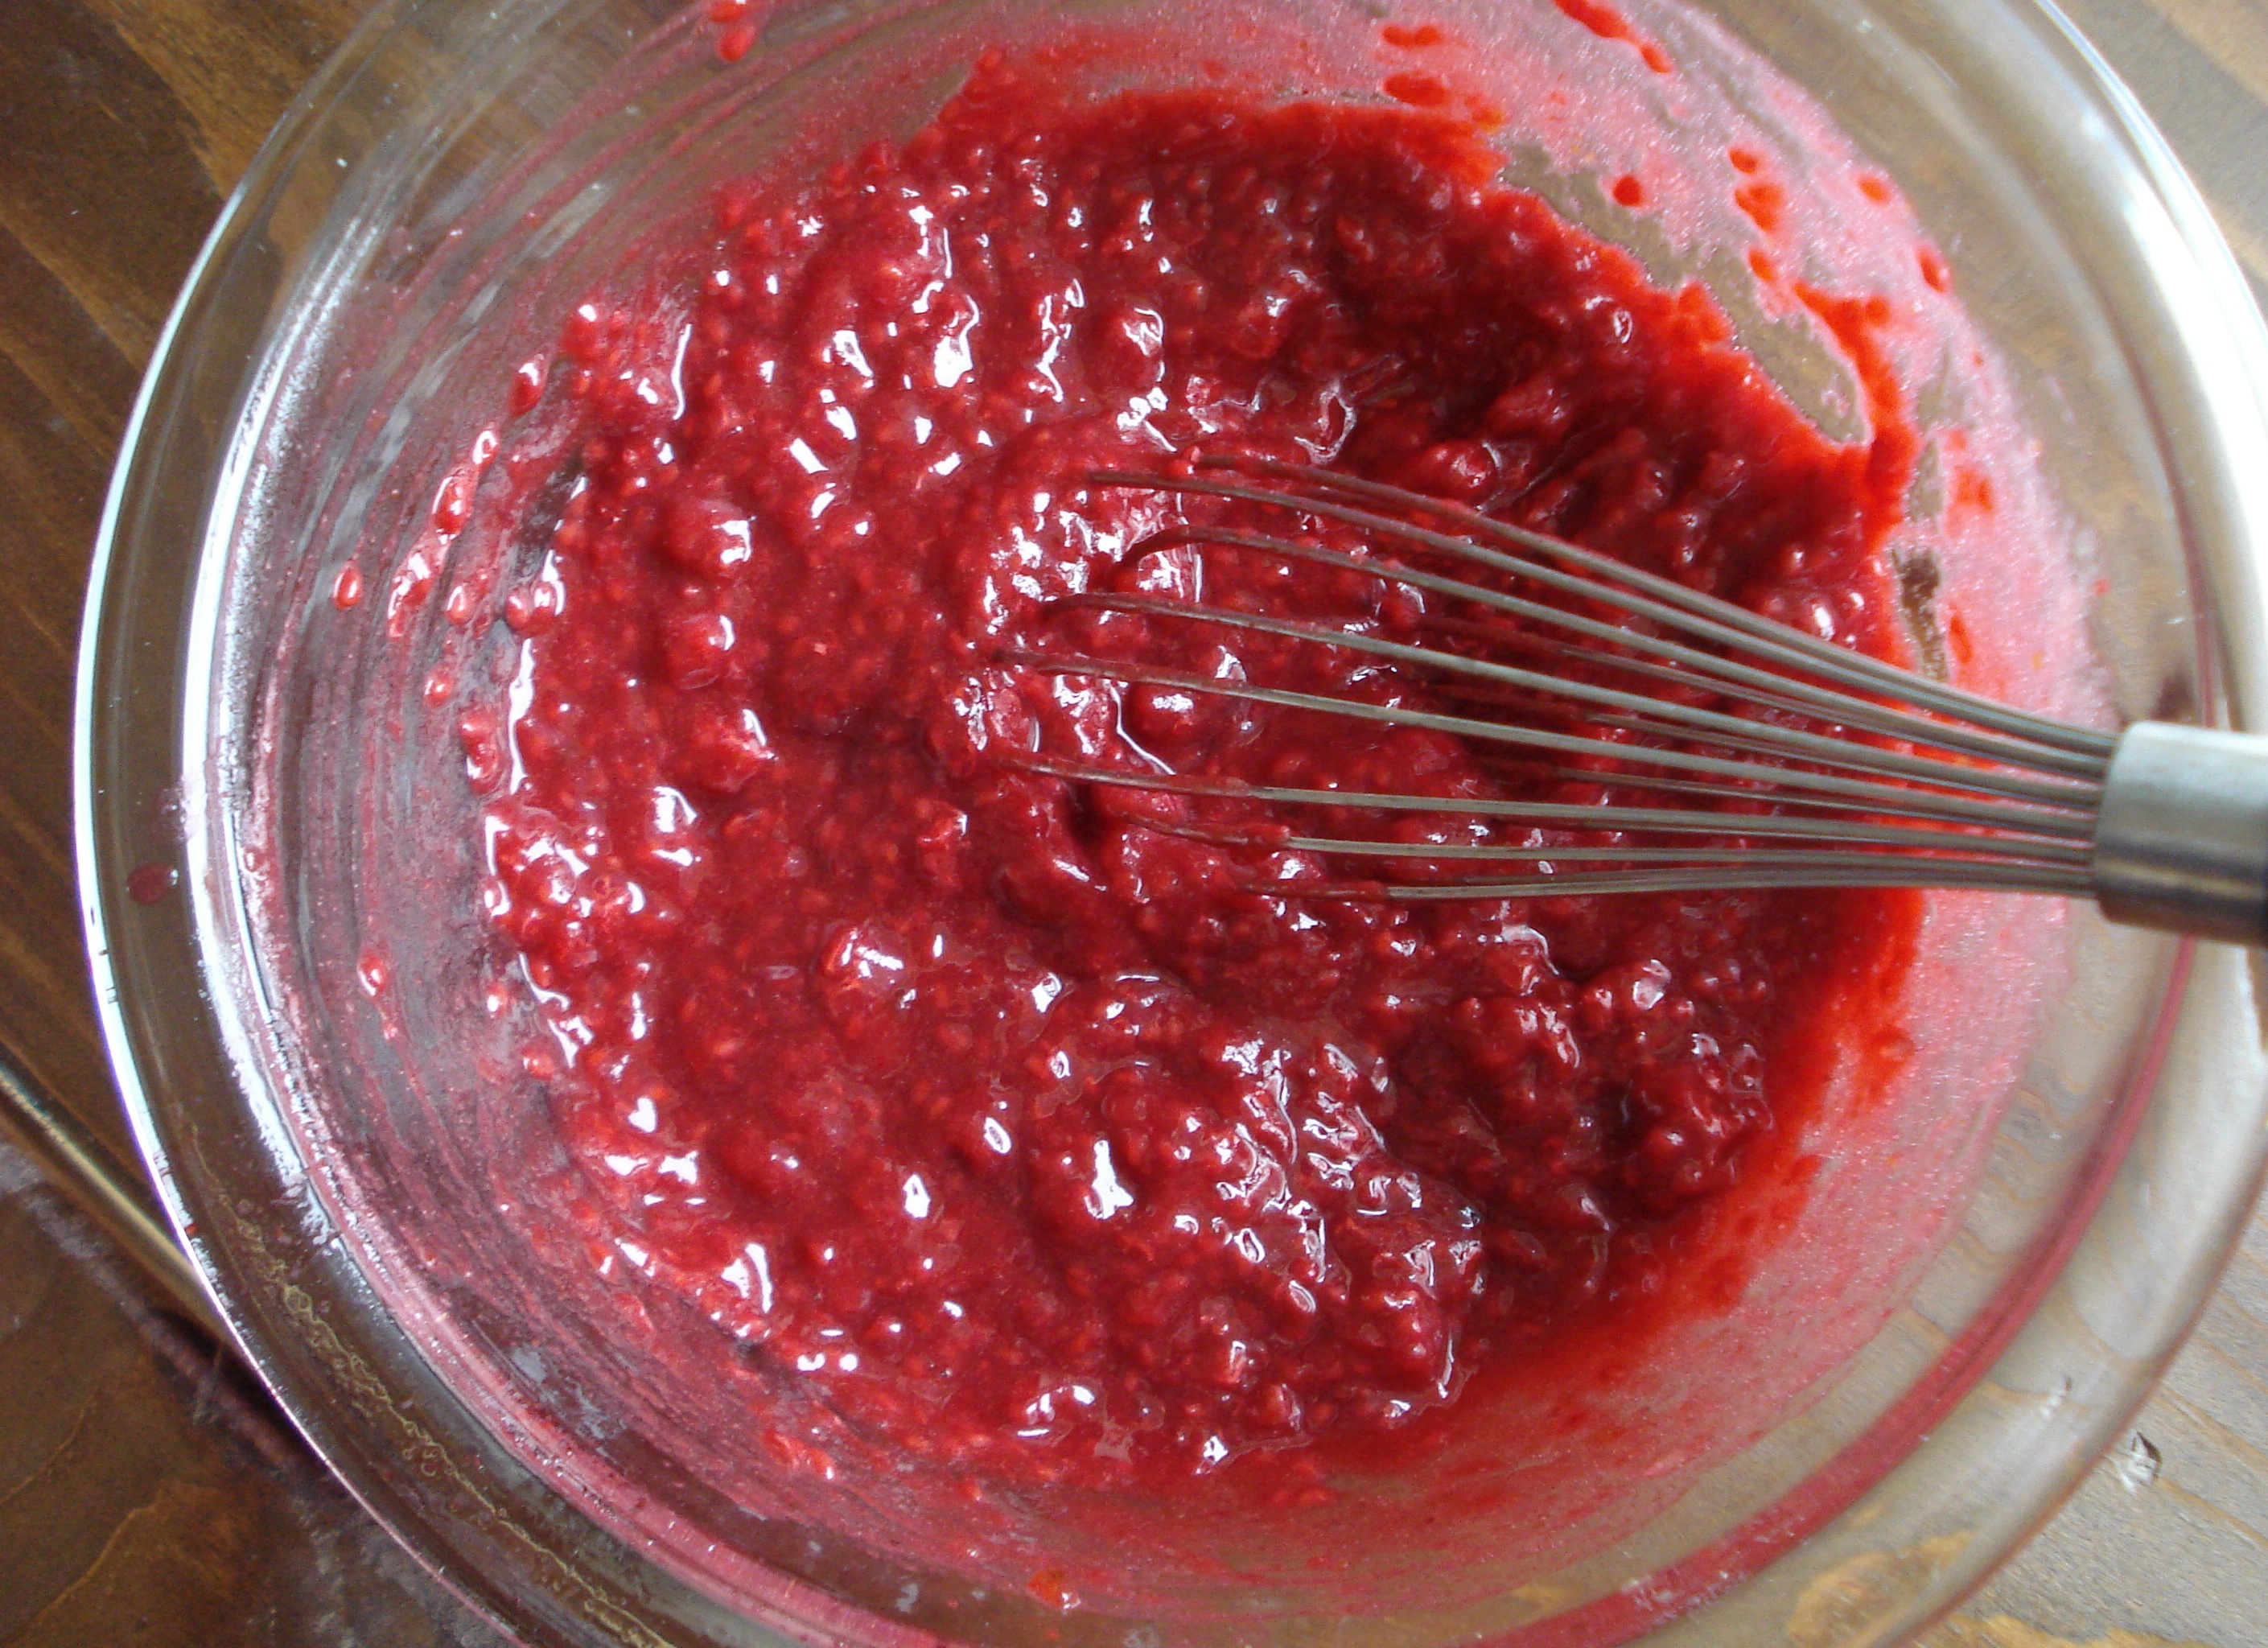
Raspberry Jam
1 (10 oz) package frozen raspberries
3 TBSP date-paste (I use rounded/heaping tablespoons)
- Thaw raspberries in refrigerator for 24 hours (or at room temp for 8 – 12 hours) & drain.
- Mix together raspberries and date paste (with whisk or fork) until combined well.
Yields about 3/4 cup. Chill in the refrigerator for at least 2 hours before serving. Will keep for 5 days in the refrigerator.
______________________________________________________________________________________
SIDE NOTES:
~ Very tasty on a sandwich w/ nut butter or used to make these tasty treats: RASPBERRY-SQUARES
~ If you’d rather not make the DATE-PASTE, substitute any ready-made sweetener you prefer (honey would work well).
Dairy Free, Gluten Free, Egg Free, Nut Free, Sugar Free, Vegan, Grain Free, Raw If on a strictly raw diet – use date paste or raw honey as the sweetener.
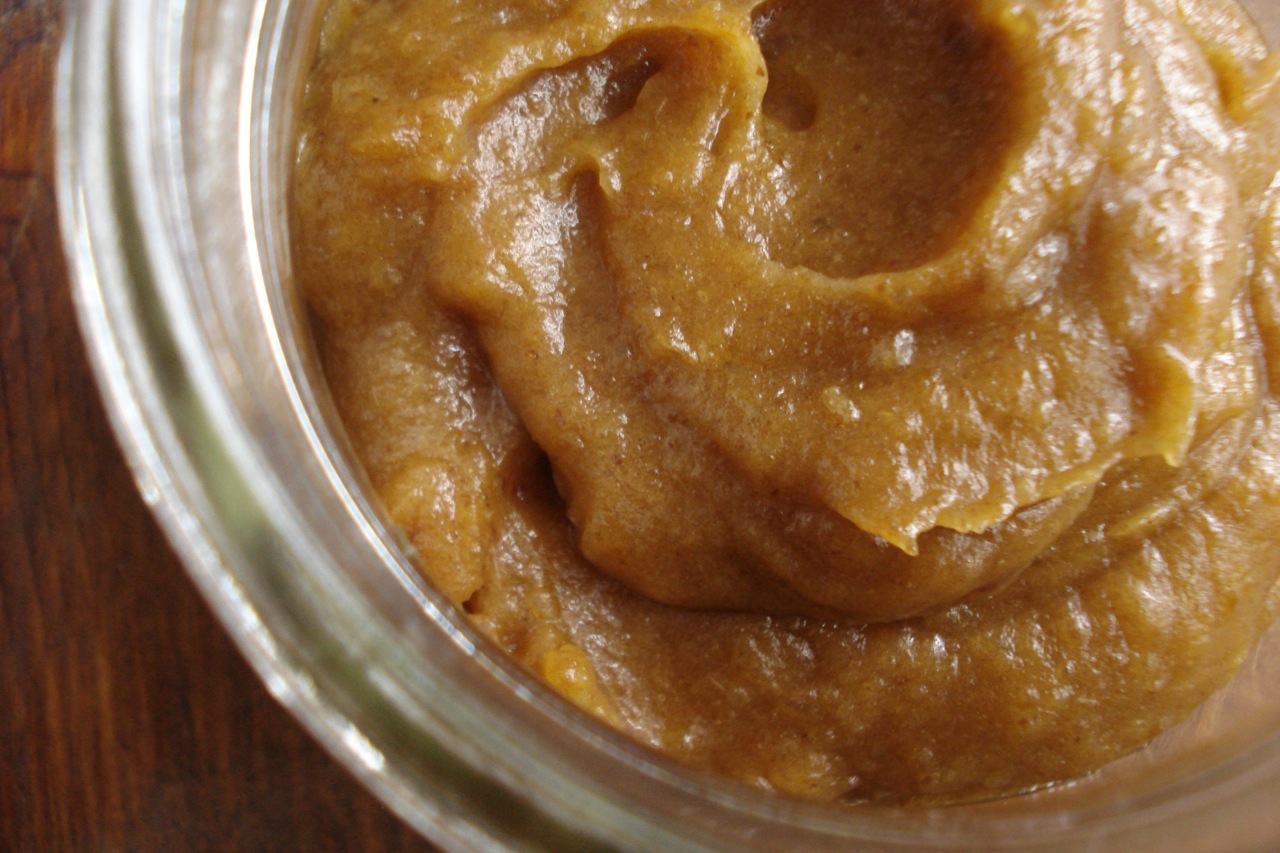
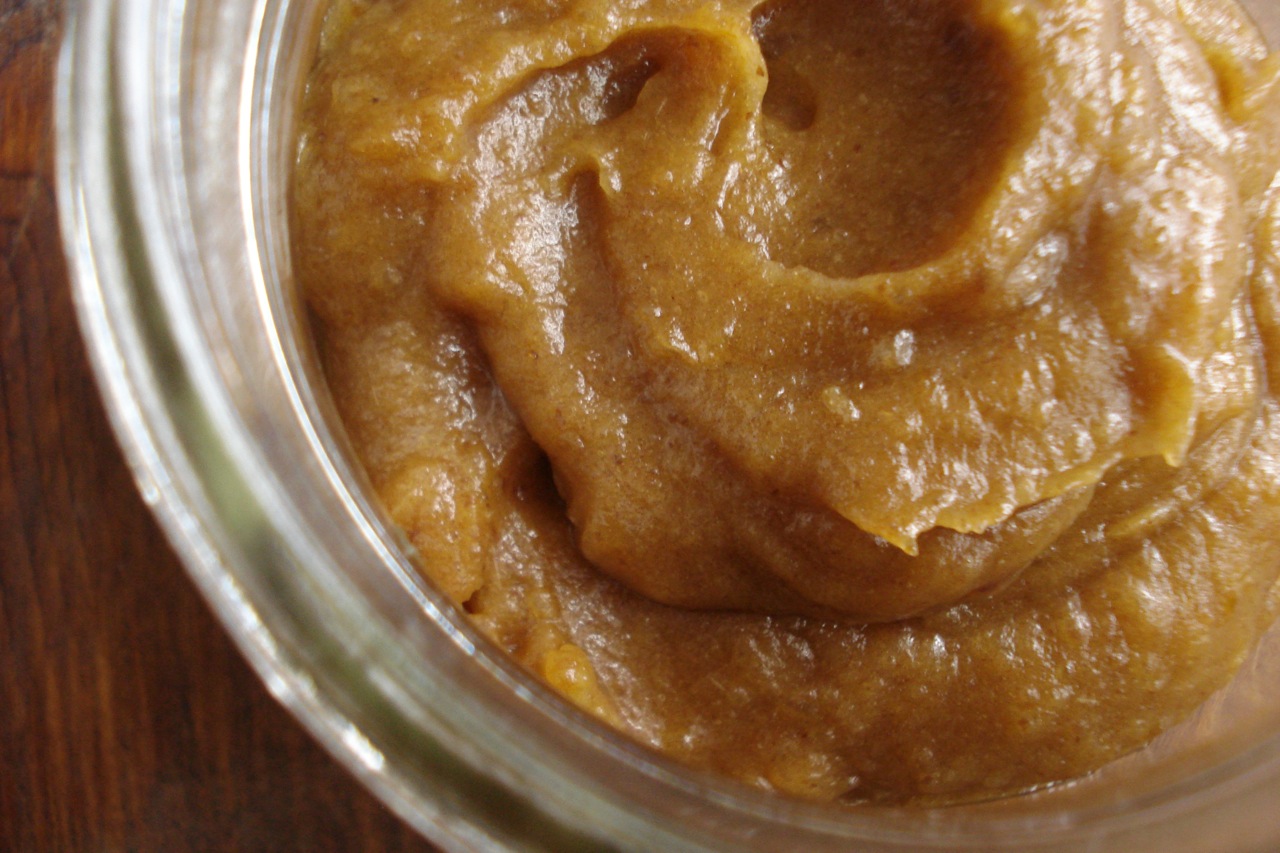
Date Paste
16 pitted medjool dates
1 & 1/2 cups filtered water
- Soak dates in the water for at least 20 minutes (& up to overnight).
- Drain the dates but reserve the soak water.
- Place the dates along with 1/4 cup of the soak water in either a Vitamix or a food processor fitted w/ S blade, and process into a smooth paste. Stop occasionally to scrape down the sides of the work bowl if necessary.
Yields 1 & 1/4 cups. Date paste will keep for 2 weeks in the fridge or 1 month in the freezer (thaw for a few minutes before using).
______________________________________________________________________________________
SIDE NOTES:
~ I use my Vitamix (small carafe) for this, but if using a food processor, you may need to double the recipe to give the machine enough to process. It will depend on how big your food processor is. For example, mine is a very large 14 cup food processor, so this small amount of food, in a giant work bowl, might not be enough to get it to form into a paste. You can either test it out, or just double the recipe & it will be no problem. If using a Vitamix, no need to scrape down sides – just use the tamper as it’s blending & you’ll have a smooth paste within a minute.
~ Of course, dates contain lots of natural sugar, but they’re still a whole food – not a condensed sweetener – so I consider this recipe sugar free (no added sugar).
Dairy Free, Gluten Free, Egg Free, Nut Free, Sugar Free, Vegan, Grain Free, Raw
A few ways you can use this sweet treat….
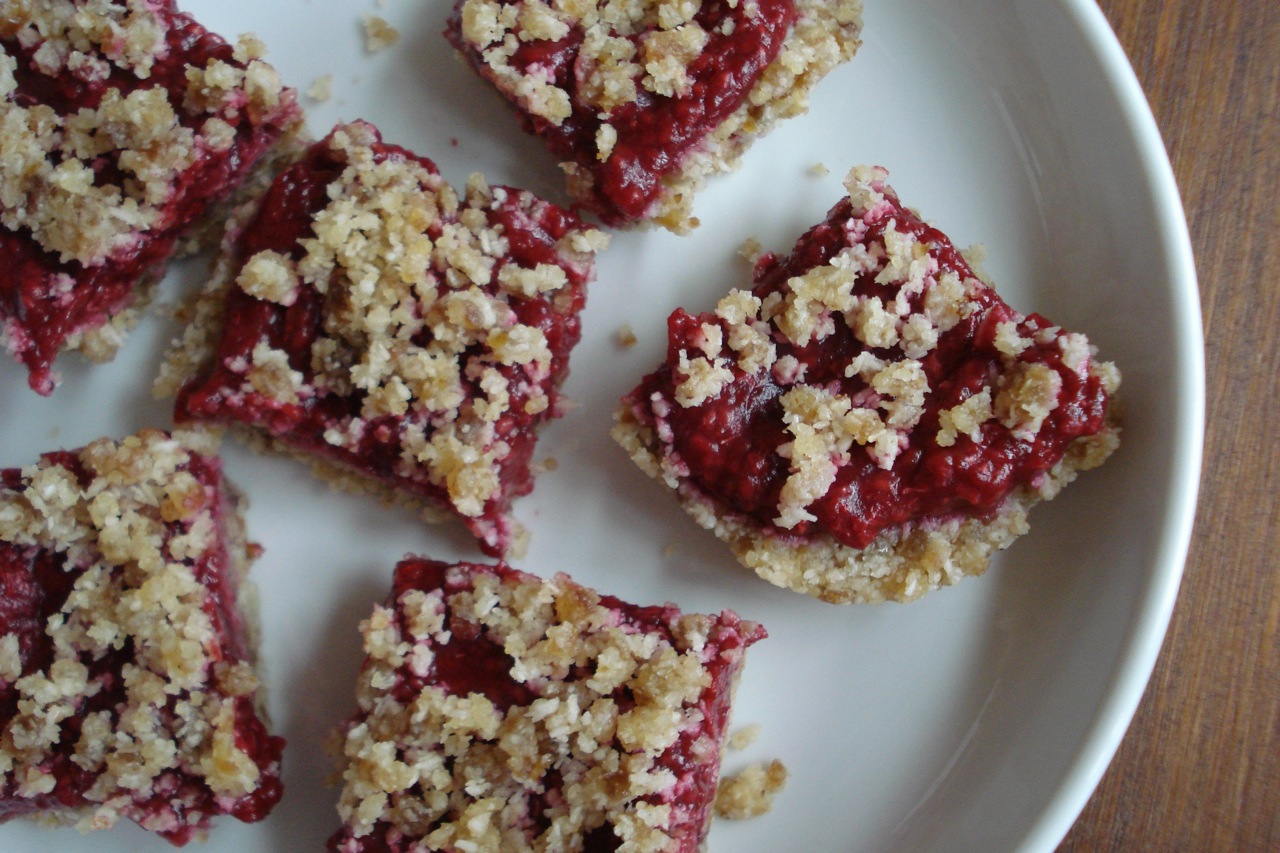
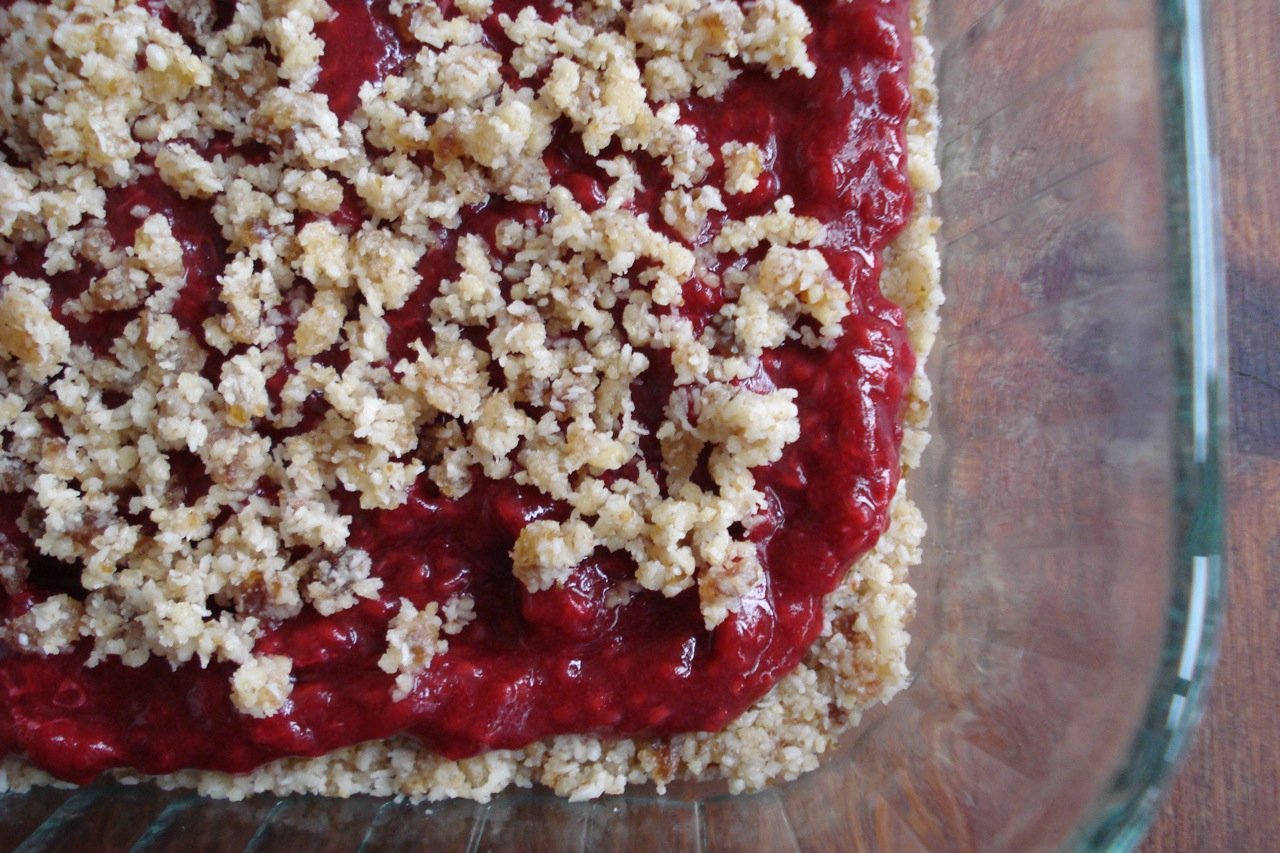
Raspberry Squares
There are only 5 ingredients in these tasty treats which means they’re very simple to make (provided you have a food processor). Adjustments can be made to the recipe to make it even easier (scroll down to bottom of this page for suggestions). To make the recipe as is requires a few simple steps as follows:
______________________________________________________________________________________
1. MAKE DATE PASTE:
16 pitted medjool dates
1 & 1/2 cups filtered water
- Soak dates in the water for at least 20 minutes (& up to overnight).
- Drain the dates but reserve the soak water.
- Place the dates along with 1/4 cup of the soak water in either a Vitamix or a food processor fitted w/ S blade, and process into a smooth paste. Stop occasionally to scrape down the sides of the work bowl if necessary.
Yields 1 & 1/4 cups. Date paste will keep for 2 weeks in the fridge or 1 month in the freezer (thaw for a few minutes before using).
I use my Vitamix (small carafe) for this, but if using a food processor, you may need to double the recipe to give the machine enough to process. It will depend on how big your food processor is. For example, mine is a very large 14 cup food processor, so this small amount of food, in a giant work bowl, might not be enough to get it to form into a paste. You can either test it out, or just double the recipe & it will be no problem. If using a Vitamix, no need to scrape down sides – just use the tamper as it’s blending & you’ll have a smooth paste within a minute. [See notes below if you prefer to use a substitution for date paste]
___________________________________________________________________________________
2. MAKE RASPBERRY JAM:
1 (10 oz) package frozen raspberries
3 TBSP date paste (I use rounded/heaping tablespoons)
- Thaw raspberries in refrigerator for 24 hours (or at room temp for 8 – 12 hours) & drain.
- Mix together raspberries and date paste (with whisk or fork) until combined well.
Yields about 3/4 cup. Chill in the refrigerator for at least 2 hours before serving. Will keep for 5 days in the refrigerator.
___________________________________________________________________________________
3. MAKE SHORTBREAD CRUST:
1 cup shredded dried coconut (unsweetened)
1 cup walnuts
1/4 tsp sea salt
6 pitted medjool dates
- Place the coconut, walnuts & salt in a food processor fitted w/ the S blade & process until finely ground.
- Add the dates & process until the mixture begins to stick together. Don’t over-process.
Yields 2 & 1/2 cups (enough for one crust). Will keep for 1 month in the refrigerator or 3 months in the freezer. The crust doesn’t need to be thawed before using.
___________________________________________________________________________________
4. MAKE RASPBERRY SQUARES:
2 & 1/2 cups shortbread crust
3/4 cup raspberry jam
- Set aside 1/4 cup of the crust.
- Pour remaining 2 & 1/4 cups of crust into an 8 x 8 square, glass baking dish & distribute evenly (pressing down firmly with the back of a spoon to compact).
- Spread the raspberry jam evenly over the crust with a rubber spatula.
- Sprinkle the remaining 1/4 cup of crust over the top.
- Chill in the fridge for at least 2 hours before serving.
- Cut into squares to serve.
Will keep for 5 days in the fridge.
_______________________________________________________________
SIDE NOTES:
This is pretty simple to put together, but if it’s too little house on the prairie for you – consider any of the following adjustments:
~ If you don’t want to make the date paste, you can mix in a different, ready-made sweetener with the raspberries (honey, maple syrup…etc).
~ You can make this using a sweeter fruit like strawberries or pineapple, in which case, no sweetener will be needed (just mash up the fruit by itself).
~ Alternately, you can use any type of ready-made jam you like, which would mean all you’d be making is the crust.
~ If using frozen raspberries (or other frozen fruit), remember to thaw ahead of time.
~ Adapted from “Raw for Dessert”. This was a big hit with the kids (& the husband!)
~ dairy free, gluten free, egg free, sugar free if using date paste (of course dates contain lots of natural sugar, but they’re still a whole food – not a condensed sweetener)
Dairy Free, Gluten Free, Egg Free, Nut Free, Sugar Free, Grain Free, Vegan, Raw
What to do with GREENS?
Try some of the following recipes for tasty ways to use collards, spinach, bok choy, arugula, kale, escarole, swiss chard, and broccoli rabe:
coconut-curry-lamb-stew-w-kale
spinach-&-roasted-red-pepper-pesto
summer-pasta-w/-raw-arugula-&-tomatoes
coconut-sweet-potato-soup-w/-greens
sicilian-chickpeas-w/-escarole-caramelized-onions
potatoes-w/-swiss-card-rosemary-garlic
wilted-kale-salad-w/-creamy-chipotle-dressing
spinach-strawberry-&-toasted-almond-salad
kale-avocado-&-red-pepper-salad
_____________________________________________________________________________
Keep in mind, aside from spinach, which is a more delicate, quick cooking green, most other greens can pretty much be interchanged, depending on what you have on hand (Kale, Collards, Swiss Chard, Escarole, Beet Greens, Mustard Greens)
______________________________________________________________________________
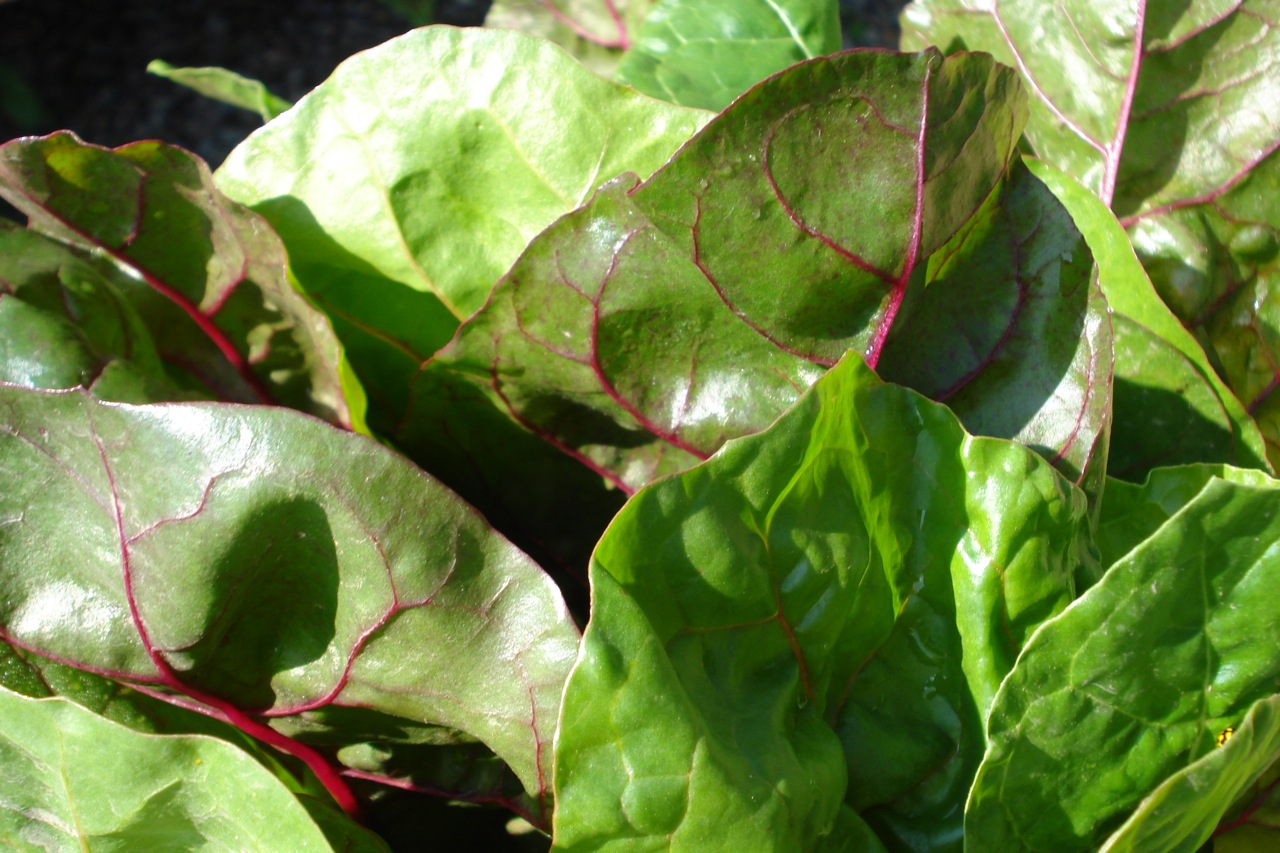
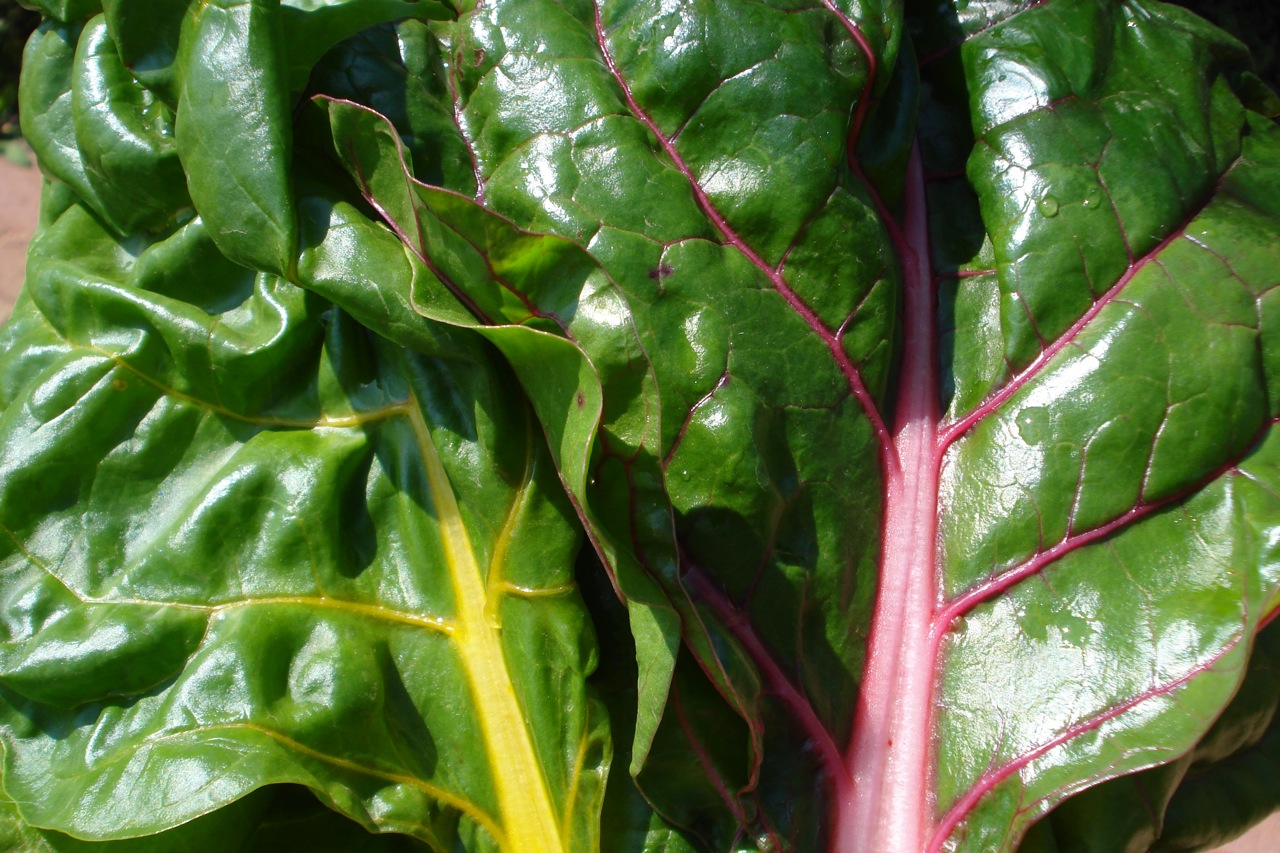
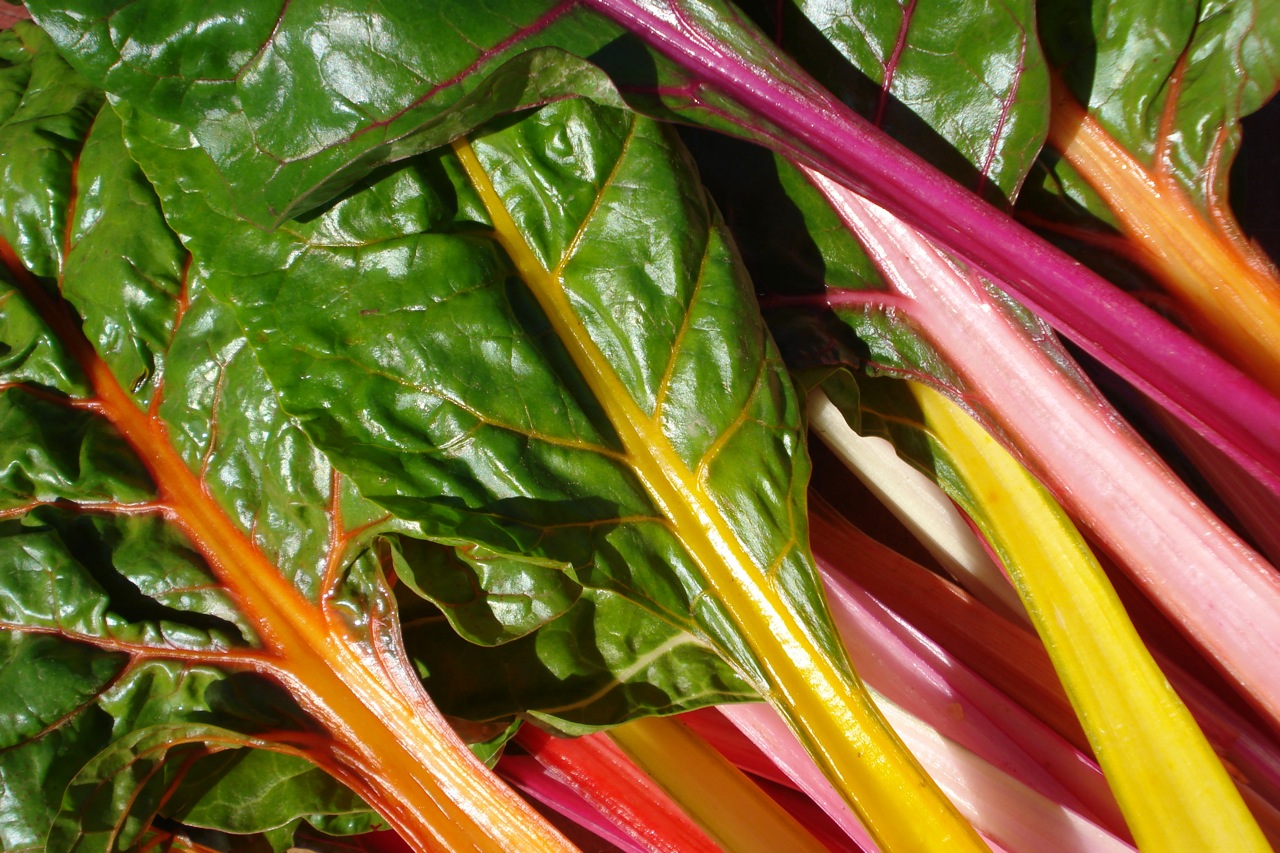
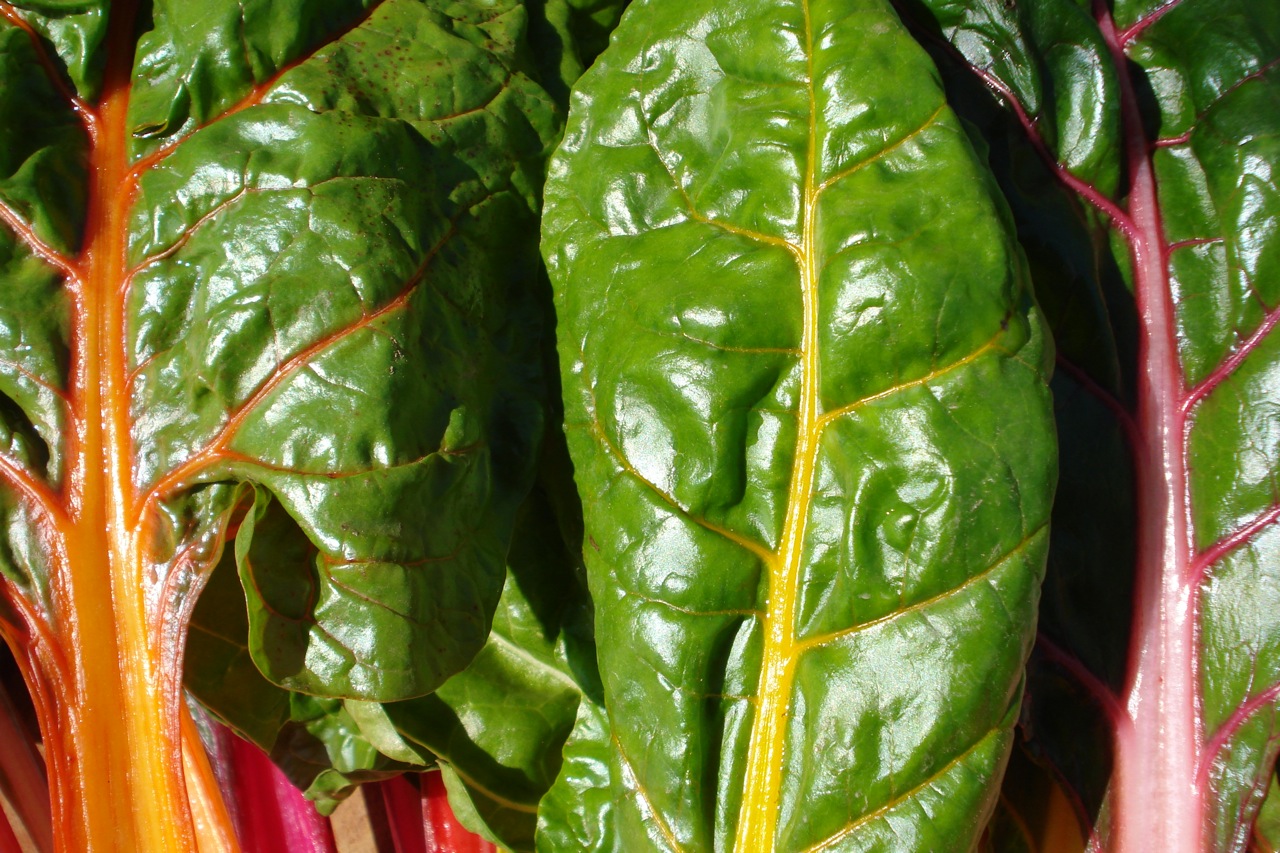
Prettier than a bouquet of roses (to me, anyway)…
RAINBOW SWISS CHARD


