Creamy Fresh Tomato Soup


3 TBSP coconut oil, butter, or ghee
1 1/2 cups chopped red onions (approx 1 large)
2 carrots, roughly chopped
3 cloves garlic minced (about 1 TBSP)
4 pounds tomatoes, coarsely chopped
1 & 1/2 tsps natural sugar or 3 drops liquid stevia
1/4 cup packed, chopped, fresh basil leaves, plus extra for garnish
2 cups broth (chicken or veggie)
1 tsp pure salt
2 tsp pepper
1 cup whole milk
3/4 cup heavy cream
- Heat the oil or butter in a large pot over medium-low heat.
- Add the onions and carrots and saute for about 10 minutes, until very tender.
- Add the garlic and cook for 1 minute.
- Add the tomatoes, sugar, basil, broth, salt, and pepper and stir well.
- Bring the soup to a boil, lower the heat, and simmer, uncovered, for 30 to 40 minutes, until the tomatoes are very tender.
- Add the milk and cream to the soup and puree with an immersion blender (or blend in batches in a regular blender).
- Reheat the soup over low heat just until hot and serve with julienned basil leaves.
________________________________________________________________________________________
SIDE NOTES:
~ We’ve enjoyed this soup several times as the late summer tomatoes were falling off the vines. I know I already have a few tomato soups posted, but I’m constantly tweaking things and trying new versions. This one happens to be milk based and uses fresh tomatoes. I adapted the recipe from the food network: http://www.foodnetwork.com/
~ You can shred a little high quality parmesan or cheddar over the top if you’d like.
~ I like to peel the tomatoes first for this recipe. It’s not necessary, just my personal preference. Click HERE for details if interested.
If eating sugar free, use stevia. If eating gluten free, be careful choosing packaged ingredients such as broth.Dairy Free, Gluten Free, Egg Free, Nut Free, Sugar Free, Grain Free, Vegan, Raw

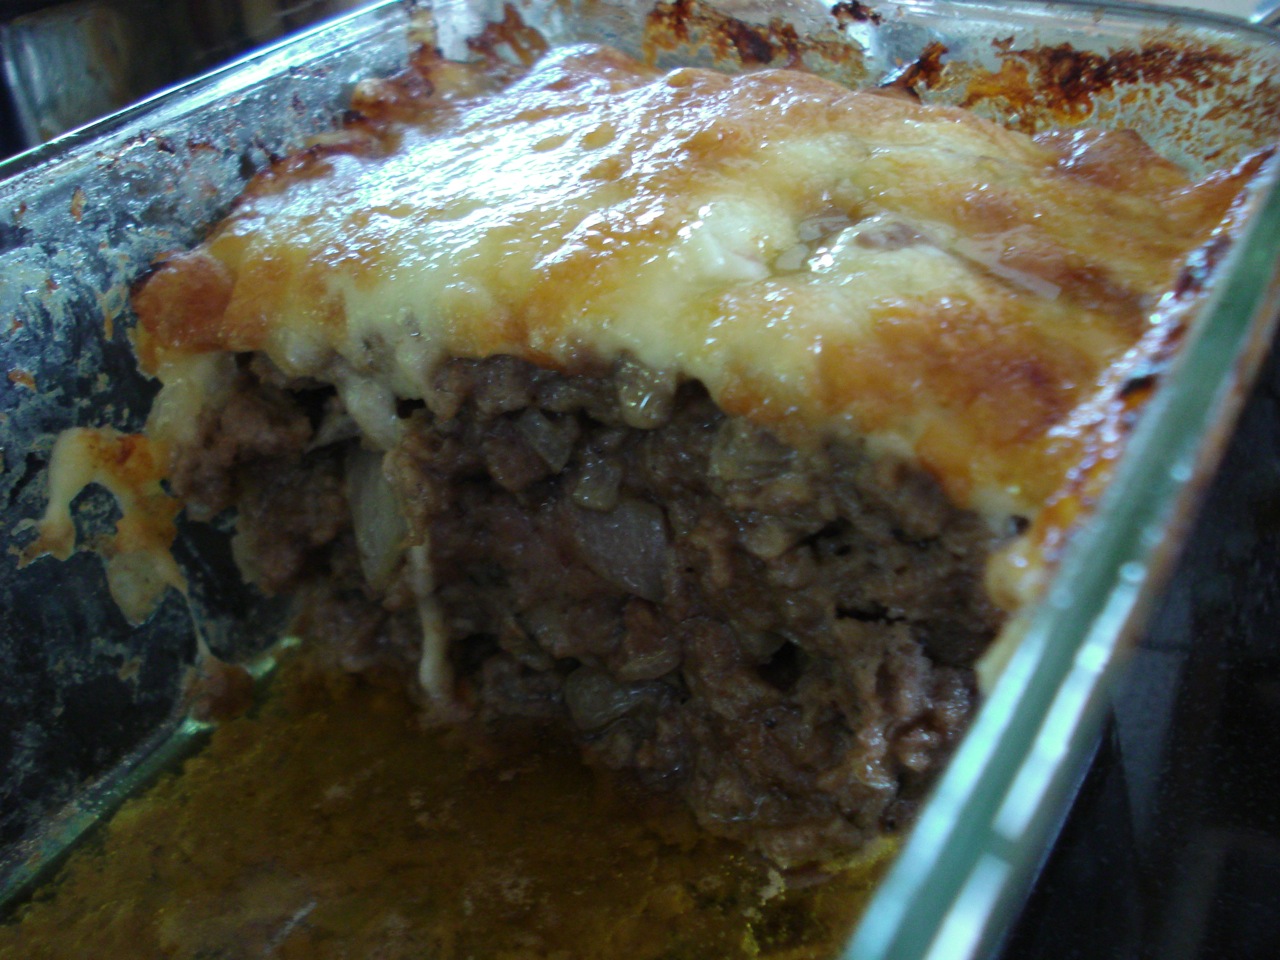
Cream of Mushroom Meatloaf

3 TBSP butter, ghee, or coconut oil
1/4 pound fresh shiitake, crimini or portobello mushrooms, finely chopped
1 medium onion, peeled and finely chopped
1/2 cup high quality cream
1 tsp salt
1/2 tsp freshly ground black pepper
1/3 cup high quality bread crumbs
1 pound grass-fed ground beef
1 egg, slightly beaten
freshly grated cheese of choice (enough to cover the top of the meatloaf)
- Preheat the oven to 400.
- Heat the butter or oil in a saute pan over medium heat.
- When hot, add the mushrooms and onions, and cook, stirring occasionally, until the mushrooms have browned and shrunk – approx. 2 – 4 mins.
- Transfer the mixture to a bowl, add the cream, salt, and pepper and mix well to combine.
- Lightly beat the egg in a bowl large enough to hold all ingredients.
- Mix the bread crumbs and beef with the egg.
- Add the mushroom mixture to the beef mixture and combine thoroughly.
- Grease a quart-sized loaf pan (using butter, ghee, or coconut oil).
- Add the meatloaf mixture to the pan, and press into a loaf, conforming to the shape of the pan.
- Place pan in the preheated oven, and bake for 35 – 45 minutes, until the top of the loaf is firm.
- Half way through the bake time, remove the pan from the oven and cover the top of the loaf with the grated cheese.
Serves 4.
______________________________________________________________________________________
SIDE NOTES:
~ I have found it a little easier to bake this in a rectangular 8 x 6 pyrex. I find it cooks quicker (about 35 mins as opposed to 45) and more thoroughly as a casserole as opposed to a loaf – but do what works for you.
~ It’s very easy to make bread crumbs at home using your own high-quality bread. Click HERE for details.
~ If you have a farm nearby where you can get fresh cream, all the better.
~ I like this best with butter or ghee (as opposed to coconut oil) and use a sharp cheddar.
~ First time I made this, the cheese got a bit too toasty in the oven for the full 45 mins. This is why I recommend adding the cheese half way through the cook time. Up to you.
Dairy Free, Gluten Free, Egg Free, Nut Free, Sugar Free, Grain Free, Vegan, Raw
If eating gluten free, be sure to use gluten free bread crumbs. If eating grain free, it’s likely you can omit the breadcrumbs altogether, but I have not tested this myself.


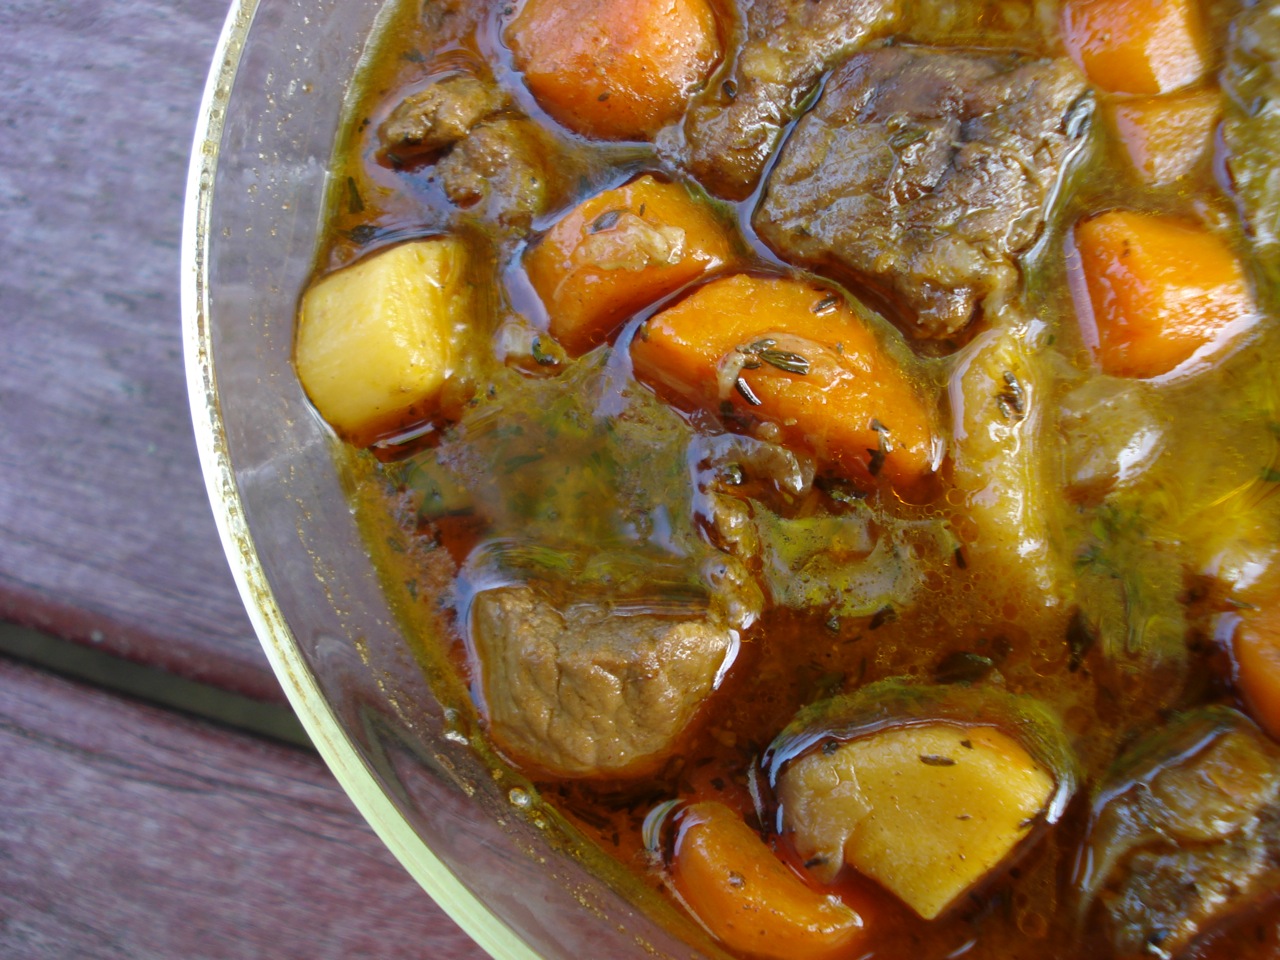
Savory Beef Stew

2 – 4 TBSP coconut oil
1 & 1/2 to 2 pounds grass-fed stew beef
1 TBSP chili powder
1/4 tsp chipotle powder (optional)
1 tsp salt
1/8 tsp black pepper
1 large onion, sliced as thin or thick as you like
1 lb carrots, coarsely chopped (6-12 depending on size)
1/2 lb parsnips (or turnip), coarsely chopped (1 – 3 depending on size)
1/2 lb white potatoes, peeled & chopped
2 cups beef stock
1 TBSP Worcestershire sauce
2 tsps dried thyme
3 bay leaves
- Heat the oil over medium heat in a large stock pot.
- Add the meat, chili powder, chipotle powder, salt, and pepper.
- Brown the meat on all sides (5 – 8 mins), remove from pan and set aside.
- If the pan is dry, add a little more oil.
- Add the onions and saute until translucent (5 – 6 mins), scraping up any brown bits from the bottom of the pan.
- Add the carrots and parsnips and saute until the onion just begins to brown (5 – 7 mins), scraping up the brown bits (don’t allow any to burn).
- Add the potatoes and toss to coat.
- Return the meat to the pot, add the stock, Worcestershire sauce, thyme, and bay leaves.
- Bring to a boil, reduce to a simmer, and cover.
- Cook the stew for 1 & 1/2 to 2 hours, until the meat is fork-tender.
Serves 4. _____________________________________________________________________
SIDE NOTES:
~ In my neck of the woods, the past few days we’ve been waking up to that cool, crisp feeling of Autumn. So this stew felt really good going down last night as we adjust to the cooler temps. This is my favorite time of year, but sometimes it’s a little bit of a shock that first day!
~ The prep work for this meal takes only about 30 mins, but it’s that long, slow simmer that makes a stew a stew. For this reason, it’s best to make on a weekend or a day off from work. If you want to eat at 6:00, start preparing the meal at around 3:30 or 4:00. Remember, it’s only 30 minutes of prep, then you can walk away for 2 hours until dinner time (nice!). It’s not a bad idea to double the recipe and freeze half for a busy day (although keep in mind the prep work will take just a little bit longer since you’ll have more veggies to chop).
~ I prefer to cut my stew meat chunks in half before cooking so that they’re bite sized. Up to you.
~ It’s a total of 2 lbs veggies (carrots, parsnips, potatoes) – include them in whatever ratio you’d like.
~ I cut my onions long and thin so they’re easy for my daughter to pick out!
~ I’ve been working on this recipe over the past several months and have gotten it just right (for us). Keep in mind, it has a bit of a spicy kick to it. It’s not too much for us, but feel free to adjust the seasonings to your own taste.
~ A 5 & 1/2 quart pot will work with lots of room to spare, but this also fits into a 3 & 1/2 quart pot. The meat will just take longer to brown in the smaller pot. When I double the recipe my 5 & 1/2 qt pot is full.

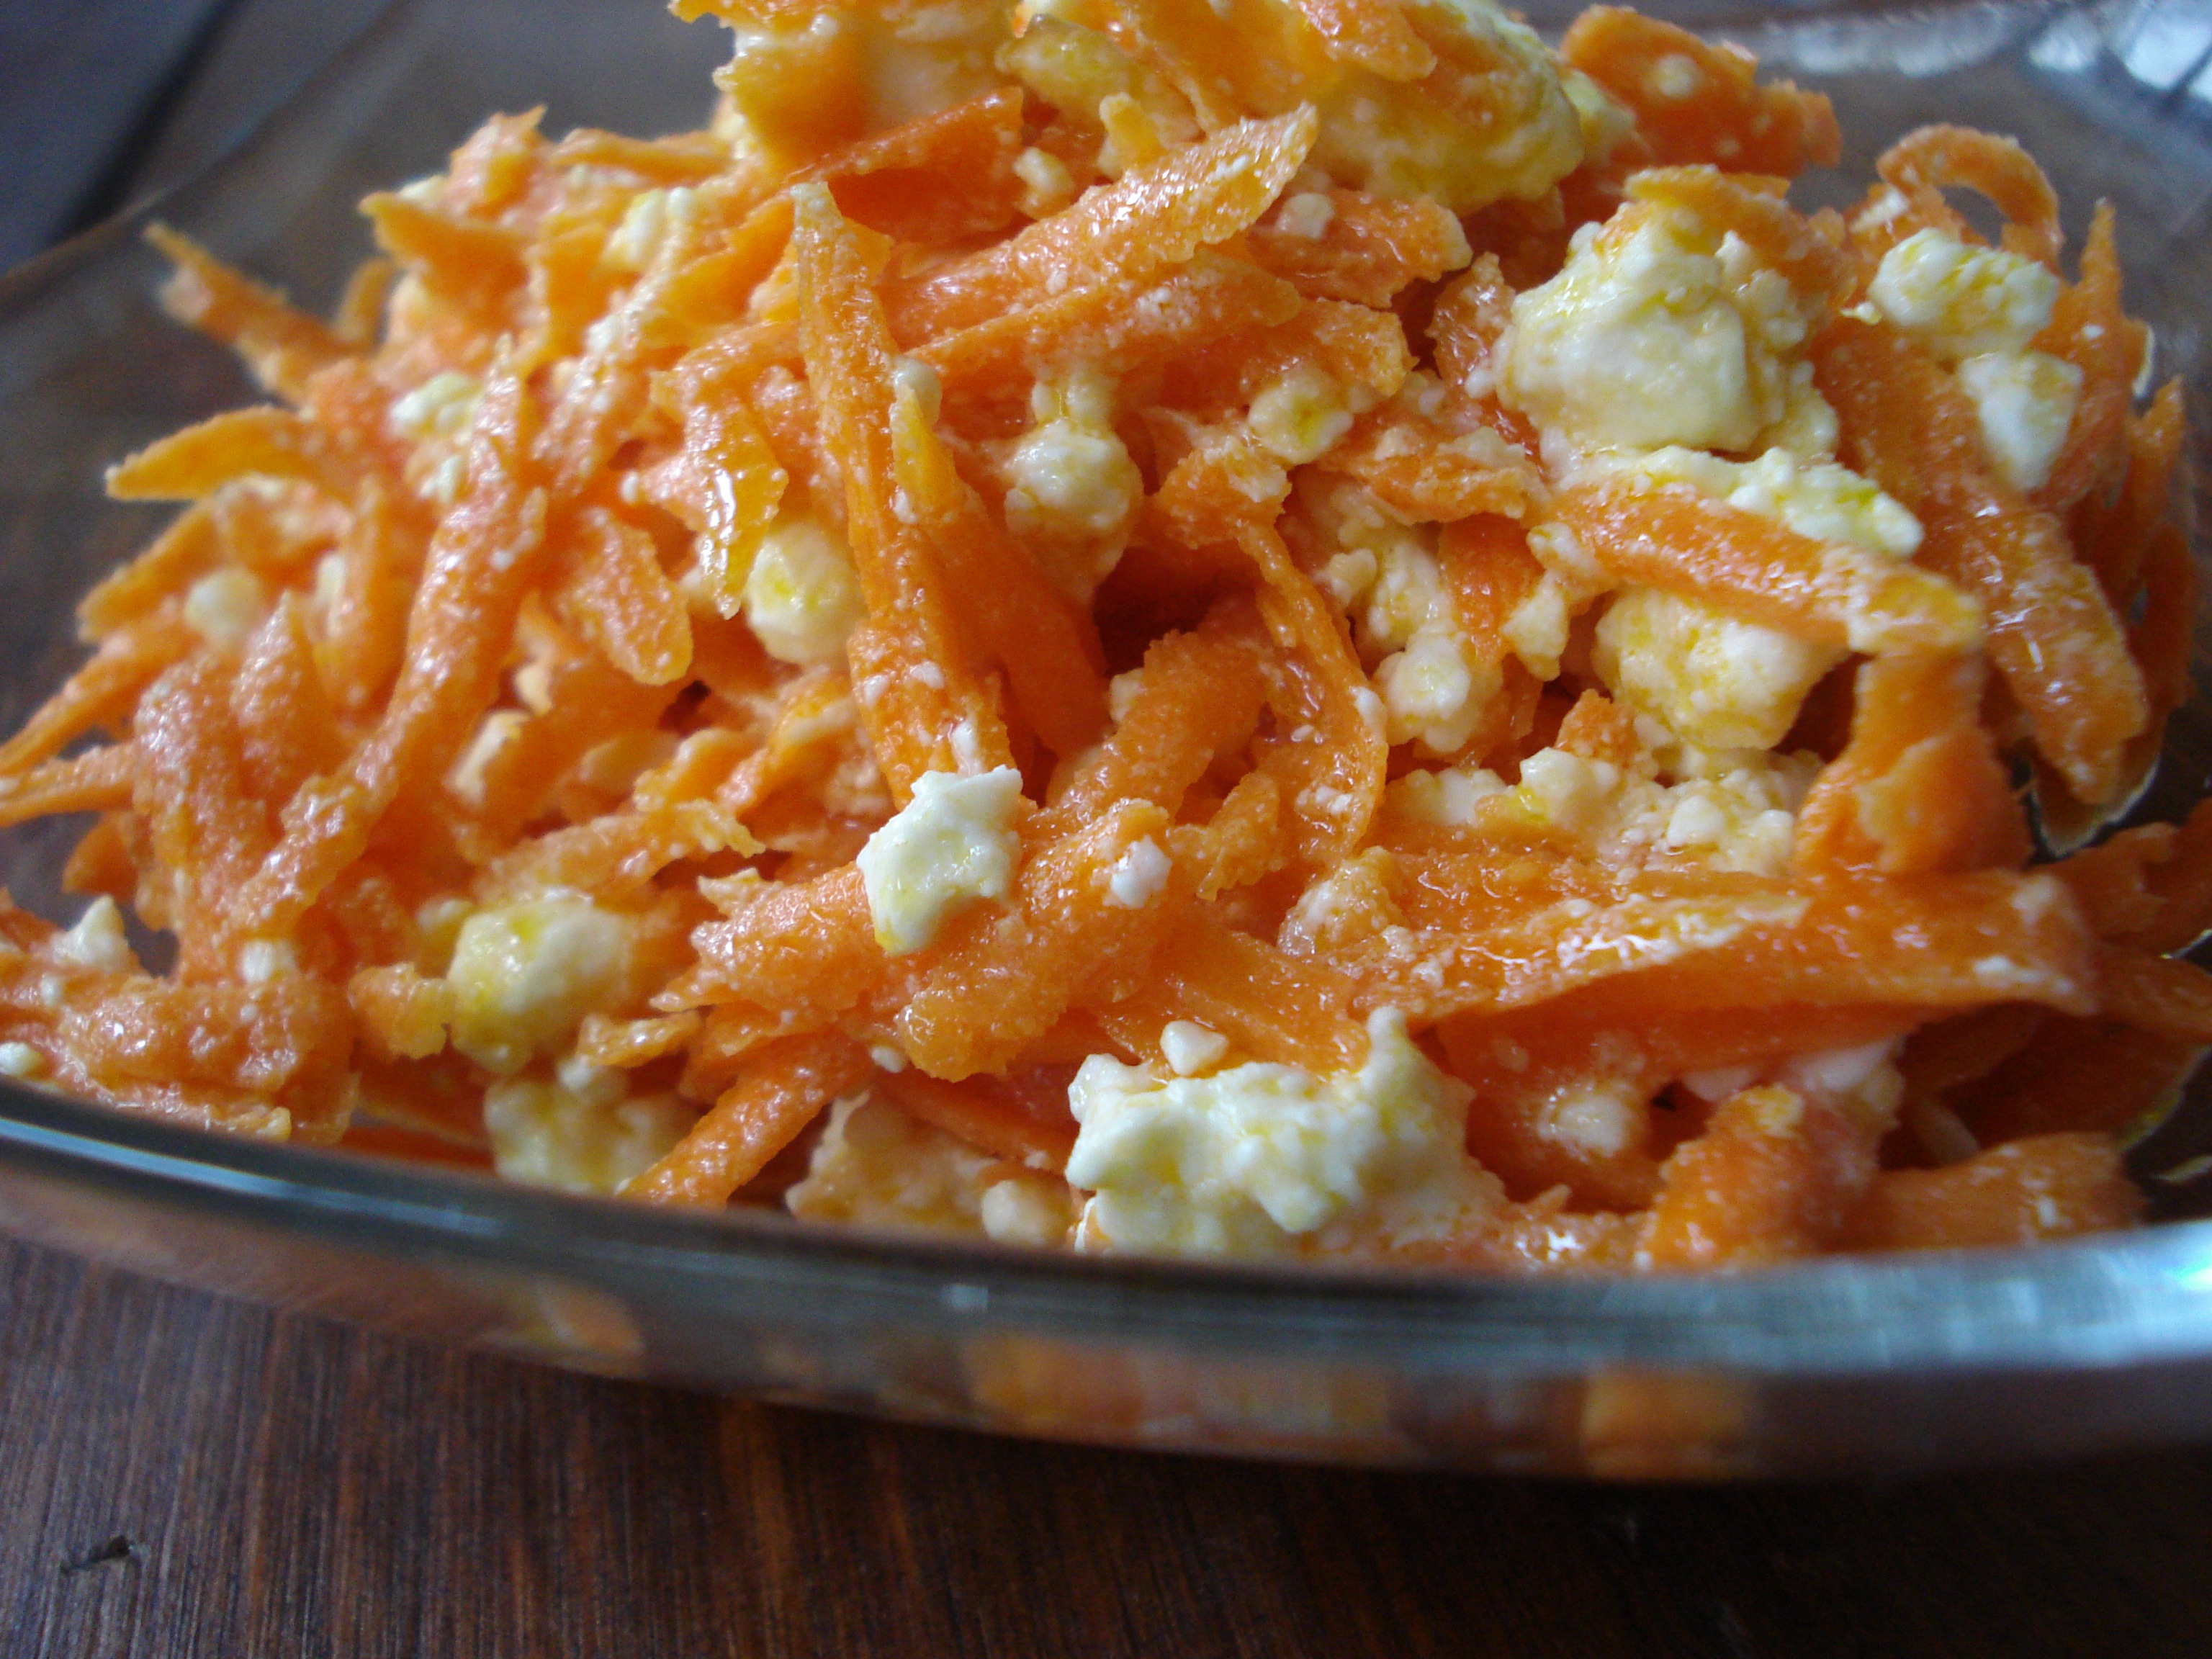
Simple Carrot & Feta Salad

6 medium carrots, grated
1 & 1/2 cups feta cheese (roughly 6 oz)
4 TBSP extra virgin olive oil
1 TBSP apple cider vinegar (or to taste)
1/4 tsp pure salt
- Mix together and enjoy.
SIDE NOTES:
~ This salad is delicious – and very simple to prepare. It’s great as a snack, light lunch, or side dish with dinner.
~ Of course, you can simply scale this down to make a single serving if you’d like. The measurements don’t have to be exact. Just shred a large carrot and add feta, oil, vinegar & a pinch of salt. On the other hand, if you have the time to shred a few extra carrots (can use a food processor if that’s easier), it’s nice to have this prepared salad in the fridge for a few days to pull out for a quick snack.
Enjoy!
Dairy Free, Gluten Free, Egg Free, Nut Free, Sugar Free, Grain Free, Vegan, Raw If eating vegan or dairy free, simply omit the feta and add something else like avocado or tomato. If eating raw, use raw apple cider vinegar and raw milk feta (often available from local dairy farms).
Lemon Ricotta Pie w/ Blueberries


6 large eggs
1/2 cup organic cane sugar, divided
zest from one lemon (about 1 TBSP) – (optional)
1 pound (16 oz), high quality, whole-milk ricotta cheese
1 pint (12 oz) fresh blueberries
- Set a rack in the lower third of the oven and preheat to 375.
- Butter a 10-inch pie plate or 8 x 8 baking dish.
- Set aside 1 TBSP of the sugar.
- In a medium bowl, whisk together the eggs, remaining sugar, and lemon zest.
- Add the ricotta and whisk until smooth.
- Pour the mixture into the pie plate and bake for 15 minutes.
- Remove from oven, top with the blueberries and sprinkle with the remaining TBSP of sugar.
- Bake until just set, about 25 minutes more.
Serve warm or chilled.
Serves 6 – 9 depending on portion size.
______________________________________________________________________________________
SIDE NOTES:
~ Adapted from “Fresh Food Fast”. Very easy to prepare and delicious. As far as I’m concerned, it’s one of those things that can be breakfast, lunch, dinner, or dessert – depending on what you put next to it.
~ This warm, puffy dish can be made with raspberries or blackberries with equally great results.
~ Lemon zest tip: I periodically juice a whole bunch of lemons at once, and freeze the juice into 1 TBSP cubes to pull out as need (click HERE for details). When I have the time, before I juice them, I zest them as well so I always have a little jar of lemon zest in the freezer. For me, it’s these little tips & tricks that allow me to do what I do. I don’t have the time or inclination to zest and juice on the spot. Luckily, with short cuts like this I can still use pure, additive-free ingredients in my meals, which for me is a priority.
~ That said, if this recipe sounds good to you but the thought of zesting turns you off, don’t let that stop you — the zest is optional. It adds a nice little hint of flavor, but it’s not necessary at all. I’ve made it without on occasion and it’s perfectly delicious either way.
~ For the record: This is technically a “souffle”, not a pie, but I think terms like that can be intimidating to some. At least that’s how I used to be – I would just skip right over a “souffle” or “frittata” recipe thinking I wasn’t experienced enough to make something that fancy. FYI – The “souffle” originated in France and the word itself means “puffed up”. The “Frittata” comes from Italy, originating from the word “fritto” which means to fry. Neither dish is really fancy at all – just the words themselves are. You’re really just mixing a few things together and putting it in the oven here. Call it what you want! =)
~ If all you have is a 9 inch pie plate, it will work. I used this size the first time around, as that’s what was recommended in the original recipe – but it just barely fit. I’ve found using one of the other two, larger options mentioned above works best.
______________________________________________________________________________________
Whisking the eggs, sugar, and lemon zest:

______________________________________________________________________________________
After mixing in the ricotta cheese:

______________________________________________________________________________________
Ready to eat:

______________________________________________________________________________________
Sign of a good pie!

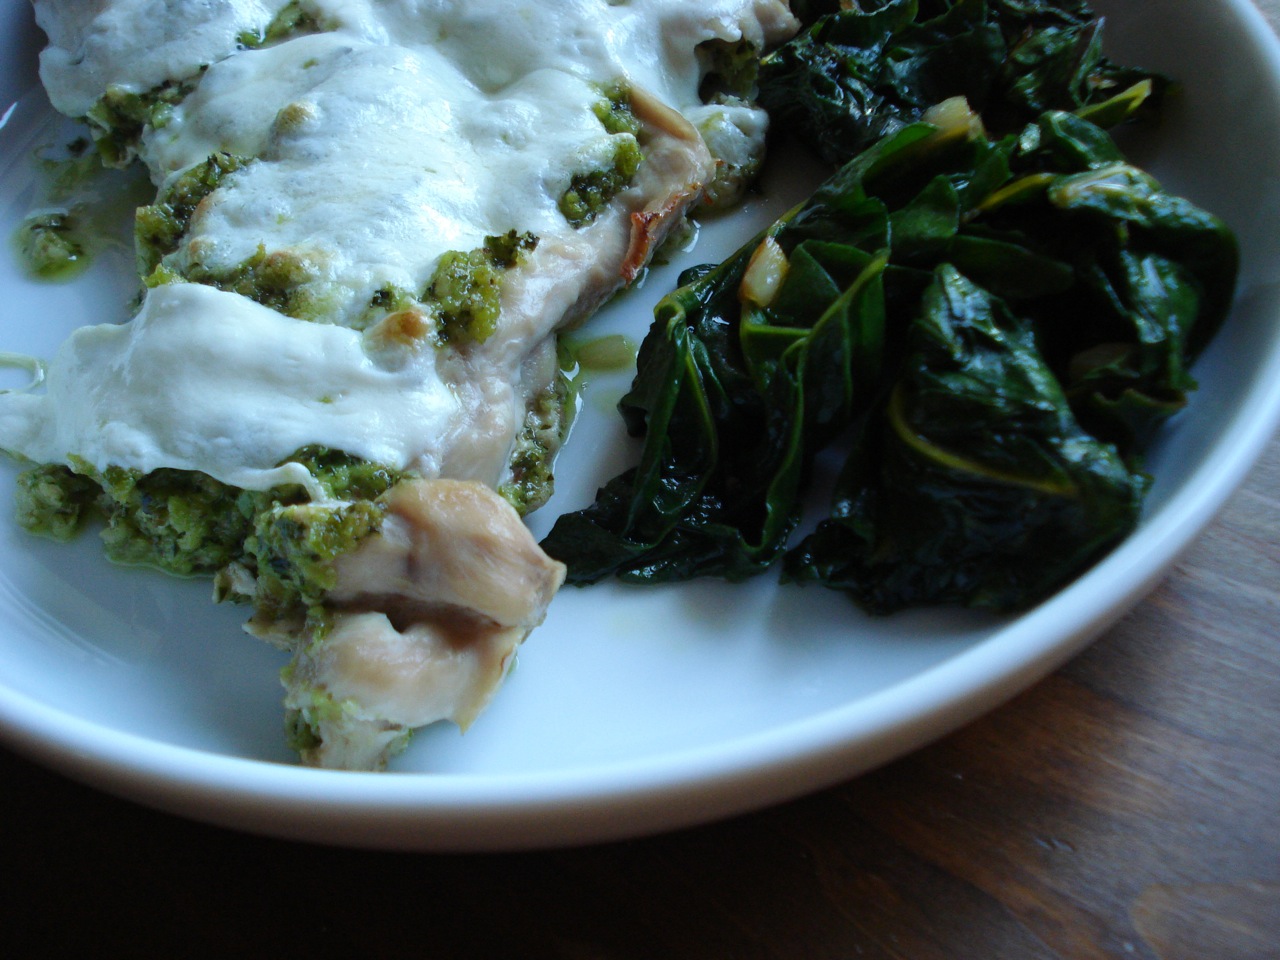
Pesto Chicken

coconut oil (for greasing the dish)
3/4 cup (give or take) pesto sauce
1 pound pastured chicken breast (cut into strips if you’d like)
salt and pepper to taste
fresh mozzarella cheese, sliced or shredded (optional)
- Preheat the oven to 375.
- Lightly grease a 9 x 11 baking dish.
- Spread half of the pesto on the bottom of the dish.
- Lay the chicken over the pesto.
- Lightly sprinkle with salt and pepper.
- Spread the remaining pesto over the chicken.
- Bake for 20 – 30 minutes (until chicken is just cooked through – but not over done).
- Remove pan from oven and place cheese over the top.
- Bake for 5 minutes more and enjoy.
Serves 3 – 4
______________________________________________________________________________________
SIDE NOTES:
~ I almost always have extra pesto sauce in the freezer, so this has become a very easy dinner for me to put together. It’s delicious without too much fuss.
~ The cook time really depends on how big your chicken pieces are. You can simply remove the pan from the oven and cut a piece in the middle to see if it’s ready for the cheese.
~ We enjoyed this the other day with a big tomato and cucumber salad – straight from the garden.
~ Here are a few pesto options: garlic-scape-parmesan-pesto, spinach-walnut-pesto (dairy free), sundried-tomato-olive-pesto (dairy free). I’ve been using the garlic scape pesto for this because that’s what I have a lot of in the freezer.
Dairy Free, Gluten Free, Egg Free, Nut Free, Sugar Free, Vegan, Raw, Grain Free
If eating dairy free, be sure to use a dairy free pesto and omit the mozzarella. (There are nuts in most pesto sauces – whether homemade or store bought.)
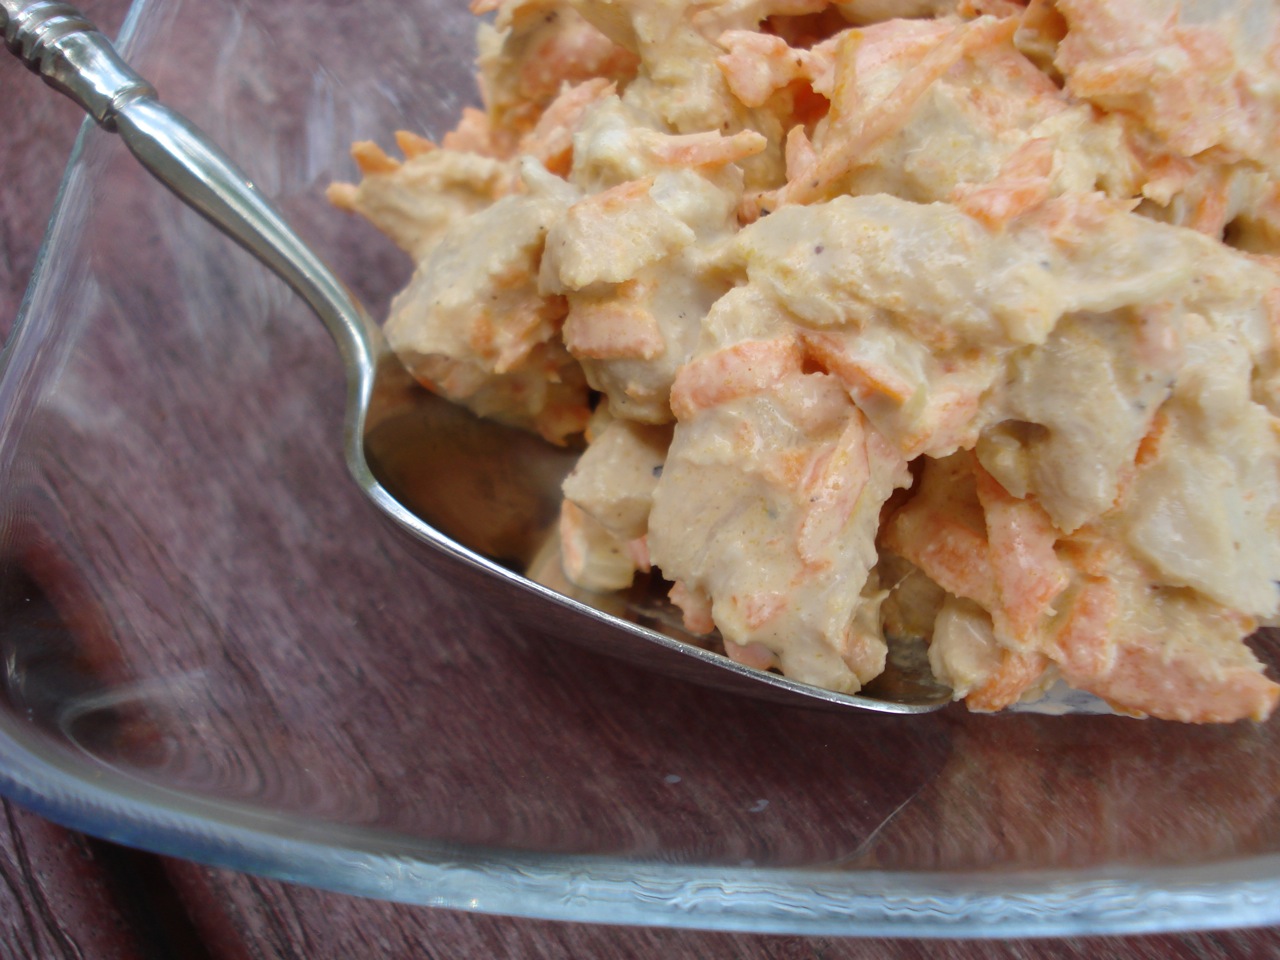
Chicken Salad

2 TBSP coconut oil
2 cloves garlic, minced
1 lb pastured chicken breast, cut into strips
salt and pepper to taste
3 carrots, shredded
1/2 cup creamy dressing (preferably homemade)
- Heat oil over medium heat.
- Add garlic and cook for about 2 minutes, until just beginning to color.
- Add chicken strips, sprinkle with salt & pepper, and saute until cooked through – approx 10 mins.
- Remove chicken from pan, place in a glass container with cover, and refrigerate until cool.
- Cut chicken into small pieces and combine with shredded carrot.
- Mix in dressing and enjoy.
Serves 4.
_________________________________________________________________________________
SIDE NOTES:
~ Of course, you have many different options for cooking the chicken. Whatever works best for you is fine, and it doesn’t specifically have to be breast meat. I’ve poached a whole chicken before & diced up some of it for chicken salad. Up to you!
~ You can add a little celery or whatever else floats your boat.
~ Instead of using a creamy dressing, if you prefer, you can substitute some high quality mayo or simply use olive oil.
Dairy Free, Gluten Free, Egg Free, Nut Free, Grain Free, Vegan, Sugar Free, Raw
If eating dairy free, use mayo or olive oil instead of a creamy dressing. If eating gluten and/or sugar free, be careful with your choice of packaged goods such as mayo or dressing. If eating egg free, use olive oil instead of a creamy dressing (unless you use one that doesn’t contain egg).
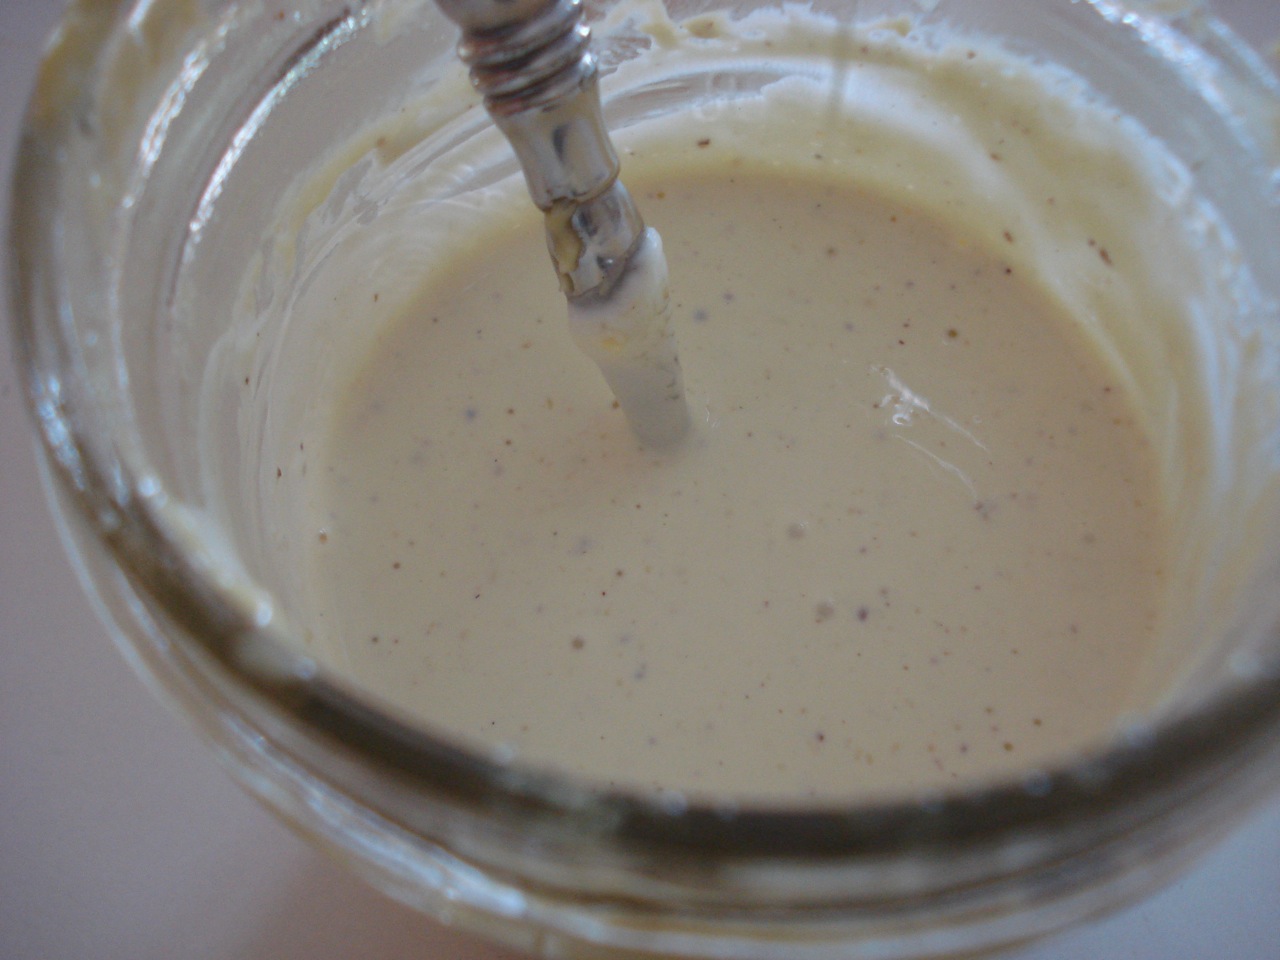
Creamy Ranch-Style Dressing

1/2 cup plain yogurt or buttermilk or sour cream
1/2 cup high quality mayo
1/8 tsp pepper
1/4 tsp salt
1/4 tsp garlic powder
1/4 tsp onion powder
1 tsp sugar or 2 drops of liquid stevia (optional)
1 tsp Worcestershire sauce
- Mix until well combined.
Yields approximately 1 cup.
___________________________________________________________________________
SIDE NOTES:
~ Aside from tossing some into a salad, this dressing is great used as a dip for all the fresh carrots, cucumbers & peppers being harvested this time of year.
~ You can use any additional herbs you have on hand that sound good to you – dried or fresh – such as dill, parsley, chives, or other seasonings such as mustard or lemon juice. I recommend only using fresh herbs if you’ll be using the dressing right away. It will not store well with fresh herbs mixed in.
~ I’ve made this using yogurt and buttermilk. I really can’t tell you which version is better, as some family members like the buttermilk version slightly better & others, the yogurt. They’re similar enough that it doesn’t really matter much. Use what’s convenient! Sour cream will work just as well if that’s what you have or what you prefer.
~ I’m sorry to say that I’ve never seen a commercially made ranch dressing that makes the grade – even the organic brands.
~ Note to self: If doubling the recipe, use one full recipe of mayo.
~ Recipe adapted from my inspiring friend Lynn.
Dairy Free, Gluten Free, Egg Free, Nut Free, Sugar Free, Grain Free, Vegan, Raw
If eating sugar and/or gluten free, use stevia (or omit sweetener entirely), and be careful with your choice of packaged goods such as mayo and Worcestershire sauce.
~ NOTE TO SELF: Can use my entire mayo recipe, mixed with a full, 7 oz container of yogurt, and rounded spoonfuls for all seasoning measurements.
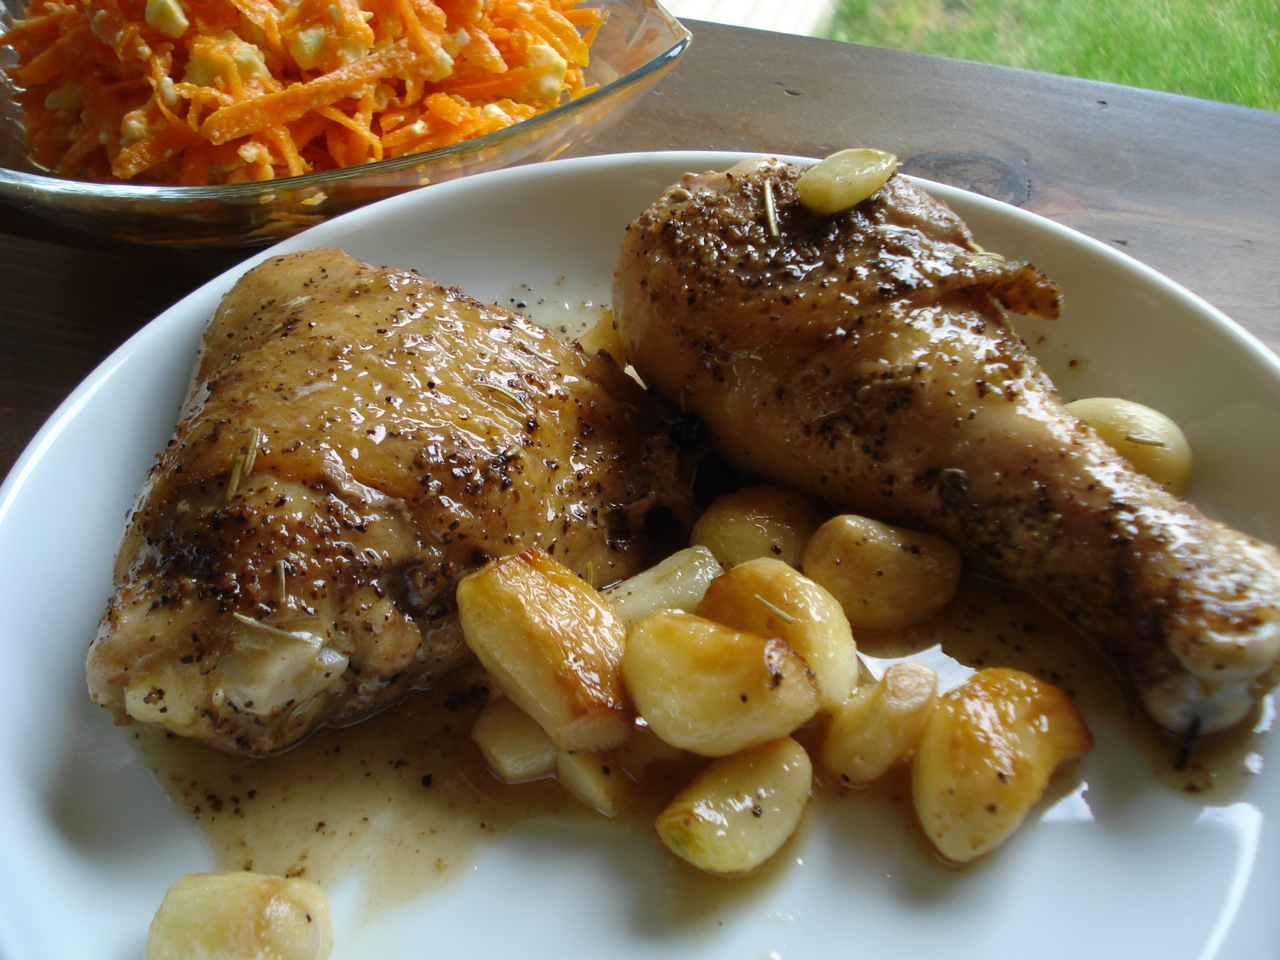
Chicken w/ 40 Cloves of Garlic

1 pastured chicken (3 – 4 lbs)
3 & 1/2 tsps salt
2 & 1/2 tsps ground black pepper
2 TBSP butter or ghee
2 TBSP coconut oil
40 cloves garlic, peeled (left whole)
3 sprigs fresh thyme
1 sprig fresh rosemary
2 sprigs fresh sage
10 whole black peppercorns
1/2 cup dry white wine
- Rinse the chicken and pat it dry with paper towels.
- Combine the salt & pepper in a small dish, then rub into the chicken parts.
- Heat the butter and oil in a large saute pan or dutch oven over medium heat.
- Add the chicken and brown, about 5 – 7 mins per side (this can be done in batches if necessary to avoid crowding).
- Remove the browned pieces to a shallow bowl.
- Lower the heat, and add the garlic.
- Stir constantly to pick up any browned bits of chicken and to prevent the garlic from burning.
- Continue cooking for about 10 minutes, until the garlic is soft.
- Using a slotted soon, remove the garlic to a small bowl (smaller cloves may need to come out sooner).
- Return the chicken and any juices that might have drained off back to the pan.
- Add the herbs, peppercorns, and wine, and pour the garlic cloves on top.
- Bring to a boil, then lower the heat until the liquid is just lightly simmering.
- Cover and cook for 25 to 30 minutes, basting occasionally.
- Serve the chicken topped with the juices and soft garlic.
__________________________________________________________________________________________________
SIDE NOTES:
~ Adapted from The Grassfed Gourmet. A very tasty dish!
~ Of course, there’s really no need to use 40 cloves of garlic. Use as much or as little as you’d like based on how many cloves each person you’re serving is inclined to eat.
~ I didn’t have fresh rosemary on hand, so used 1/2 tsp dried.
Dairy Free, Gluten Free, Egg Free, Nut Free, Sugar Free, Grain Free, Vegan, Raw
If eating dairy free, omit the butter and use more coconut oil. Most wines are gluten free, but you’ll have to check with the manufacturer to be sure.


New to Eating Meat?
TO PREVENT AN ICKY MESS….
Long time meat eaters might already be aware of this, but I thought I’d forewarn any unsuspecting vegetarians considering a shift in diet.
When you defrost meat in the refrigerator, take a few seconds to double (or triple) bag the product, and/or set it inside a rimmed dish. Sometimes there is a pin-prick of an opening in the plastic, allowing the “liquid” (eww) to leak all over the refrigerator as it defrosts. This happened to me several times before I learned my lesson, and it’s an annoying/disgusting mess to clean up. Perhaps this is only a problem with local meat products from small, family farms. Big factories might have the means to package their items more securely – I don’t know – I don’t use them myself so have nothing to compare to.
_____________________________________________________________________
Other things to consider for those new to MEAT ETIQUETTE:
~ Never defrost meat on the counter at room temp. Best is in the fridge overnight.
~ If you’re defrosting a whole chicken, it will take about 3 days in the fridge (give or take), so plan accordingly.
~ If you’re in a hurry, you can place frozen meat completely submerged (in a sealed plastic bag) in a bowl of cold water on the counter (or in the fridge) for several hours. I don’t think this would work well for a whole chicken (don’t know – never tried). This method seems to work best for chop meat, steak, stew meat, cutlets, fish filets, shrimp…etc.
~ If you’re in a super hurry, use the above method (bowl of cold water) but leave it in the sink under gently running, cold water, and the product will defrost much faster (in as little as 20 minutes). Think of an ice-cube – it will defrost much faster under running water as compared to sitting at room temp. Of course this method is not ideal, as it wastes water, but hey, it works in a pinch & sometimes that’s as good as it gets =)
______________________________________________________________________
I will update this page as I continue to figure stuff out!
Long time meat eaters: Please feel free to comment on this page with any info you can share – Thanks! =)