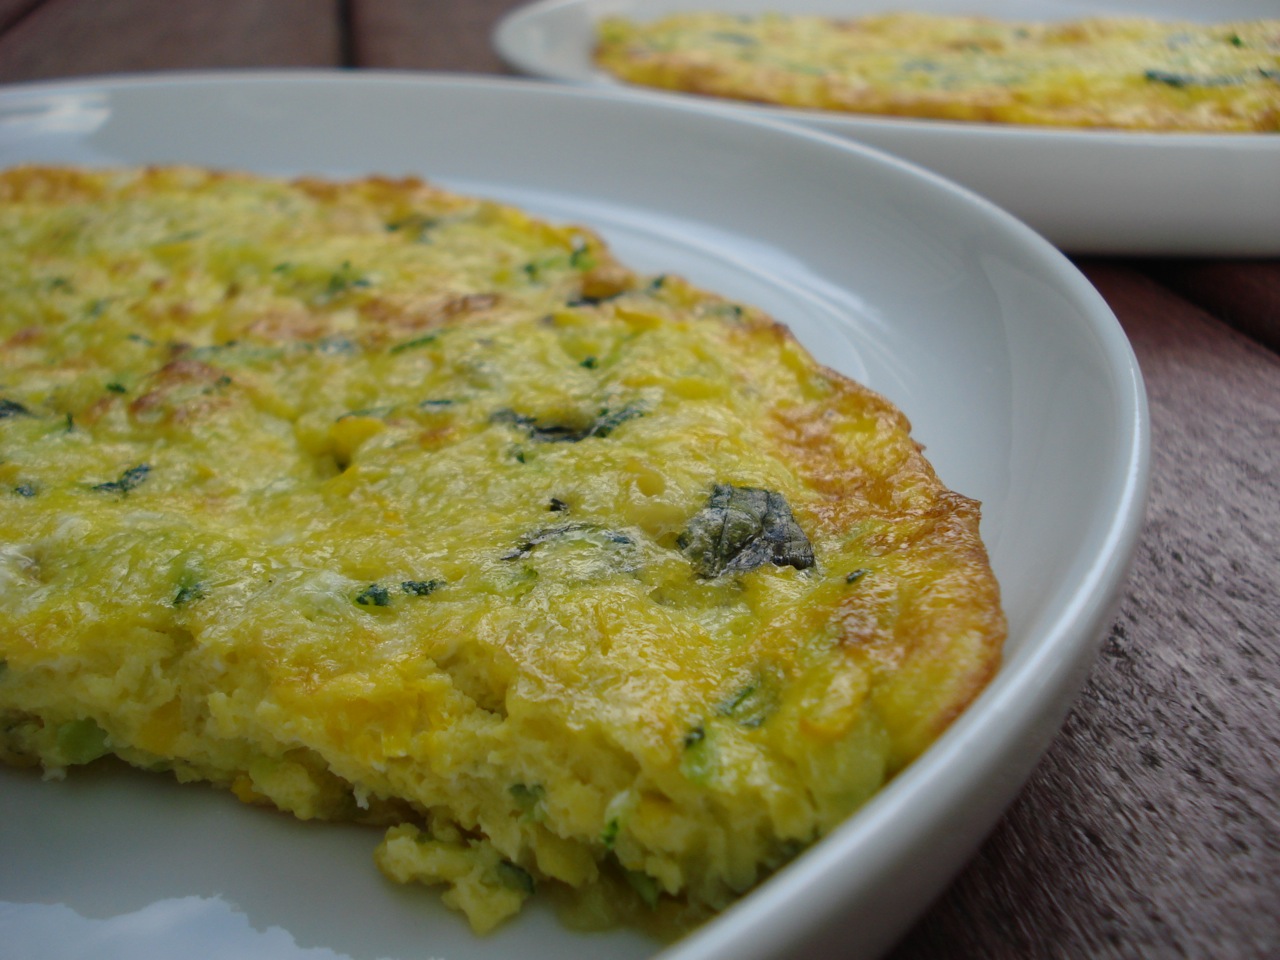
Zucchini Frittata

approx 1 & 1/2 pounds of zucchini, washed & ends trimmed
3 TBSP coconut oil, ghee, or butter (or a combination)
2 garlic cloves, minced or crushed
2 TBSP (or more) fresh basil, roughly torn
6 large eggs, lightly beaten
1/4 cup high quality parmesan cheese, grated (optional)
salt and black pepper to taste
- Shred the zucchini on the largest holes of a hand grater, or put it through a food processor with shredding blade.
- Place shredded zucchini in a colander (set inside a bowl), sprinkle generously with salt, and mix to combine.
- Let the zucchini sit for 15 – 20 minutes, occasionally pressing with the back of a spoon to drain the moisture (discard the water).
- While waiting for the zucchini to drain, mince the garlic, tear up the basil, and grate the cheese.
- Pre-heat the broiler to high.
- Heat oil in a 10-inch (or there-about), non-stick skillet (stove-top).
- When oil is hot, add zucchini and garlic and saute until tender – about 7 minutes.
- Add the basil and stir to combine.
- Combine the cheese with the egg, add salt and pepper to taste, and pour the mixture over the zucchini.
- Use a utensil to spread the vegetables evenly in the pan.
- Cook over medium-low heat, occasionally sliding a spatula around the edge of the pan to loosen the frittata as it sets.
- Continue cooking until the frittata is set, except for the top – about 8 minutes.
- Place pan directly under the broiler until the top is cooked and just beginning to brown (1 – 3 minutes). Be careful not to let it burn!
- Remove pan from oven and serve.
Serves 2 – 4.
____________________________________________________________________________________________
SIDE NOTES:
~ Those who belong to a CSA or have their own vegetable garden usually have zucchini coming out their ears this time of year. This dish is a delicious way to enjoy the abundance of the season. We’ve had it several times already this summer. It can be breakfast, lunch or dinner.
~ You’ll need anywhere from 2 – 4 zucchini, depending on size. A kitchen scale comes in handy for things like this, or you can just estimate if you prefer.
~ Don’t worry about trying to get all the moisture out of the zucchini – you can’t. Just squeeze out what you can.
~ I use a giant handful of fresh basil – at least a 1/4 cup, maybe 1/3 or 1/2.
~ It doesn’t need much added salt, because the zucchini will already be salty (from the draining step). 1/4 tsp added to the egg is about right, or you can skip it entirely and just sprinkle a little salt at the table if needed.
~ If you’re still using Teflon pans, hit yourself on the head with one, then throw them all away. There are safer non-stick options these days.
~ I think the pan I used this time was a 12 inch. No big deal. In this case, it will just be thinner and cook faster (so be careful it doesn’t burn). The only trouble might be if you use a smaller pan, because it might not cook all the way through (could end up gooey in the middle and/or burnt on the outside). If the pan you’re using is on the small side, it would be a good idea to reduce the recipe.
~ Don’t decide to write an email or fold the laundry while the frittata is under the broiler. It can look fine one minute, and 30 seconds later be burnt. Stay close by and keep your eye on it. It’s so annoying to ruin a meal in the final few minutes! Also, be careful not to burn yourself on the hot handle of the pan after broiling. Keep a towel or something draped over the handle after you remove it from the oven to remind yourself how hot it is.
~ Some other ways to put the abundant zucchini harvest to good use: zucchini-pancakes, black-bean-&-zucchini-quesadillas, zucchini-bread, pan-seared-summer-squash-w-garlic-&-mint, zucchini-marinara, spaghetti-w-zucchini-&-olive-oil.
~ Adapted from The Complete Italian Vegetarian.
Dairy Free, Gluten Free, Egg Free, Nut Free, Sugar Free, Grain Free, Vegan, Raw
If eating dairy free, use coconut oil and omit the cheese.
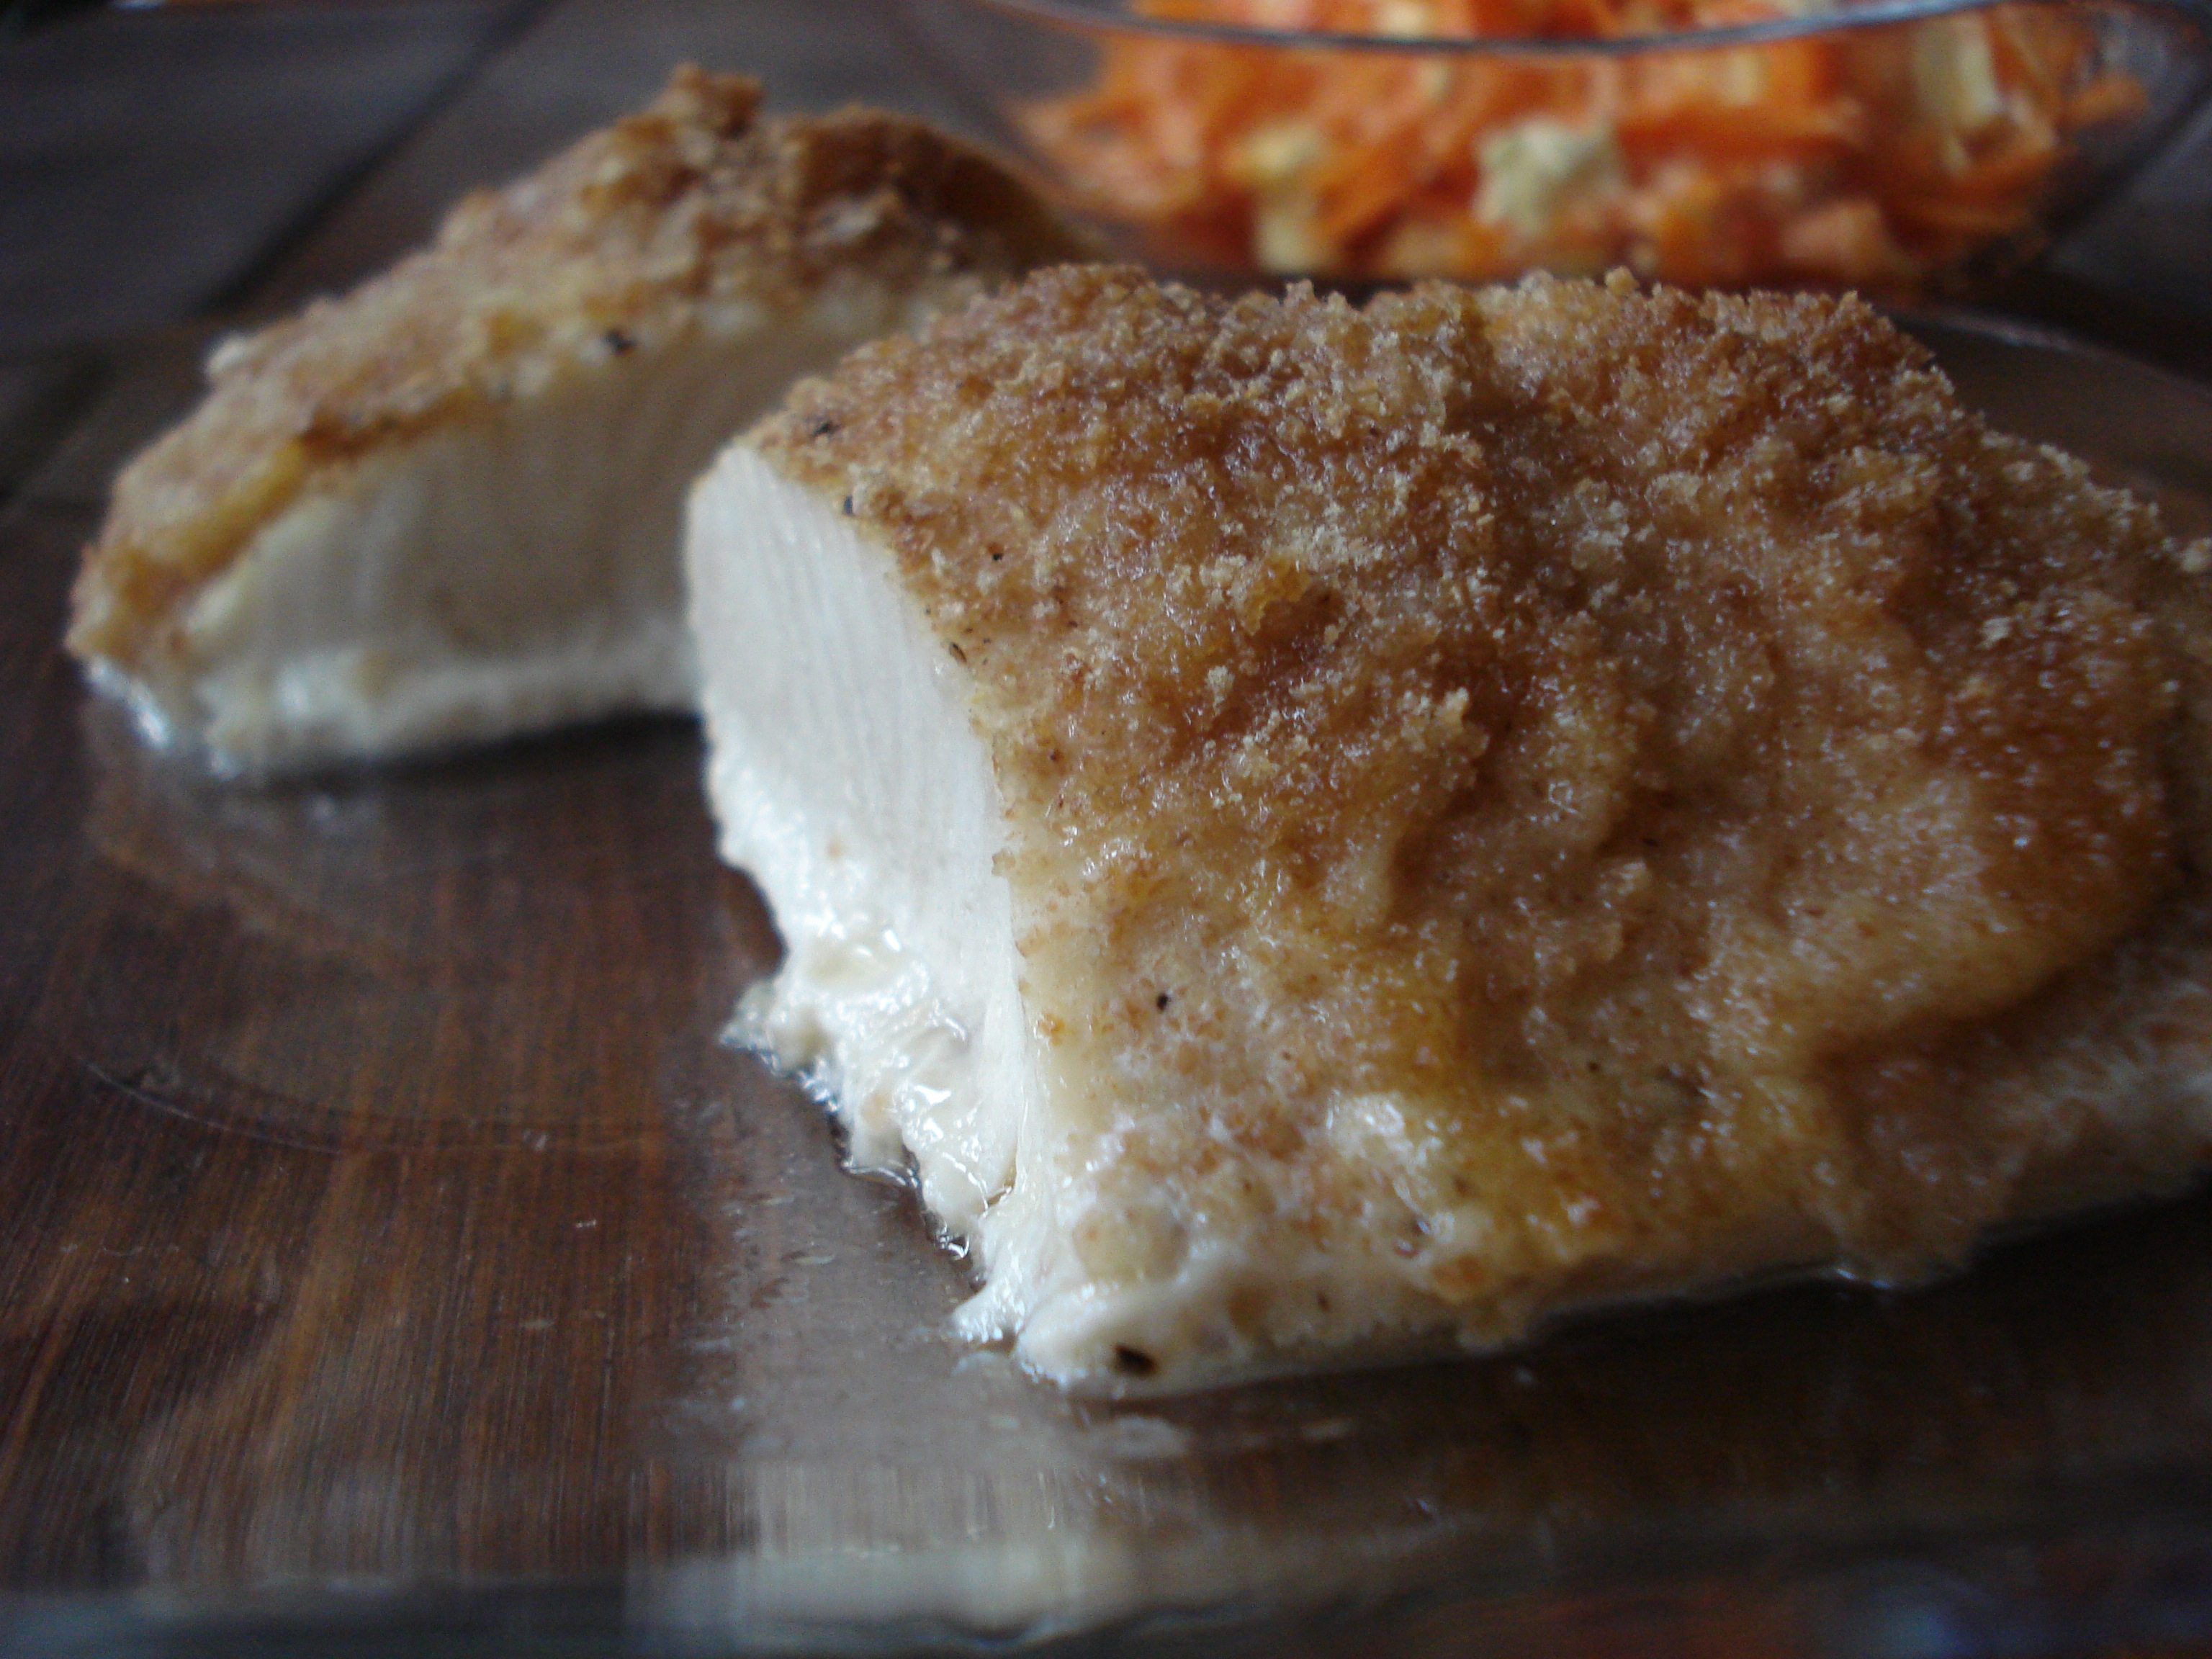
Baked Mahi w/ Breadcrumb topping

1 lb mahi filets (2 or 3, depending on size)
about 1 & 1/2 TBSP of lemon juice – give or take (half a lemon’s worth)
1/8 tsp pure salt
1/8 tsp black pepper
1/8 tsp garlic powder
1/3 cup (give or take) high quality mayo
2 tsps dried, minced onion (or 2 TBSP finely chopped fresh)
breadcrumbs to taste
- Pre-heat oven to 425.
- Combine the salt, pepper and garlic powder.
- Place fish in baking dish.
- Squeeze lemon juice over the fish.
- Sprinkle with spice mix.
- Mix onion (either dried or fresh) into mayo and spread on fish (just on the top side is fine).
- Sprinkle with breadcrumbs and bake for 20 mins.
______________________________________________________________________________________
SIDE NOTES:
~ If using frozen fish, be sure to defrost ahead of time. Thaw in fridge overnight, or if you forget – on the counter in a sealed plastic bag submerged in a bowl of cold water (should only take a few hours). If you’re in a crazy hurry, put the fish (in sealed plastic bag) in a bowl under cold running water, and it should be good to go in about 20 – 30 mins (depending on how much fish you’re defrosting). Of course, you can use any type of fish you’d like – doesn’t have to be mahi.
~ As far as the spices go – Feel free to just eyeball it & sprinkle on an amount that looks good to you. I will mention though that the first time I made this, I sprinkled too freely with the salt and it was pretty much inedible. I’ve always been a little too heavy-handed when adding spices via the shake method. This is why my recipes tend to specify exact measurements. Just sprinkle if you like that method better & it works for you. To each his own! And by the way, I always have empty spice jars on hand (I save them as I finish up bottles). So for this, it’s really handy for me to measure and add the salt, pepper & garlic powder to an empty spice shaker, and just sprinkle it over the fish (it’s hard to distribute 1/8 tsp evenly over the fish if adding straight from a measuring spoon).
~ For those of you who tend to gasp at the mention of mayo, please know that it isn’t bad in and of itself. Like so many things, if you have a high quality product, mayo is nothing to be scared of. The reason most commercially made mayos are so bad is because of the type of oil that’s used. My recommendation is to find a mayo that’s not made with canola oil or soy oil (or make it yourself if you’re inclined). If you prefer, you can use some melted butter instead of the mayo.
~ When it works, I like using dried minced onion (you can find this in the spice aisle with all the other spices) It’s my daughter’s thing to pick onions out of her dish whenever they are visible (which is often since the rest of us love them). It’s nice though, when this easy substitution works, so she can just sit down & eat!
~ If interested, click HERE for instructions on how to easily make your own breadcrumbs.
Dairy Free, Gluten Free, If you’re eating gluten free, use gluten free breadcrumbs. If eating sugar free, check your mayo ingredients (or make your own).Egg Free, Nut Free, Sugar Free, Grain Free, Vegan, Raw
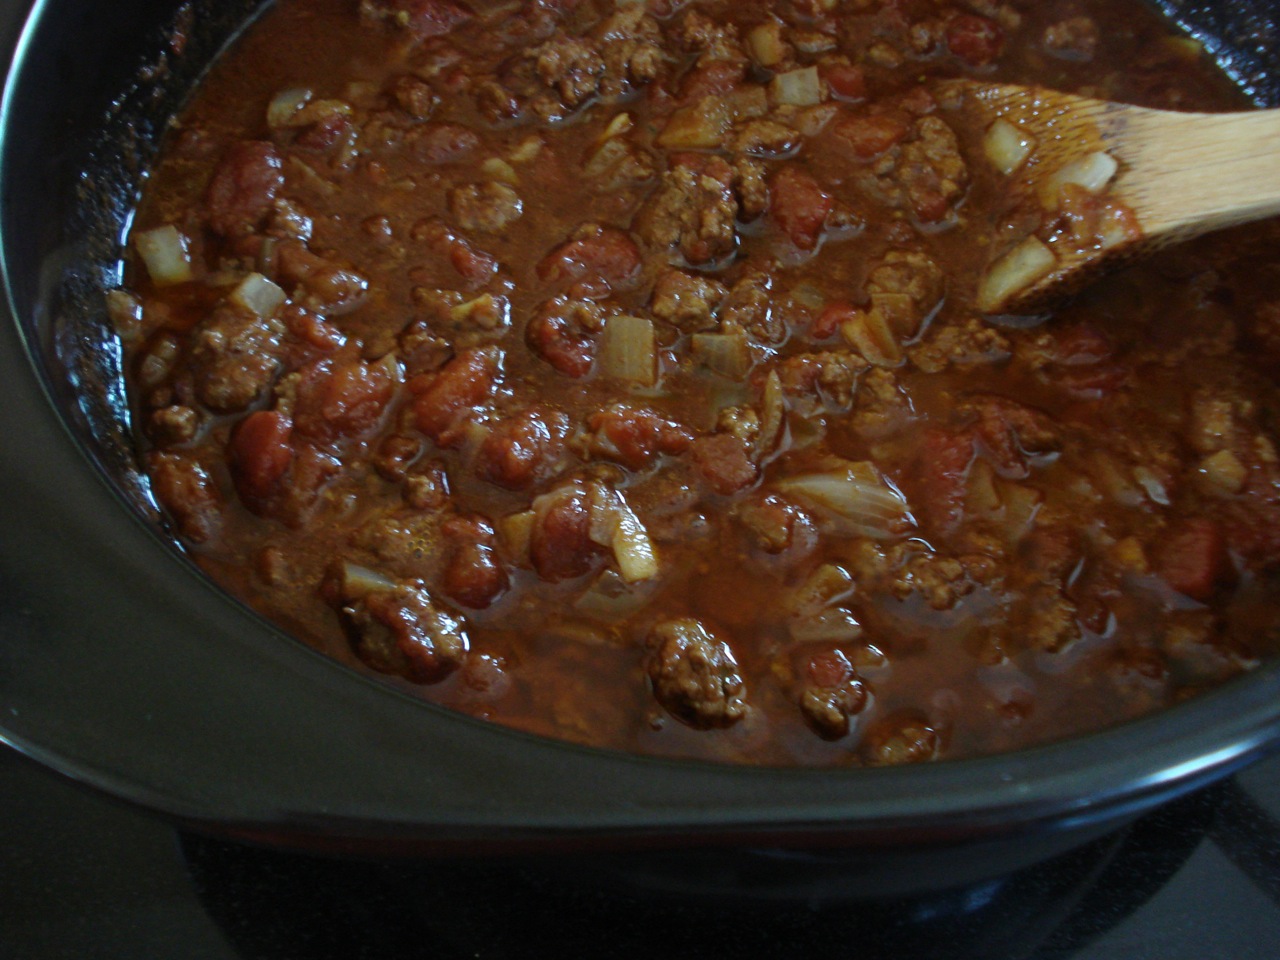
Grass Fed Beef Chili (bean free)

2 TBSP coconut oil
1 pound grass-fed ground beef
2 cloves garlic, minced or crushed
1 large onion, chopped
1 red bell pepper, chopped (about 3/4 cup)
2 TBSP chili powder
1 tsp dried oregano
1 tsp ground cumin
1 tsp hot sauce or 1/4 tsp chipotle pepper powder (optional)
1 (28 ounce) package crushed, chopped, or strained tomatoes
1/4 cup Worcestershire sauce
- Heat the coconut oil in a stock pot or large Dutch oven over medium heat & crumble in the ground beef.
- Add the onion, garlic, bell pepper, and cook stirring frequently until beef is evenly browned.
- Stir in the chili powder, oregano, cumin and chipotle powder (or hot sauce).
- Stir in the tomatoes and Worcestershire sauce.
- Bring to a boil, then reduce heat to low, and simmer for 1 hour covered.
- Stir occasionally to prevent burning on the bottom.
Serves 4.
________________________________________________________________________________
SIDE NOTES:
~ This is a very tasty chili, and is great for those who don’t do well with beans (though you can certainly add some beans to this if you’d like). Very simple to prepare.
~ This time, I didn’t have a bell pepper on hand, so omitted it — you’ll still get a great chili.
~ It’s nice with a little cilantro over the top and dollop of natural sour cream on the side.
~ Sprinkle in some salt at the table if needed.
~ A 3 & 1/2 quart pot works well for this.
~ When I double or triple the recipe, I use a 5 & 1/2 quart pot. It’s almost silly not to double this and stick a bunch in the freezer for a busy day. Food for thought…. =)
Dairy Free, Gluten Free, Egg Free, Nut Free, Sugar Free, Grain Free, Vegan, Raw
If eating gluten free, double check labels of packaged ingredients such as Worcestershire sauce and tomatoes.
Enjoy!
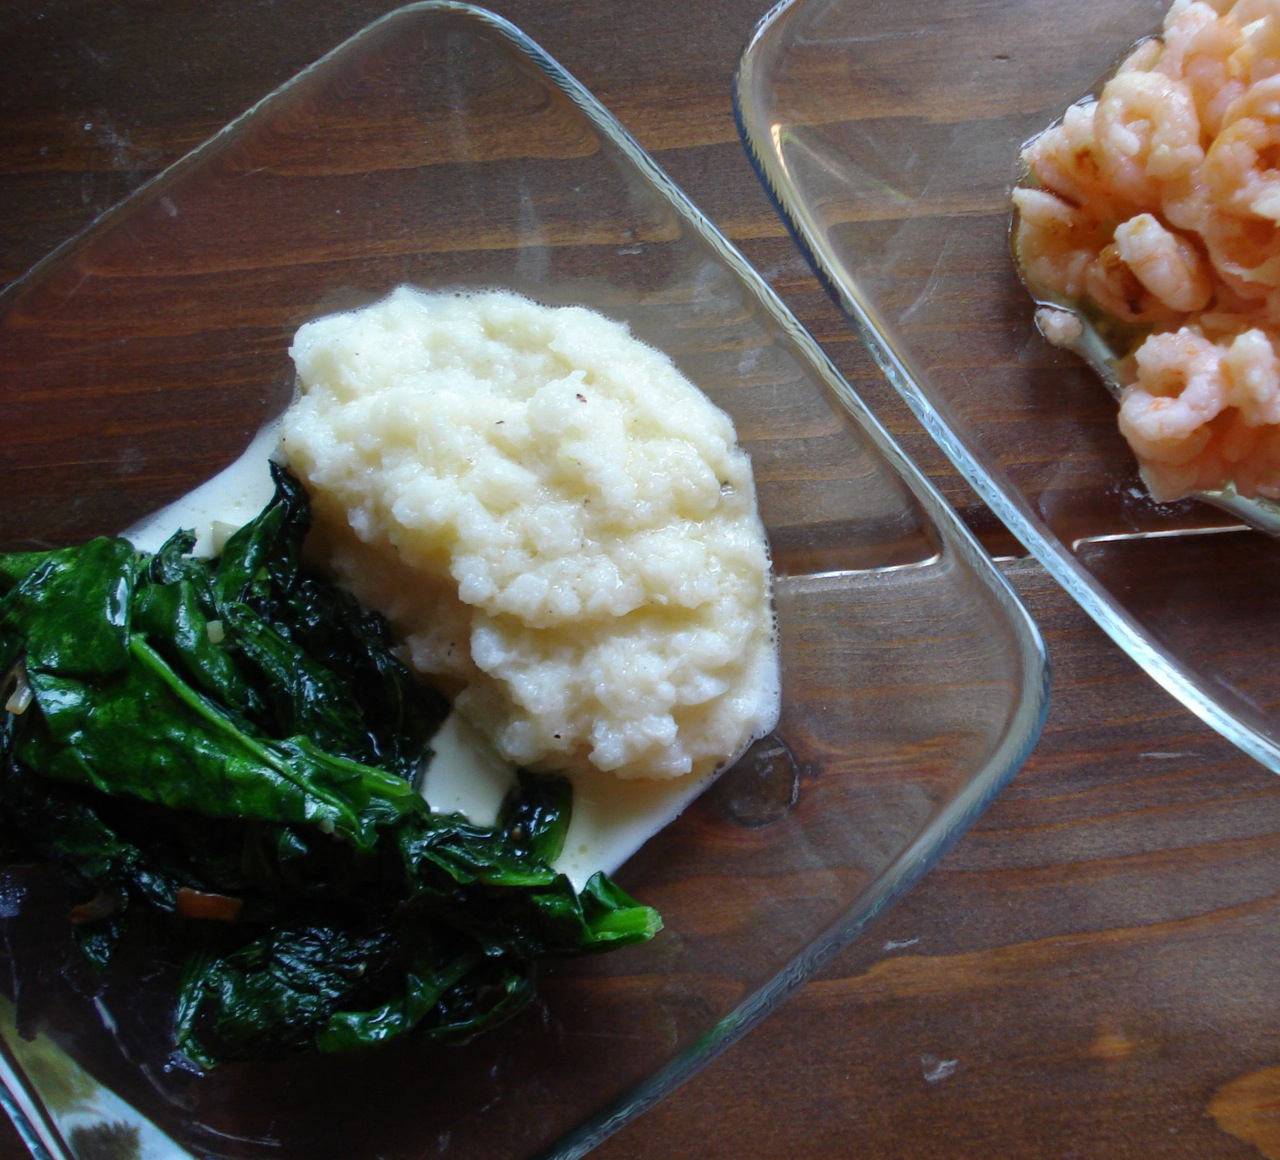
Garlic Mashed Turnips

3 cups diced turnips
2 cloves garlic, roughly chopped
1/4 cup high quality cream, half & half, or whole milk
3 TBSPs melted butter, ghee, coconut oil, or olive oil
pure salt & freshly ground, black pepper to taste
- Cook turnip cubes and garlic in boiling water for about 15 minutes, until soft.
- Drain well.
- Mash turnips with the cream, butter, salt & pepper.
Enjoy!
________________________________________________________________________
SIDE NOTES:
~ Turnips are one of the veggies that turn up (pun intended) in our CSA box in spring and fall. This is a delicious way to cook them up. The kids really gobbled them up as well.
~ Feel free to cut the recipe in half if you only have a small bunch. Or – simply combine your turnips with potatoes or any other root vegetable you happen to have on hand.
~ And don’t throw the turnip greens away! They are delicious sautéed with butter, garlic, salt & pepper (shown above in photo next to mashed turnips). Keep in mind – In the spring and fall, when turnips are in season, you are likely to find them with greens attached (and this shows you how fresh they are). Turnips (like most root vegetables) store well, so are available during the off-season, but without their green leafy tops.
Dairy Free, Gluten Free, Egg Free, Nut Free, Sugar Free, Grain Free, Vegan, Raw
Roasted Grapes w/ Red Wine
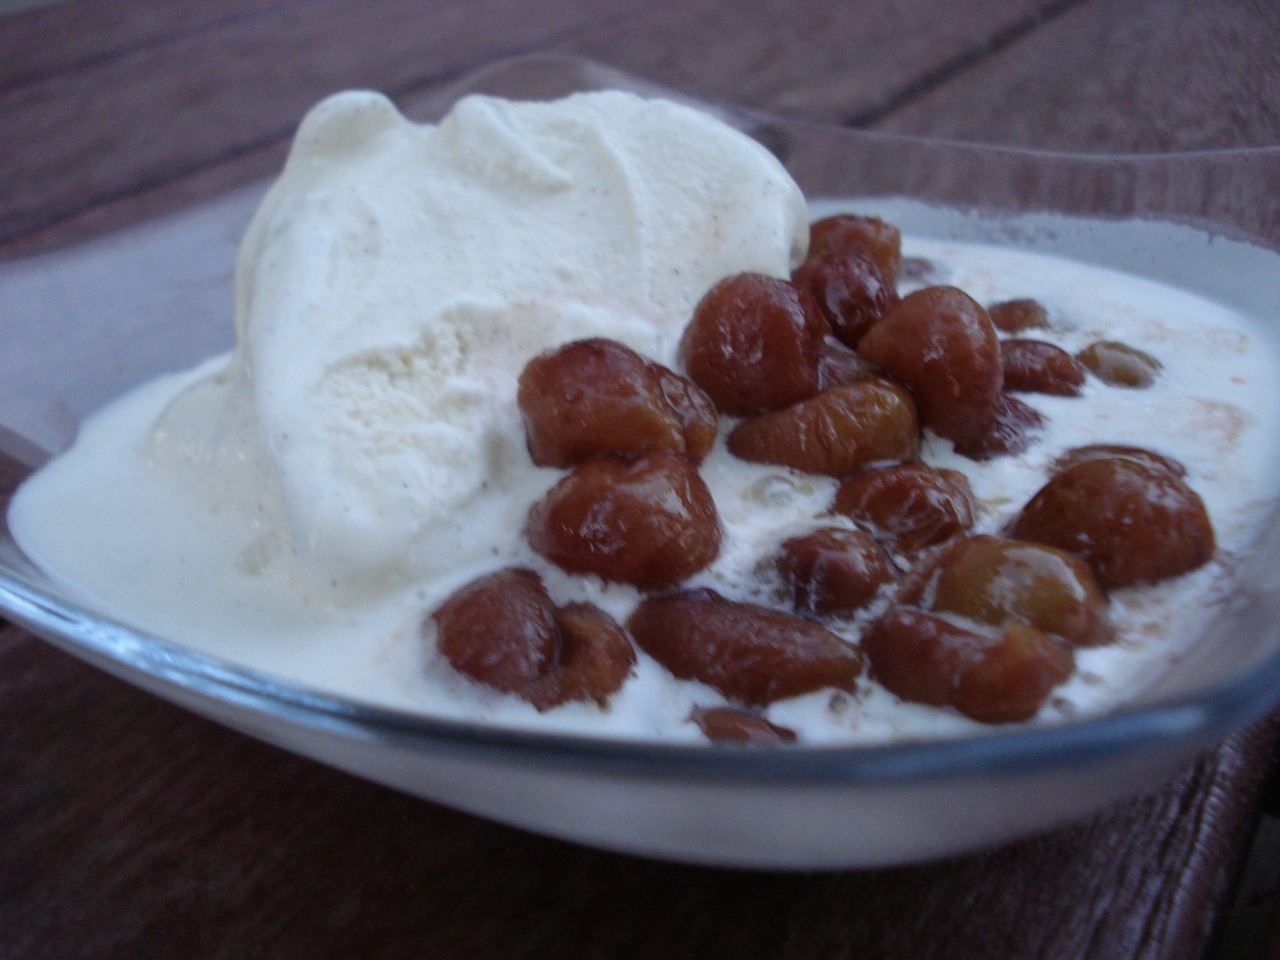

This treat is easy & fancy at the same time – and so delicious. I hope you enjoy!
_____________________________________________________________________________________________________
2 TBSP butter
1 pound red seedless grapes (stems removed)
2 TBSP brown sugar, I used Demerara (raw light brown sugar crystals)
1/3 cup dry red wine (any red wine you like to drink will do)
1 pint natural vanilla ice cream for serving
- Preheat oven to 425 and place an 8 x 8 baking dish in the oven to warm.
- Add the butter to preheated baking dish and let it melt.
- Add the grapes and sugar and stir to coat.
- Roast the grapes for 10 minutes.
- Add the wine to the pan and roast for 15 minutes more.
- Serve warm with vanilla ice cream & ENJOY!
Serves 4.
_____________________________________________________________________________________________________
SIDE NOTES:
~ I know – sounds like a weird combination, but trust me…. You will like it =)
~ There should only be 5 ingredients in your ice cream – cream, milk, sugar, egg yolks, and vanilla.
~ Adapted from “Fresh Food Fast”. A very nice treat.
~ The warmed grapes will melt the ice cream into a bowl of sweet, creamy deliciousness.
Dairy Free, Gluten Free, Egg Free, Nut Free, Sugar Free, Grain Free, Vegan, Raw
If eating dairy free, use coconut oil instead of butter, and a dairy free ice cream – store bought or homemade, such as THIS ONE. Most wines are gluten free, but if this is a concern for you, double check with the manufacturer. If eating egg free, use an appropriate ice cream.

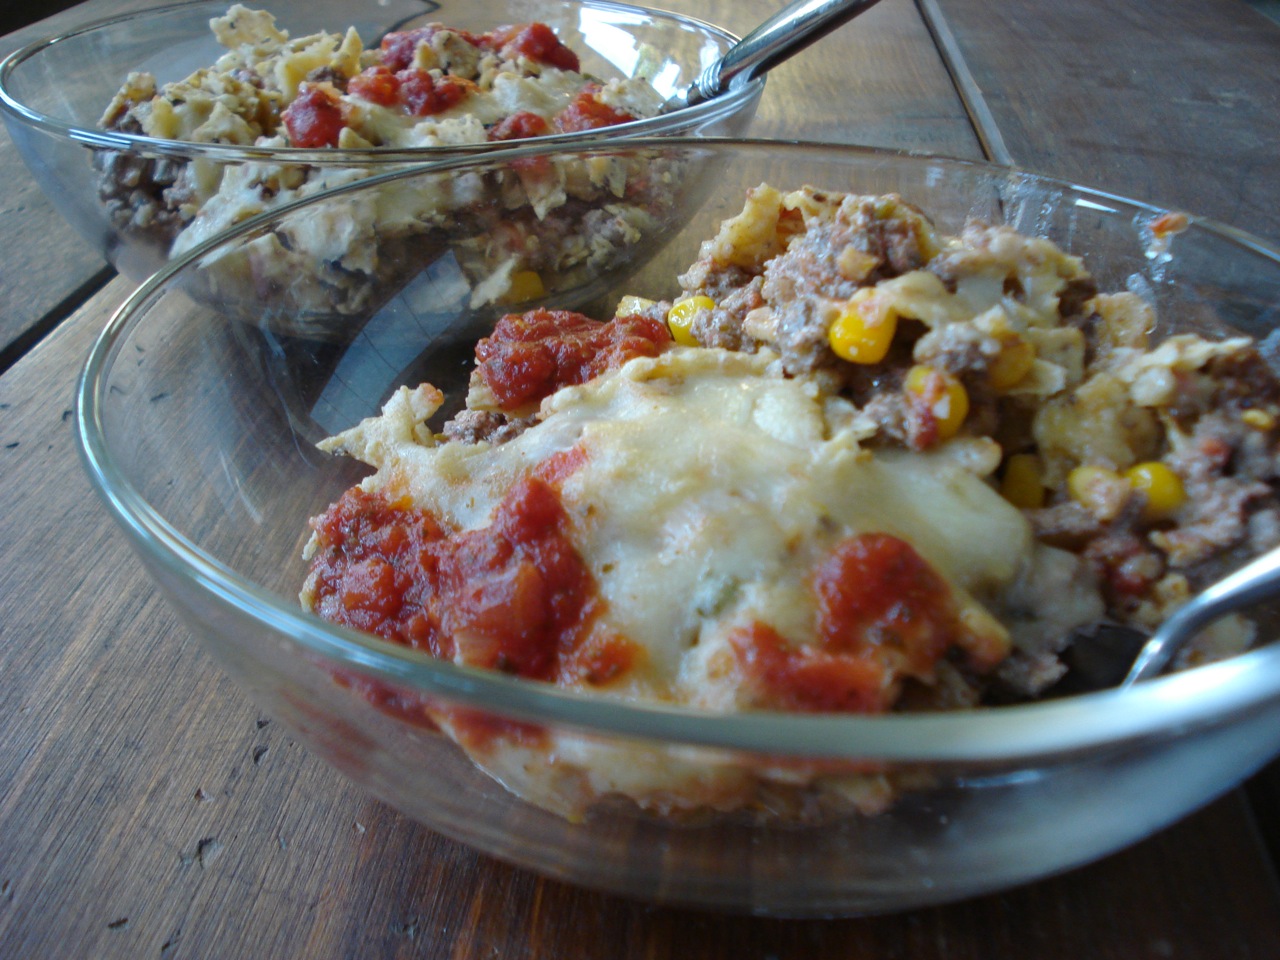
Fiesta Beef Casserole

FOR MY VEGETARIAN FOLLOWERS: While my diet has been evolving, yours may not be! I don’t want to bore you with too many meaty recipes, but please be aware that I do have quite a bit of catching up to do to even out the vegetarian slant of this website (as it no longer accurately represents my current eating habits and nutritional philosophy). That said, I still have plenty of non-meat recipes to post, and will try to include them along side the meaty ones as much as possible (there will be one such, very delicious post directly following this one). From a nutritional standpoint, if you prefer not to include meat, poultry, and fish in your diet, at the very least, I recommend consuming high quality eggs and dairy (provided an allergy/sensitivity does not exist). Unfortunately, a strict vegan diet most often causes problems in one form or another down the road. I don’t recommend it. Of course, to each his own, but I just wanted to pass this note along to any long time followers who are perplexed by the changing content of this website. Change happens =)
______________________________________________________________________________________
2 TBSP coconut oil
2 lbs grass-fed ground beef
salt & freshly ground black pepper to taste
1 TBSP chili powder
12 oz natural, chunky salsa
1 cup corn, fresh or frozen
3/4 cups natural sour cream
2 cups crushed, high quality tortilla chips, divided
2 cups shredded sharp cheddar or jack cheese, divided (about 8 oz total)
- Preheat oven to 350.
- Coat a large skillet with coconut oil.
- Add the ground beef and sprinkle with salt, pepper, and chili powder.
- Cook until the meat browns (about 10 mins, give or take).
- Transfer beef to a large bowl and add the salsa, corn, and sour cream.
- Spread 1/2 of the meat mixture on the bottom of a 2 quart casserole or 10 inch saute pan.
- Top with one cup of the tortilla chips, followed by one cup of the cheese.
- Repeat the layers.
- Bake for 20 minutes.
- Top with extra salsa if desired.
SIDE NOTES:
~ Adapted from The Grass-Fed Gourmet Cookbook. An instant hit for us. Ridiculously easy to prepare, and so very tasty.
~ For the chili powder, I use 2 tsps regular, and 1 tsp chipotle powder for a touch of smoke & spice.
~ I use an organic jalapeno jack for the cheese.
~ About 5 or 6 oz of tortilla chips yields the right amount. If you’d like to try making your own chips (very easy), click HERE.
I would be surprised if you didn’t love this meal!!
Dairy Free, Gluten Free, Egg Free, Nut Free, Sugar Free, Grain Free, Vegan, Raw
If eating gluten free, double check labels of any packaged ingredients such as salsa and chips.


Ends Meat
OK, this isn’t a real recipe, but laughter is good nutrition too, so I thought I’d share a quickie……
1977 – Mrs. Marshall’s third-grade class: I received my graded essay back with only three spelling mistakes (which was pretty good for me). As I turned the pages to see where I lost points… Oh wow – I realized Mrs. Marshall had actually made a mistake! One of the words she had marked with a big red check was definitely spelled correctly.
Just as I started to raise my hand to point this out, in an instant, my cheeks turned bright red, and the hand that was going up took a quick u-turn, returning promptly to my lap.
The sentence in question read something like… “The poor woman was having such a hard time, that she could barely make ends meat.”
My entire life (which I guess was only 8 years at that point) I thought that expression referred to someone who was so poor, that they couldn’t even afford the cheapest, peasant food – ends meat.
Of course, my teacher thought it was a spelling error. I’m sure I would have gotten my 2 points back if only I had the guts to tell her.
🙂
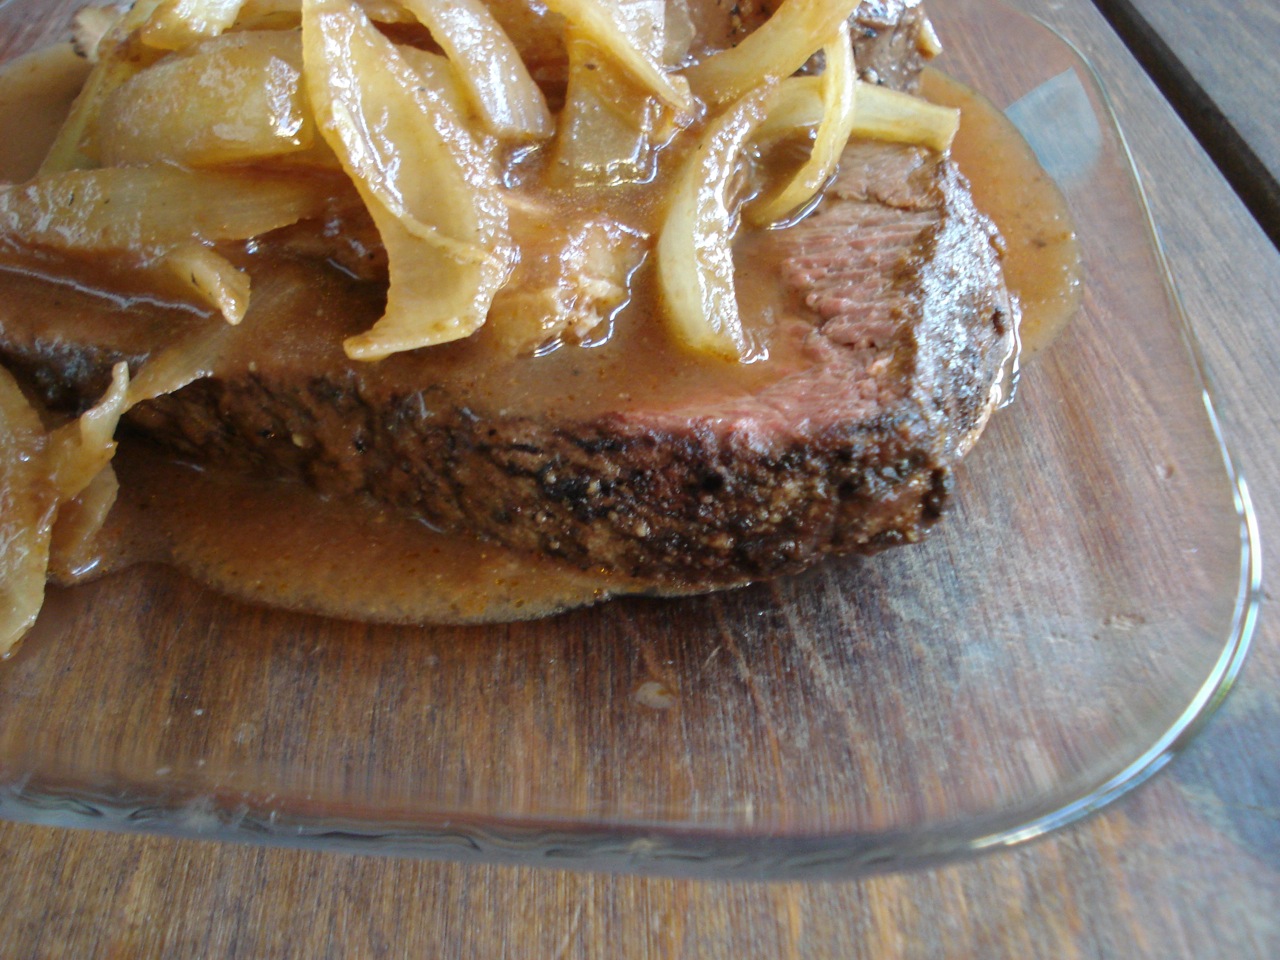
California Pot Roast

one 4 – 5 lb roast (chuck, rump, or round roast)
1 TBSP pure salt
2 tsps freshly ground black pepper
3 TBSP coconut oil
1/2 cup water
2 cups tomato sauce, fresh or packaged
1 onion, coarsely chopped
2 cloves garlic, minced
2 TBSP natural, brown sugar (optional)
1/2 tsp dry mustard
1/4 cup fresh lemon juice
1/4 cup apple cider vinegar
1/4 cup high quality ketchup (no high fructose corn syrup!)
1 TBSP Worcestershire sauce
- Combine the salt and pepper and rub into the roast.
- Heat the coconut oil in a large skillet over medium-high heat, and brown the roast, about 3 mins per side.
- Place the meat in a slow cooker with the water, tomato sauce, onion, and garlic. (I do not have a slow cooker, but was able to make this recipe without any problem – see notes below.)
- Cook on low heat all day, for about 5 – 6 hours
- About 1 & 1/4 hours before you are ready to eat, combine the brown sugar, dry mustard, lemon juice, vinegar, ketchup, and Worcestershire sauce.
- Pour over the meat, and continue cooking another hour until fork-tender.
- Remove the meat, slice, and place on a warm platter.
- Meanwhile, let the sauce thicken by simmering on the stove for a few minutes.
- Pour over sliced roast and serve.
______________________________________________________________________________________
SIDE NOTES:
~ I made a pot roast! This was my first try, and I kind of can’t believe I did it. And it was good. Very good! If any readers out there are also recently reformed vegetarians, feel free to join me as I figure things out. We can do this together. Personally, I got over the mental block of eating meat a long time ago. It’s been a few years now, though only occasionally, and only at the one restaurant in town that serves organic grass-fed beef. It’s taken me quite a bit longer to muster up the courage to cook it myself. I’m over it & here we go….
~ As mentioned, I do not have a slow cooker. I simply cooked the roast in a heavy ceramic pot (5.5 quart), covered, in the oven at 170 degrees fahrenheit. I used the same pot to first brown it on the stove top, so there was no need to transfer the roast to a different pot for the oven. FYI – my roast happened to be 4 & 1/2 pounds and I cooked it for 5 & 1/2 hours total. Seemed just right.
~ I actually forgot to add the sugar, and didn’t even realize it until the next day. It was delicious without it, so I gave it optional status.
~ I used a chuck roast for this. And even though it was extremely tasty, there was a giant bone through the middle of it, and a lot of fat throughout. Not that a little fat from a normally raised, healthy animal is anything to worry about – to the contrary. Personally, I just find it a bit hard to chew! I’m inexperienced in regard to different types of roasts, but I will try a different cut next time to see if there’s less bone and fat. Live & learn.
Dairy Free, Gluten Free, Egg Free, Nut Free, Sugar Free, Grain Free, Vegan, Raw
If eating gluten free, be sure to check the labels of any packaged goods you may be using (ketchup, Worcestershire sauce, etc). Technically, you could make this recipe sugar free if need be by using a ketchup sweetened with xylitol.
~ Recipe adapted from The Grassfed Gourmet Cookbook.
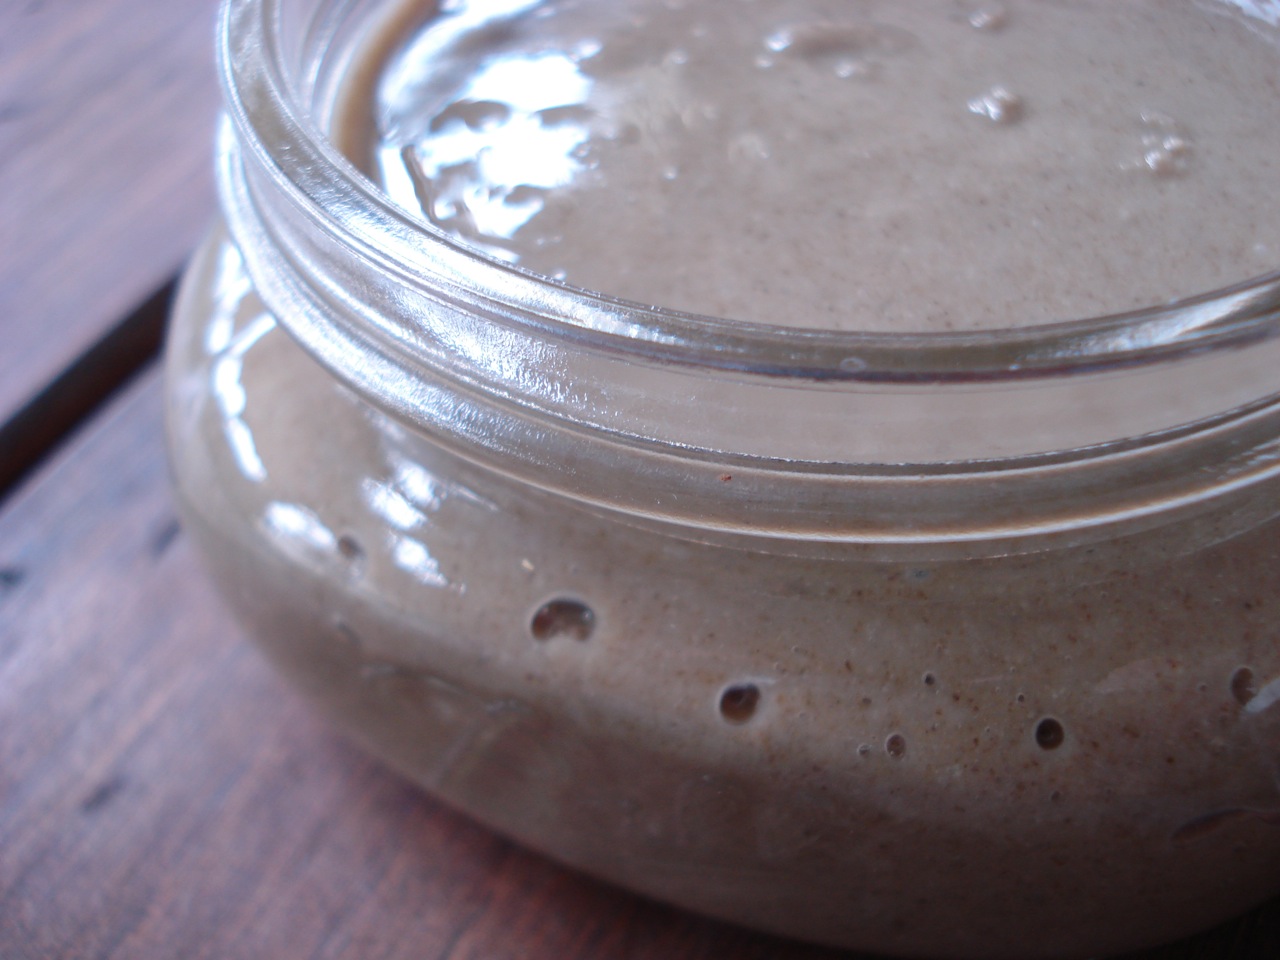
Sun Butter

2 cups sunflower seeds
OPTIONAL:
1 TBSP raw honey (or sweetener of choice)
1/4 tsp pure salt
3 TBSP sunflower oil (or oil of preference)
- Process in food processor or Vitamix until you’ve got sunbutter.
______________________________________________________________________________________
SIDE NOTES:
~ William, This one’s for you =)
~ If using a Vitamix, you don’t necessarily need to add oil but it will be a little on the pasty side if you don’t. Sunflower seeds are not as naturally oily as peanuts, almonds or pecans, so the butter ends up being thicker. Takes about 1 minute. (The photo at the bottom of the page shows the consistency without any added oil while the photo at the top includes 3 TBSPs).
~ If using a food processor, you’re more likely to need some oil to get the right consistency (might remain dry and powdery without it). You’ll also need to let the machine run for several minutes. Once the seeds have been ground into a powder, drizzle in the oil as the food processor is running. Scrape down the sides as necessary.
~ The first time you make this, whether using a Vitamix or food processor, after the seeds have turned into butter, if you’d like, add small amounts of salt and/or sweetener, process again, and keep tasting until the flavor is right for you (keeping track of how much you’ve added). For us, 1 TBSP raw honey and 1/4 tsp salt does the trick but you may want more or less depending on your taste preference. Once you figure out how much salt and sweetener is right for you, next time you make it, you can process it all together, right from the get-go.
~ You can use any type of sunflower seeds you’d like – roasted, raw, sprouted, salted, unsalted. Obviously, if you’re using salted seeds, don’t add any additional salt. For instance, I’ve made this using “Go Raw” brand sprouted/salted sunflower seeds” which is a great option if you want that type of quality without sprouting or germinating yourself.
~ If you like the idea of a sunbutter, but don’t want to make it yourself, you can buy it at most grocery stores, though like most alternative nut-butters – it’s pricy, and may contain undesirable additives.
Dairy Free, Gluten Free, Egg Free, Nut Free, Sugar Free, Grain Free, Vegan, Raw
If eating sugar free, omit the honey, or try blending in a few drops of liquid stevia instead. If eating raw, blend the seeds for the shortest amount of time as possible, as the seed butter will begin to heat up the longer it’s processed.
~ This is amazing spread on a banana 🙂

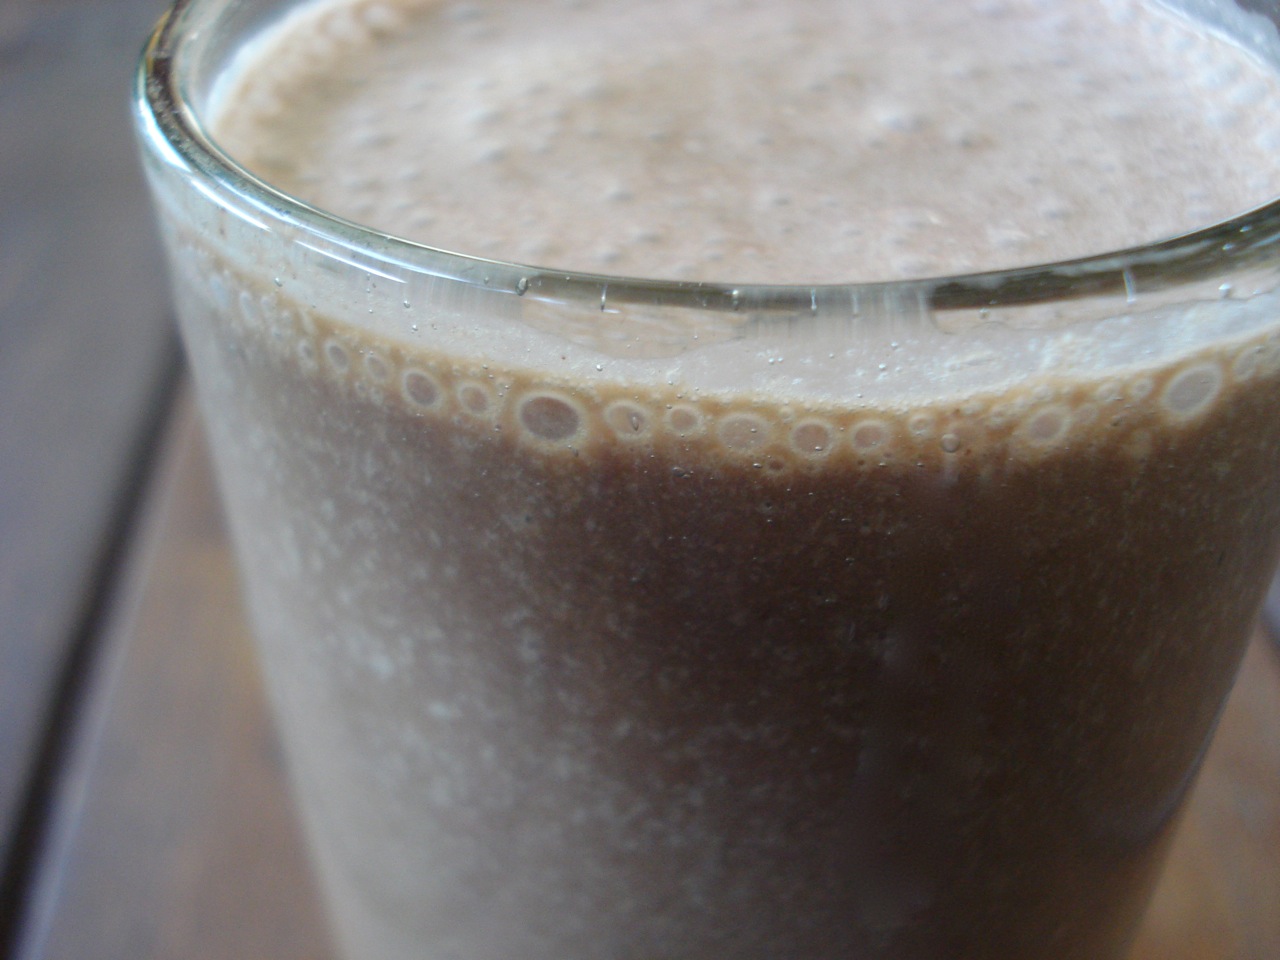
Chocolate Peanut Butter Smoothie

3/4 cup milk of choice
1 TBSP natural peanut butter (or other nut/seed butter)
1 TBSP cacao (or cocoa) powder
1 banana
- Add ingredients to blender and blend.
Yields about 12 oz.
______________________________________________________________________________________
SIDE NOTES:
~ Very simply. Very delicious. This is one of the first things we make when we get a gallon of fresh, raw milk from our local farm.
~ To turn this into more of a thick, dessert-style, milk shake, simply increase the milk to 1 cup and use frozen banana instead of fresh (slice banana & freeze on tray in a single layer overnight or at least 6 hours).
~ Using peanut butter is delicious, but it’s also very good with sunflower seed butter (tried pecan butter, but didn’t like that particular combo).
~ Of course, you can omit the nut butter and just make this a plain chocolate smoothie. Likewise, I guess you could omit the chocolate and make this a peanut butter/banana shake as well.
Enjoy =)
Dairy Free, Gluten Free, Egg Free, Nut Free, Sugar Free, Grain Free, Vegan, Raw
If eating dairy free, you can use coconut milk or another non-dairy option. If avoiding nuts, but can tolerate sunflower seeds, use sunbutter (or omit the nut-butter entirely). If eating gluten free and raw, be sure to use an appropriate chocolate powder such as Navitas Naturals.